How to Unlock the Full Potential of the Live Chat
The Live chat module has even more to offer for your customers! You can easily redirect them to another chat experience, sub processes or show them our awesome animations live in the chat. Read on to get the full benefits!
Understanding the Toolbar
You've seen this image before on how to end the chat. Now we want to dive deeper and see what's behind the three icons.

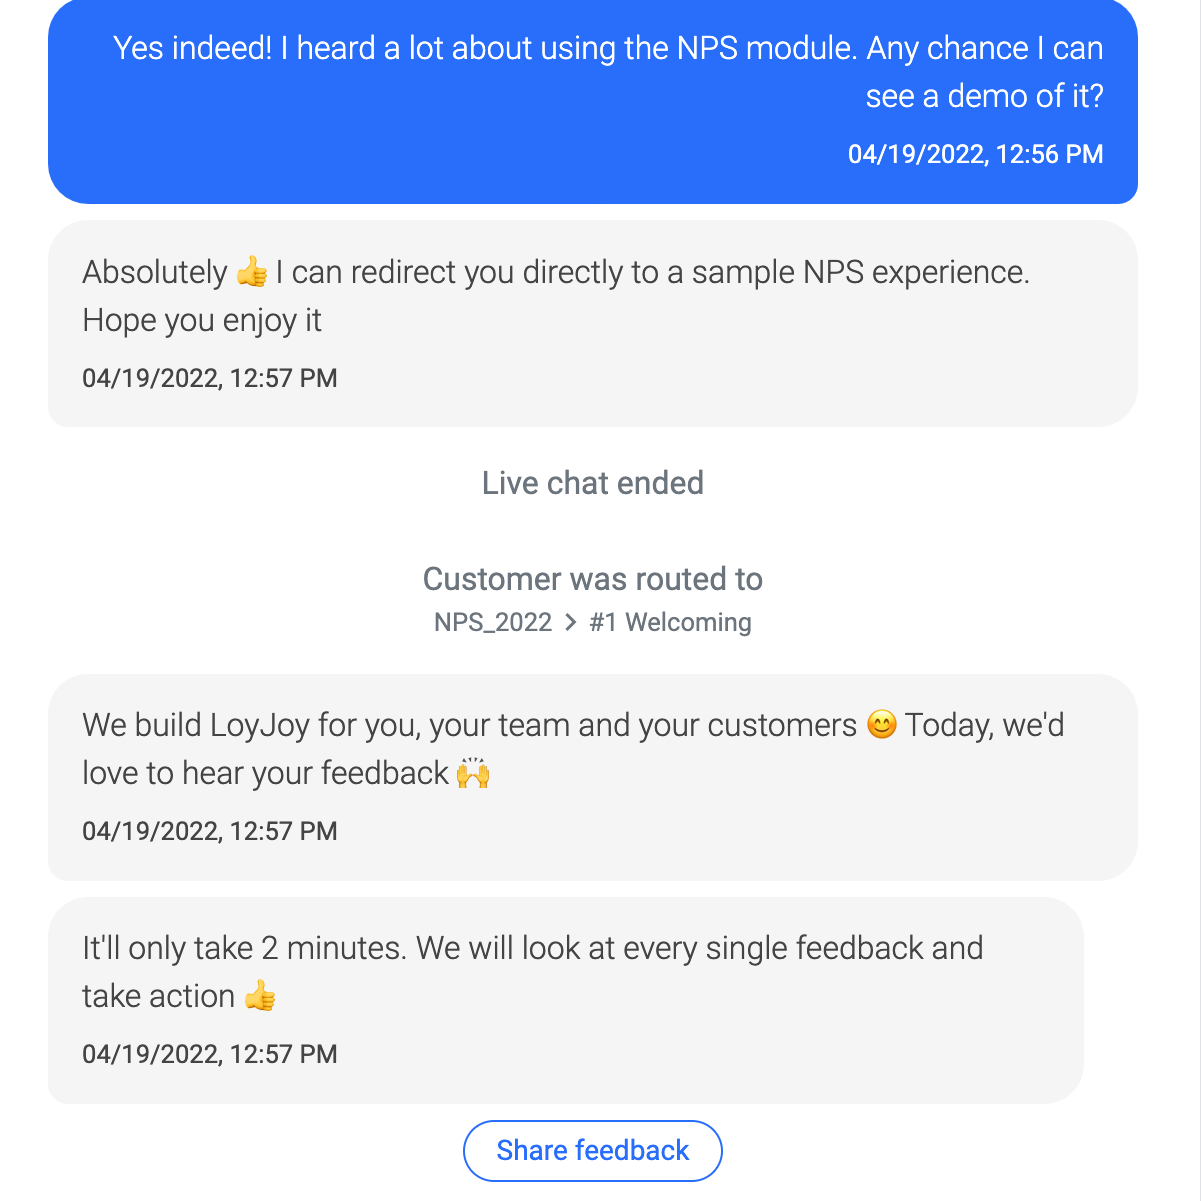
Example: Jump to NPS experience
Let's say a customer wants to see the NPS module in real-time. Just redirect them to any NPS experience you already created in your tenant. As soon as you've clicked on Jump to experience and chosen the relevant experience, the Live chat ends and the customer gets routed to the chosen experience.
Send Animation
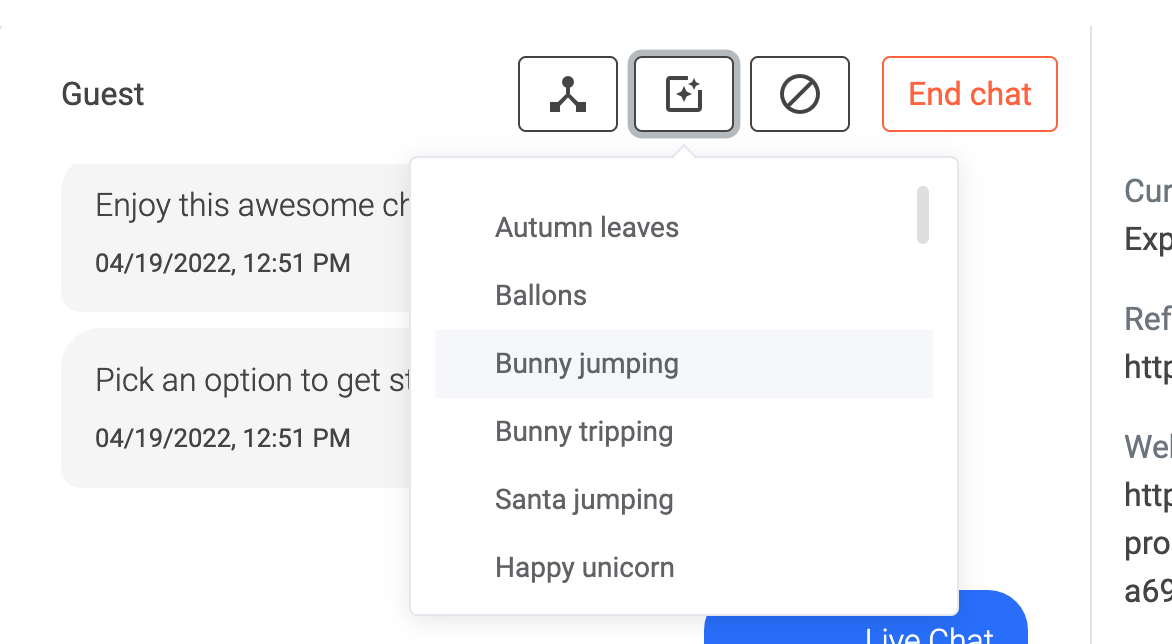
 You can select from our list of animations and send them directly via the Live chat. The selected animation is then played in the chat of the user.
Block User
 There is also the possibility to block certain users from the Live chat.
Customize Your Profile
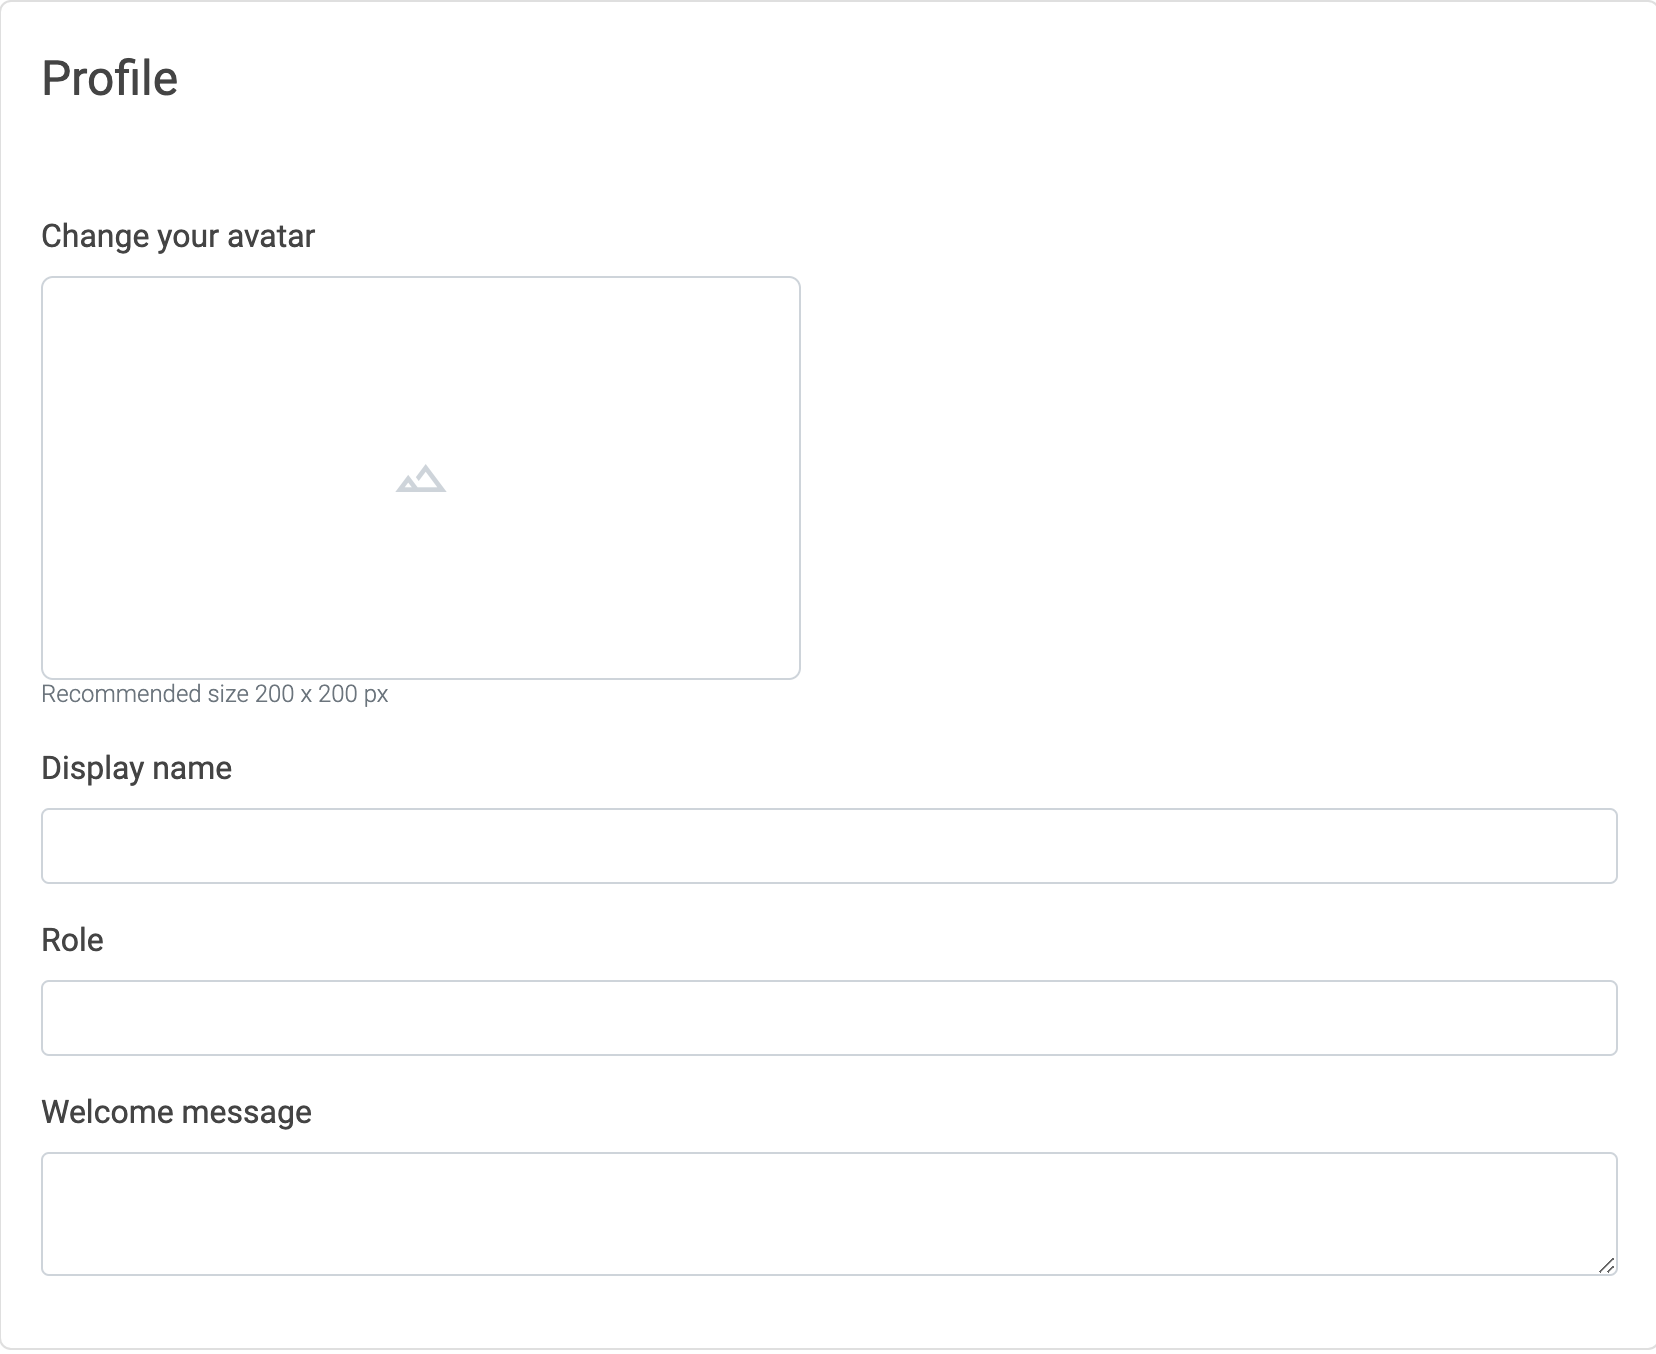
You can also customize the profile of your agent. It is possible to change your avatar, display name, choose a role and set a custom welcome message
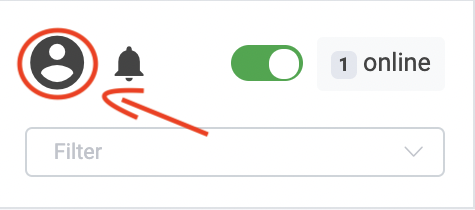
To start, click on the avatar.
Here you can update and customize the settings for your profile.
Manage Templates
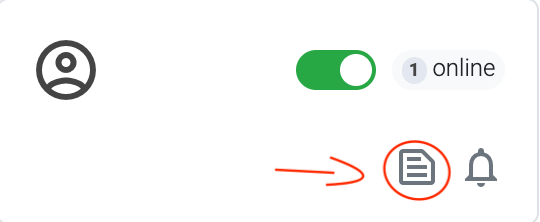
You can create and store custom templates to use in your chat to save valuable time! 1.Click on the icon selected below:
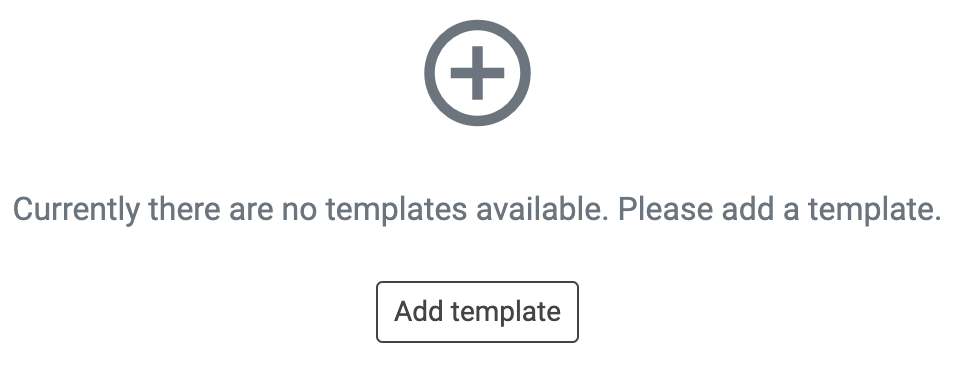
- Add a template
Analytics
Tests in the backend are not counted. You can change this:
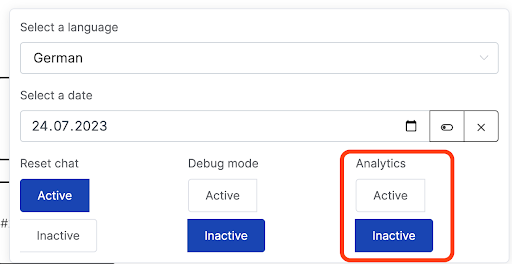
If you publish the chat under Publish "Open on landing page" or if it is integrated on a website, it will be counted.