LoyJoy Headless: connect Claude, ChatGPT and other MCP clients
With LoyJoy Headless you work with LoyJoy from an AI assistant instead of the Manager. The assistant becomes the interface. Agents, knowledge, analytics, roles and publishing stay in LoyJoy. The product overview is on loyjoy.com.
The setup has three steps in every client:
- Add the LoyJoy Manager MCP server. The client can read and query your tenants.
- Add the LoyJoy skills. The client can also edit your agents reliably.
- Start modelling. Describe a change in plain language and the client applies it.
Good to know:
- One URL:
https://app-cloud.loyjoy.com/mcp. The server covers the full scope of the Manager: agents, processes, Knowledge Base, analytics, live chat, customer and product data. - No API key: you log in once with your regular LoyJoy account, for example with your Passkey.
- All tenants: one connection reaches every tenant of your account, see Work across multiple tenants.
- Safe by default: the assistant changes your agents in staging. Your live agent only changes when you publish, see Staging and publishing.
- No personal data: the assistant works on your agent configuration and sees anonymized analytics only, see Data protection.
Before you start
- LoyJoy plan: LoyJoy Headless is included in all plans.
- LoyJoy role: to edit agents, your user needs a role with edit rights for agents in the tenant, for example
EditororProcesses editor. With a viewer role, the assistant can read but not change. See Invitations and Roles. - AI assistant: a client that supports remote MCP servers with login, for example Claude or Codex. Codex requires a ChatGPT plan that includes Codex.
- Company accounts: in Claude Team and Enterprise, only owners can add custom connectors. An owner adds the LoyJoy Manager connector once under Organization settings > Connectors, then every member connects with their own LoyJoy login. Plugin marketplaces may also need to be allowed by your administrator.
Looking for a single AI Agent exposed as an MCP server (per-agent URL with API-key auth)? See LoyJoy Agent as MCP Server.
Claude
The steps below use the Claude desktop app (Mac or Windows).
Step 1: Add the LoyJoy Manager MCP server
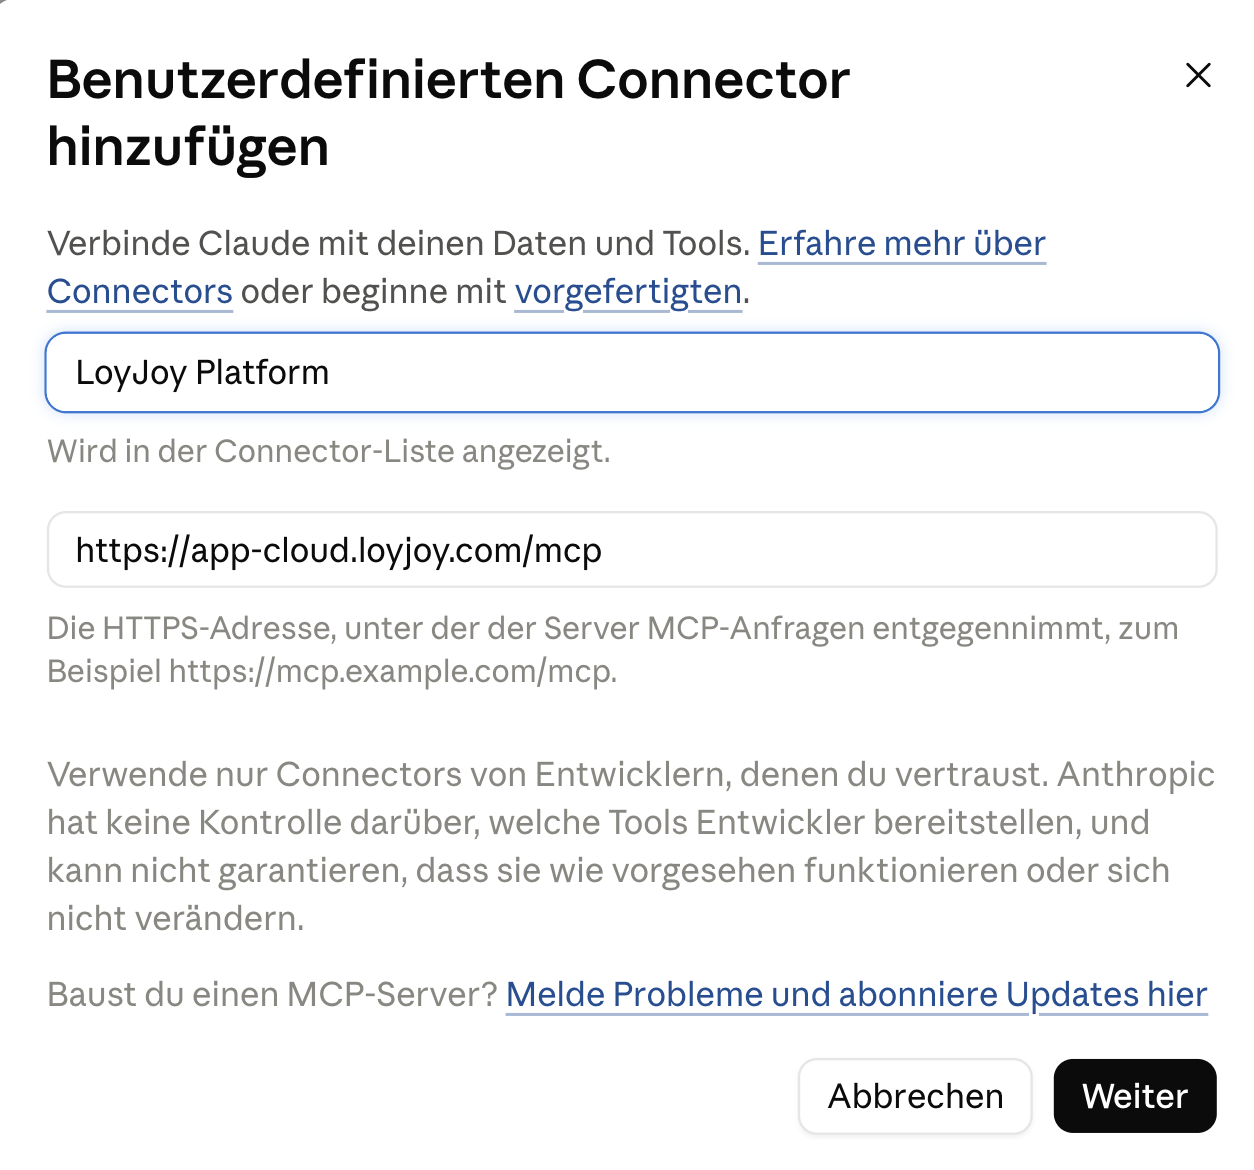
- Open Settings, select Connectors and add a custom connector.
- Enter a name, for example "LoyJoy Manager", and the URL
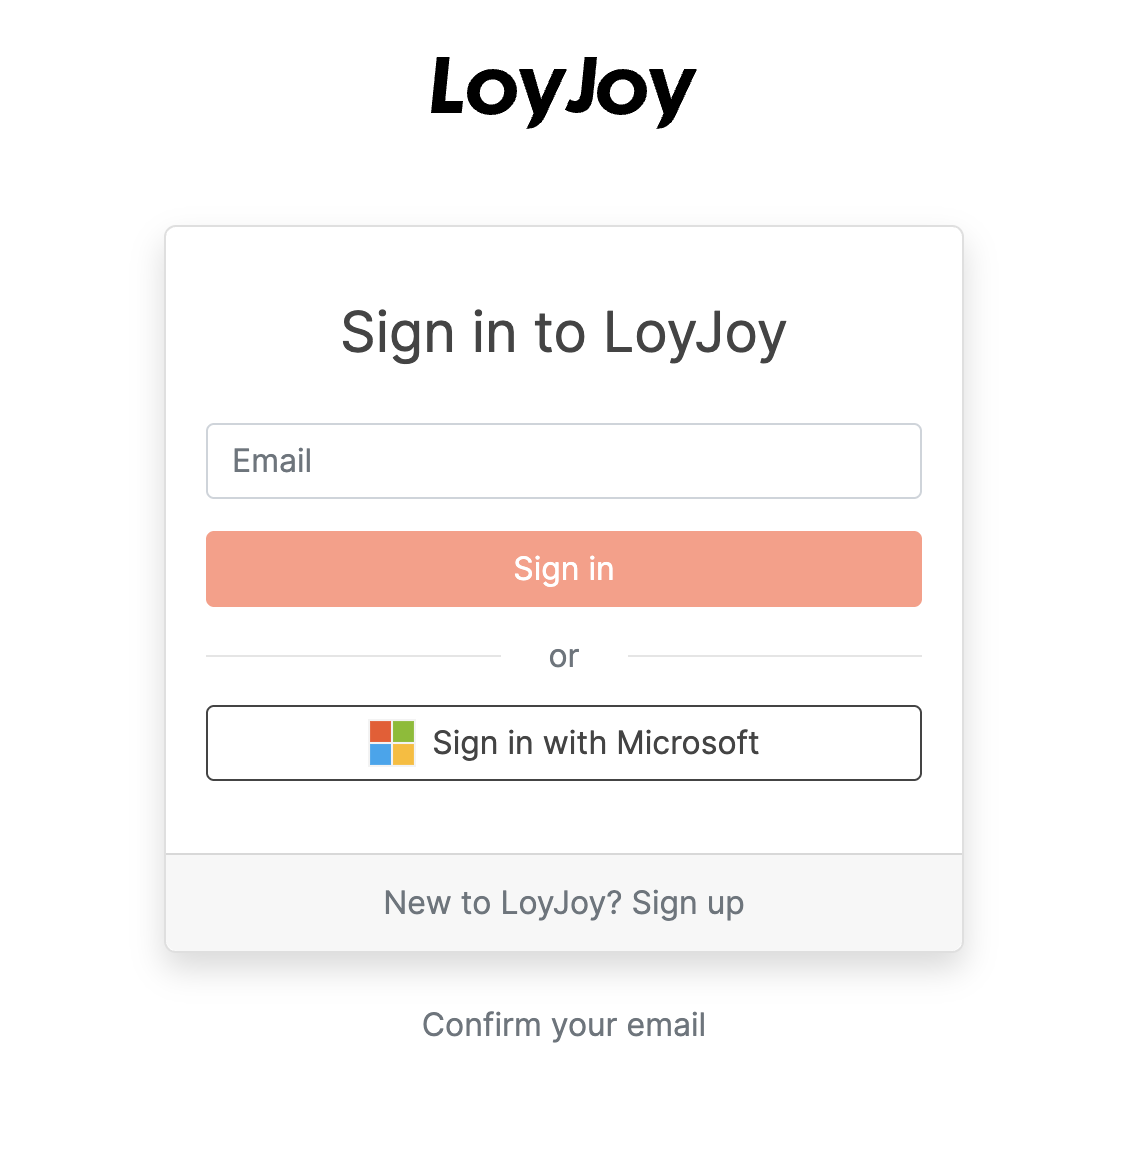
https://app-cloud.loyjoy.com/mcp. Confirm the dialog. - Claude opens the LoyJoy login. Sign in as usual, then return to Claude.
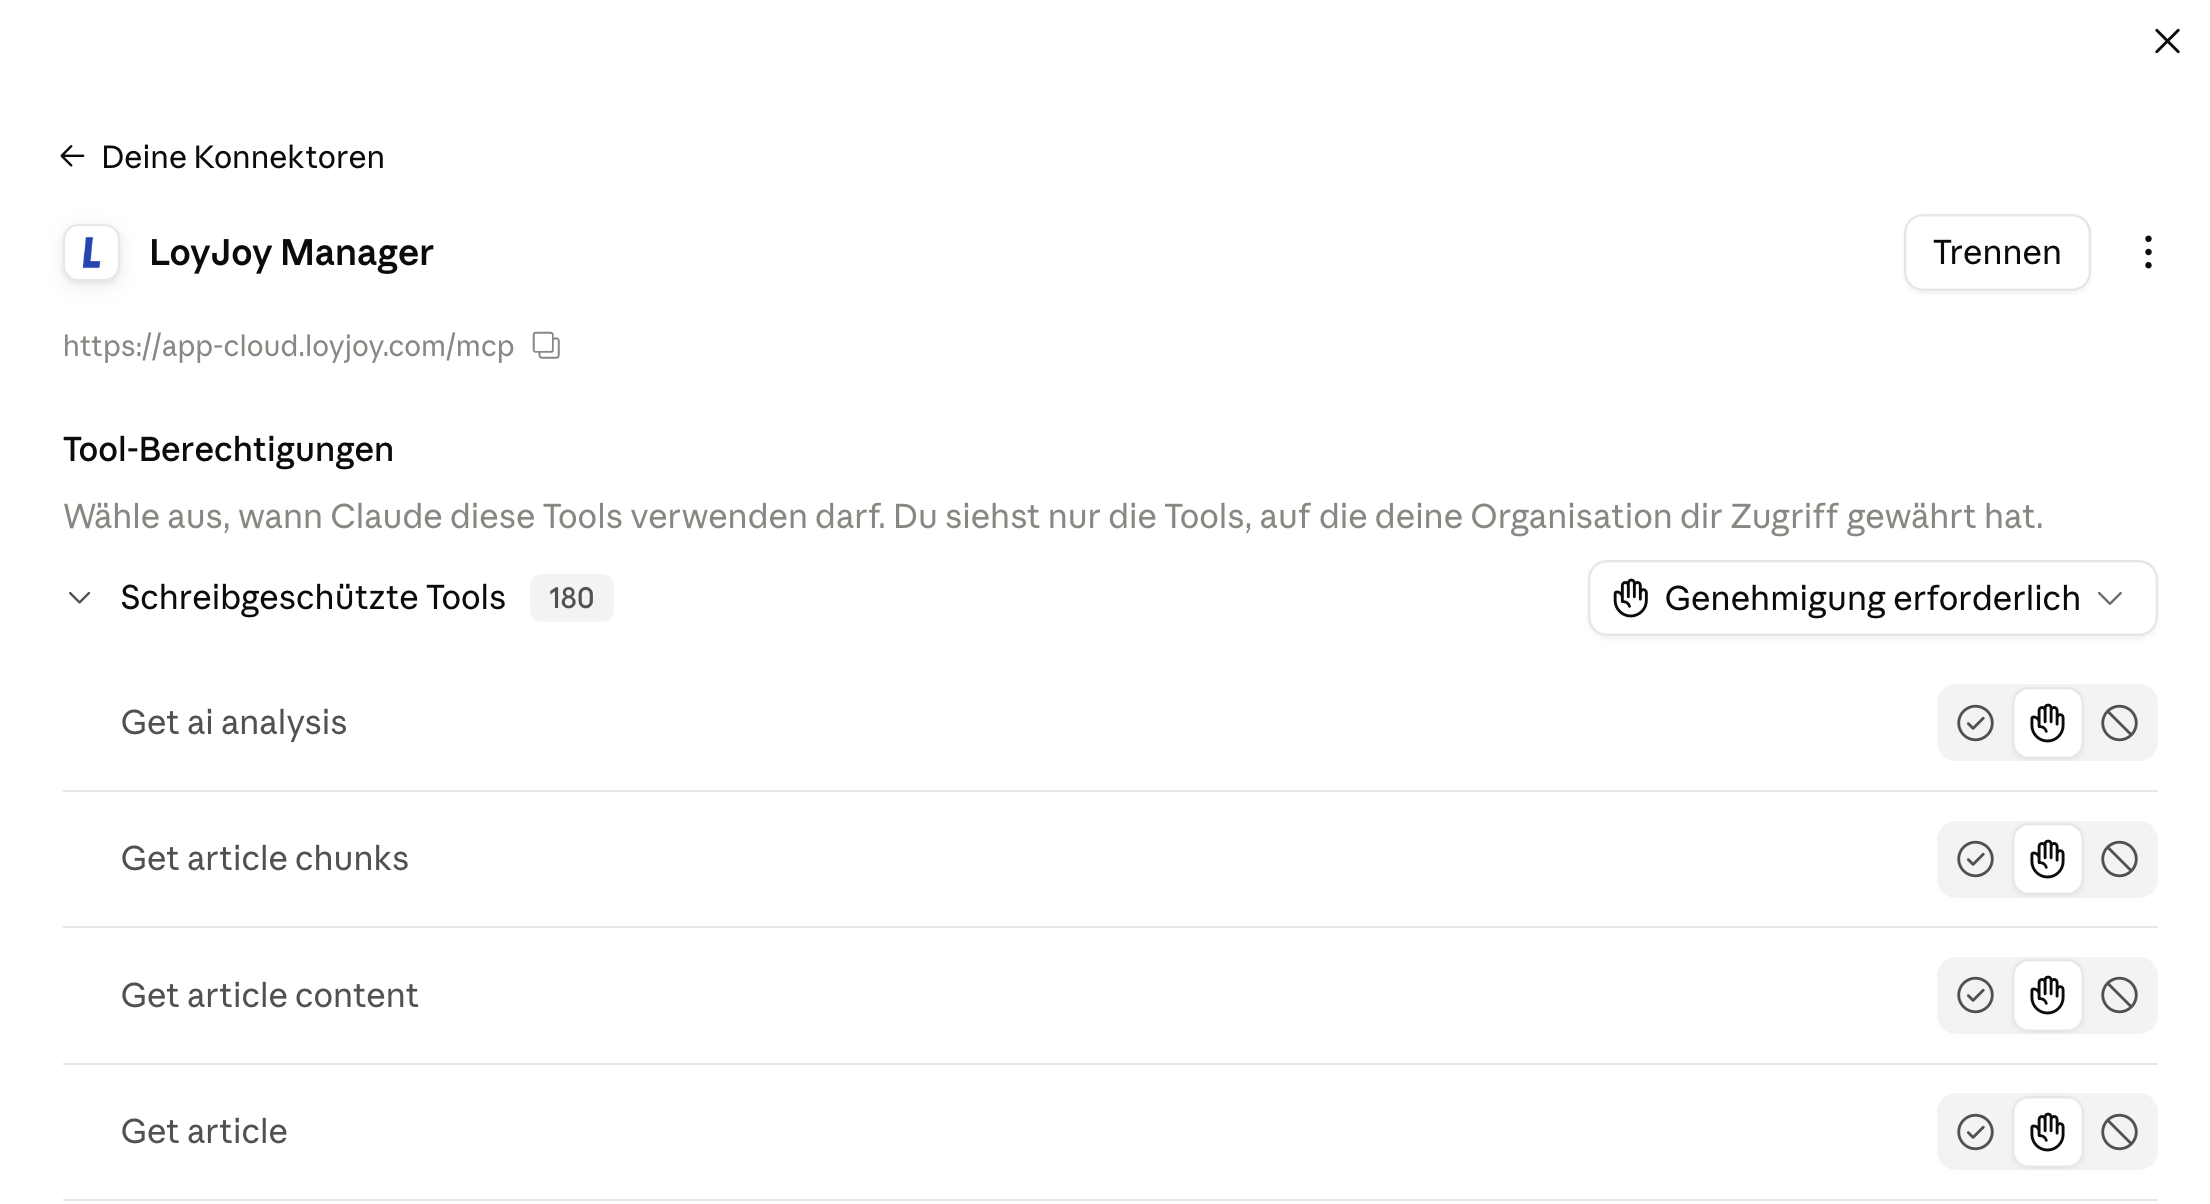
The connector now lists all LoyJoy tools. Here you can also decide per tool whether Claude may use it freely, needs your approval or is blocked.
Step 2: Add the skills
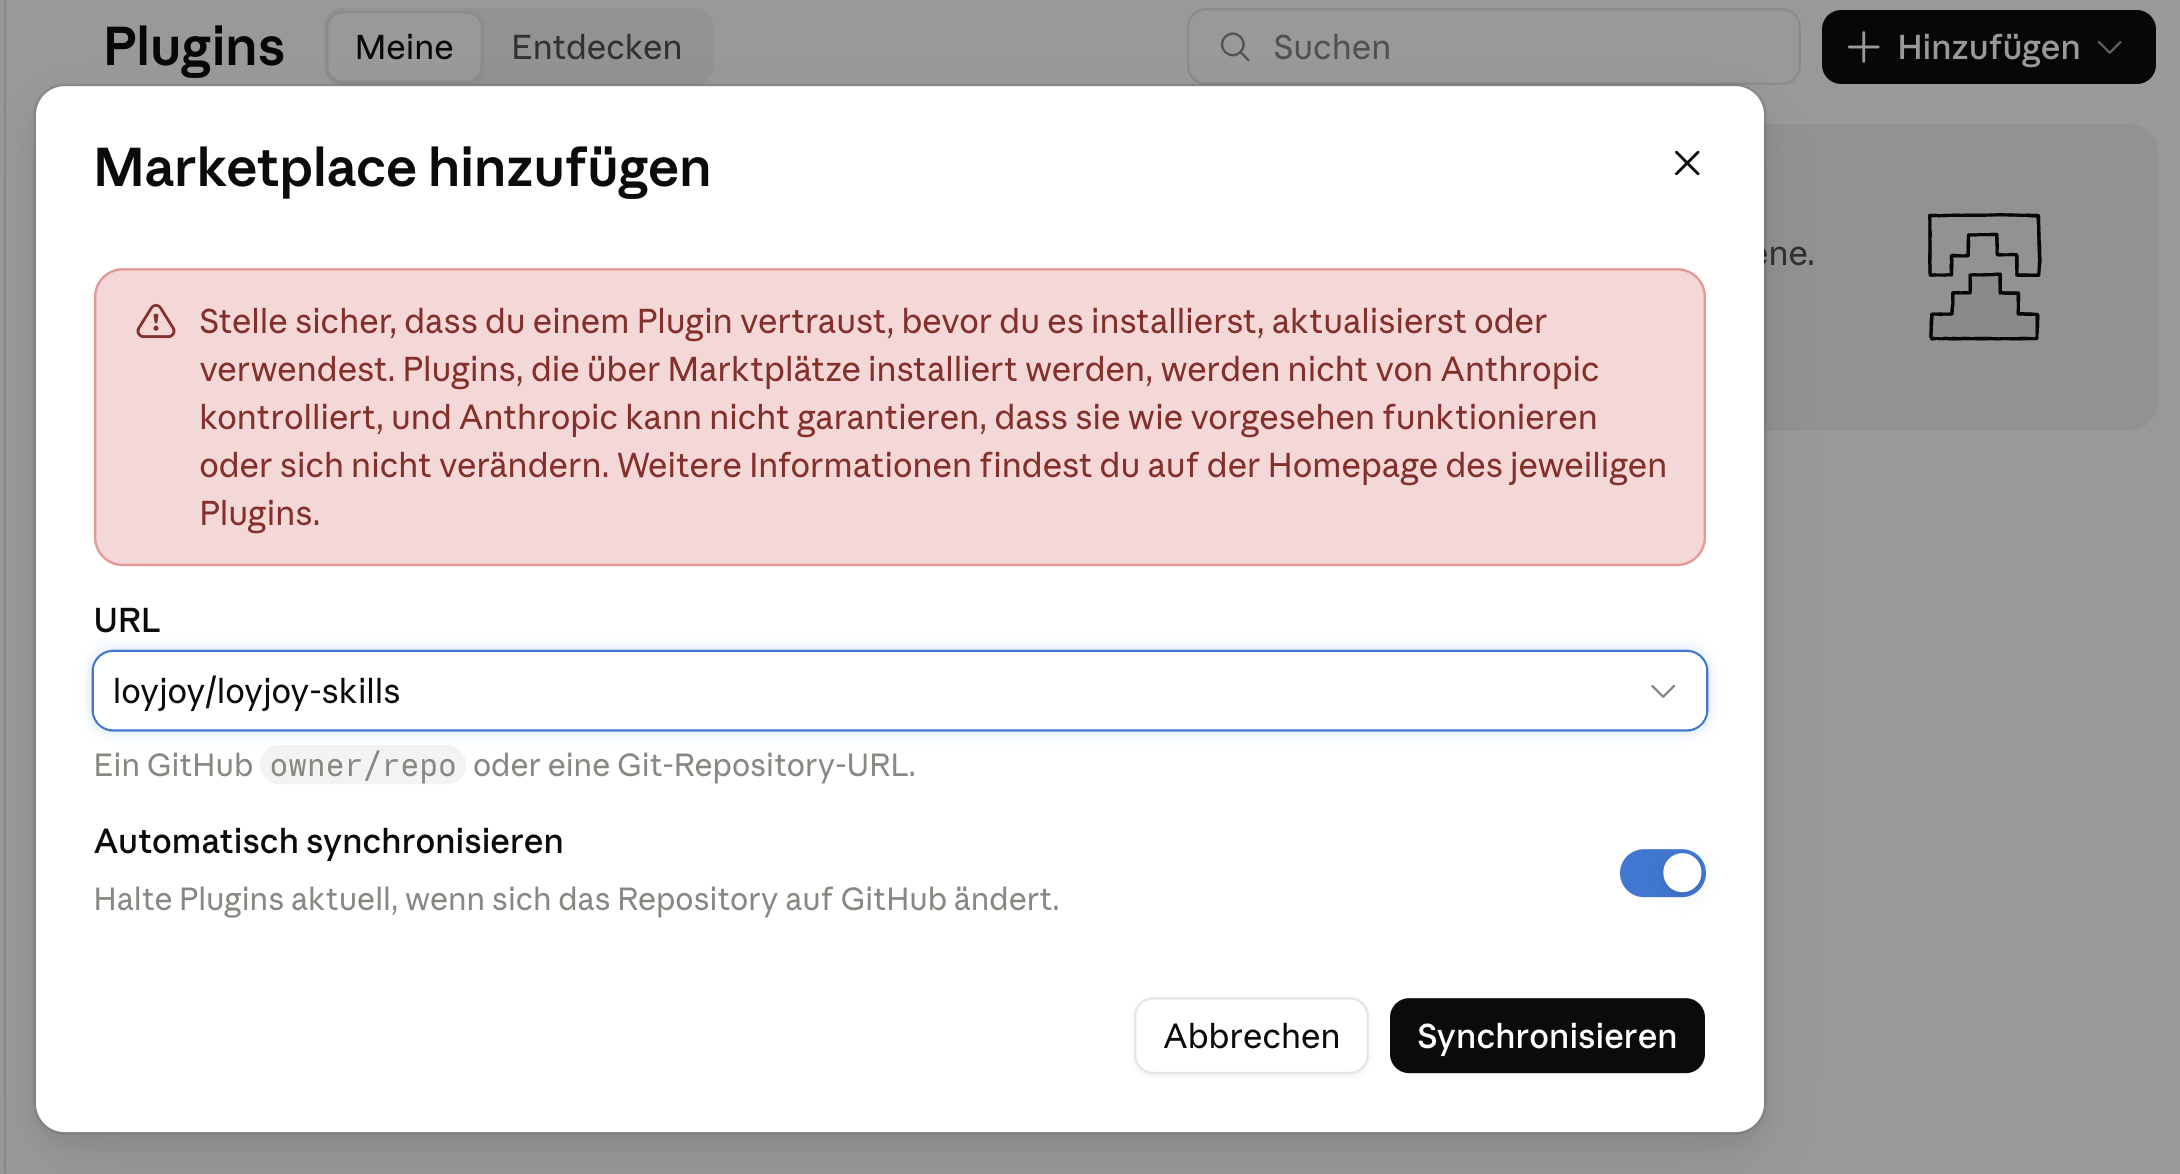
- Open Settings, select Plugins, click Add and choose Add marketplace.
- Enter
loyjoy/loyjoy-skills, the public repository github.com/loyjoy/loyjoy-skills. Keep automatic sync enabled so the skills stay up to date, and click Sync.
- Switch to Discover and click Add next to LoyJoy Headless and LoyJoy Phone Agent Builder.
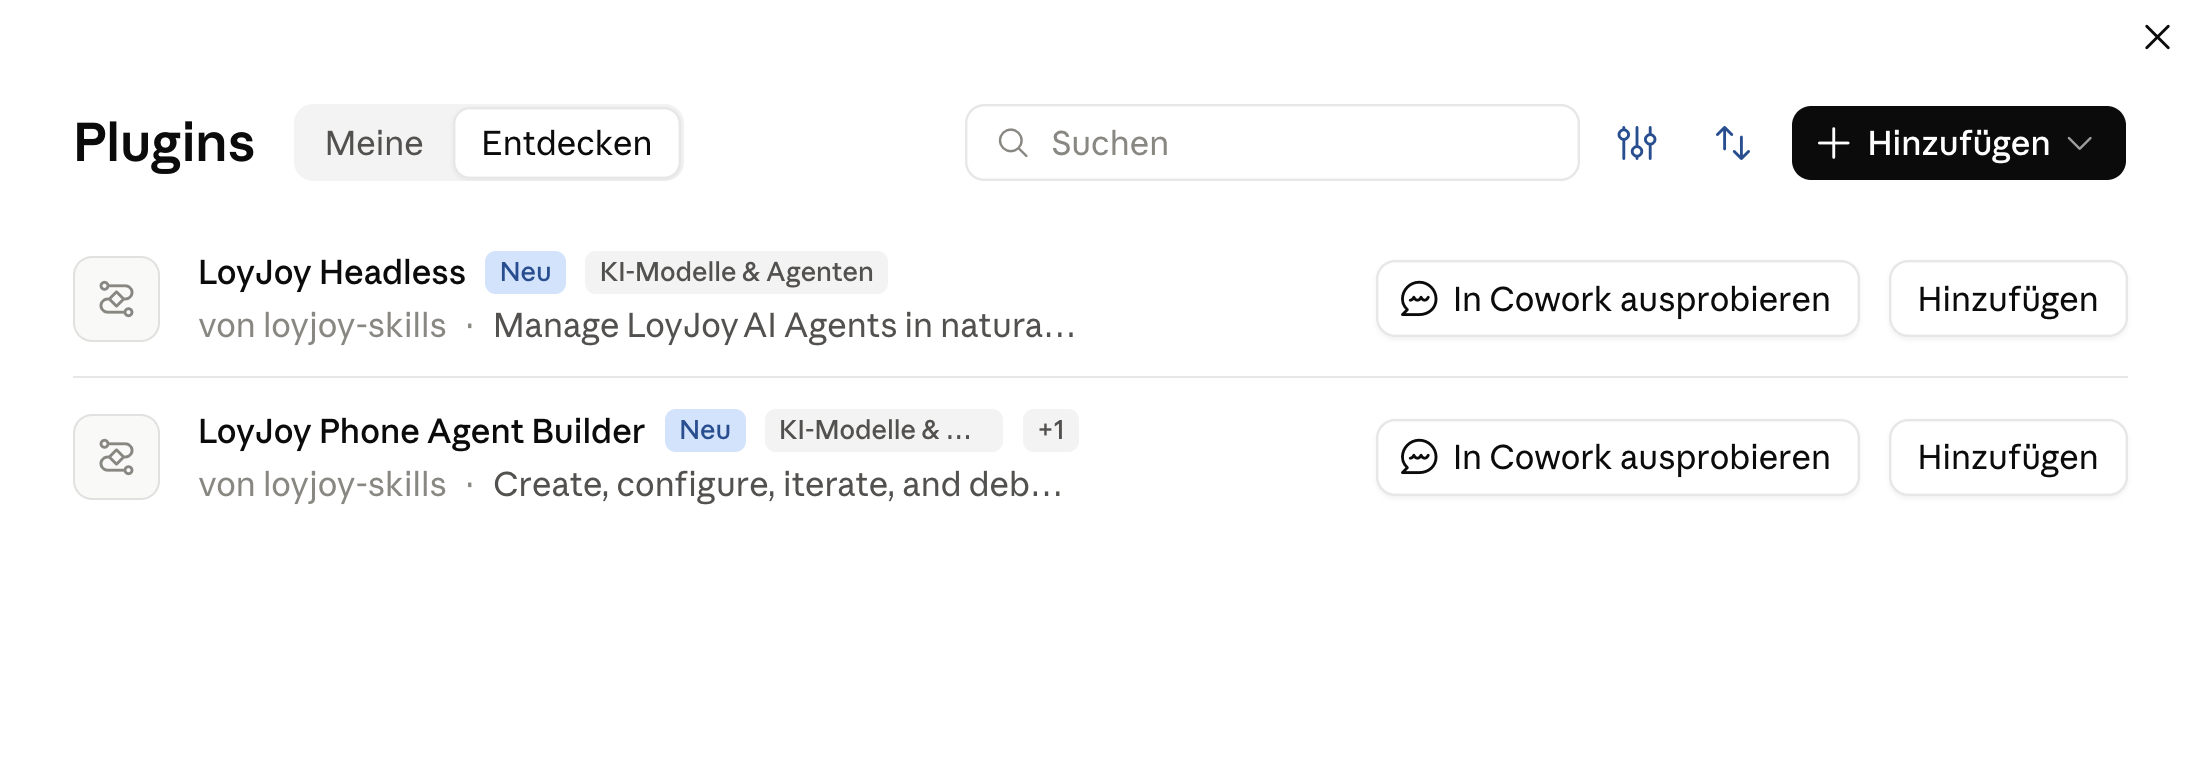
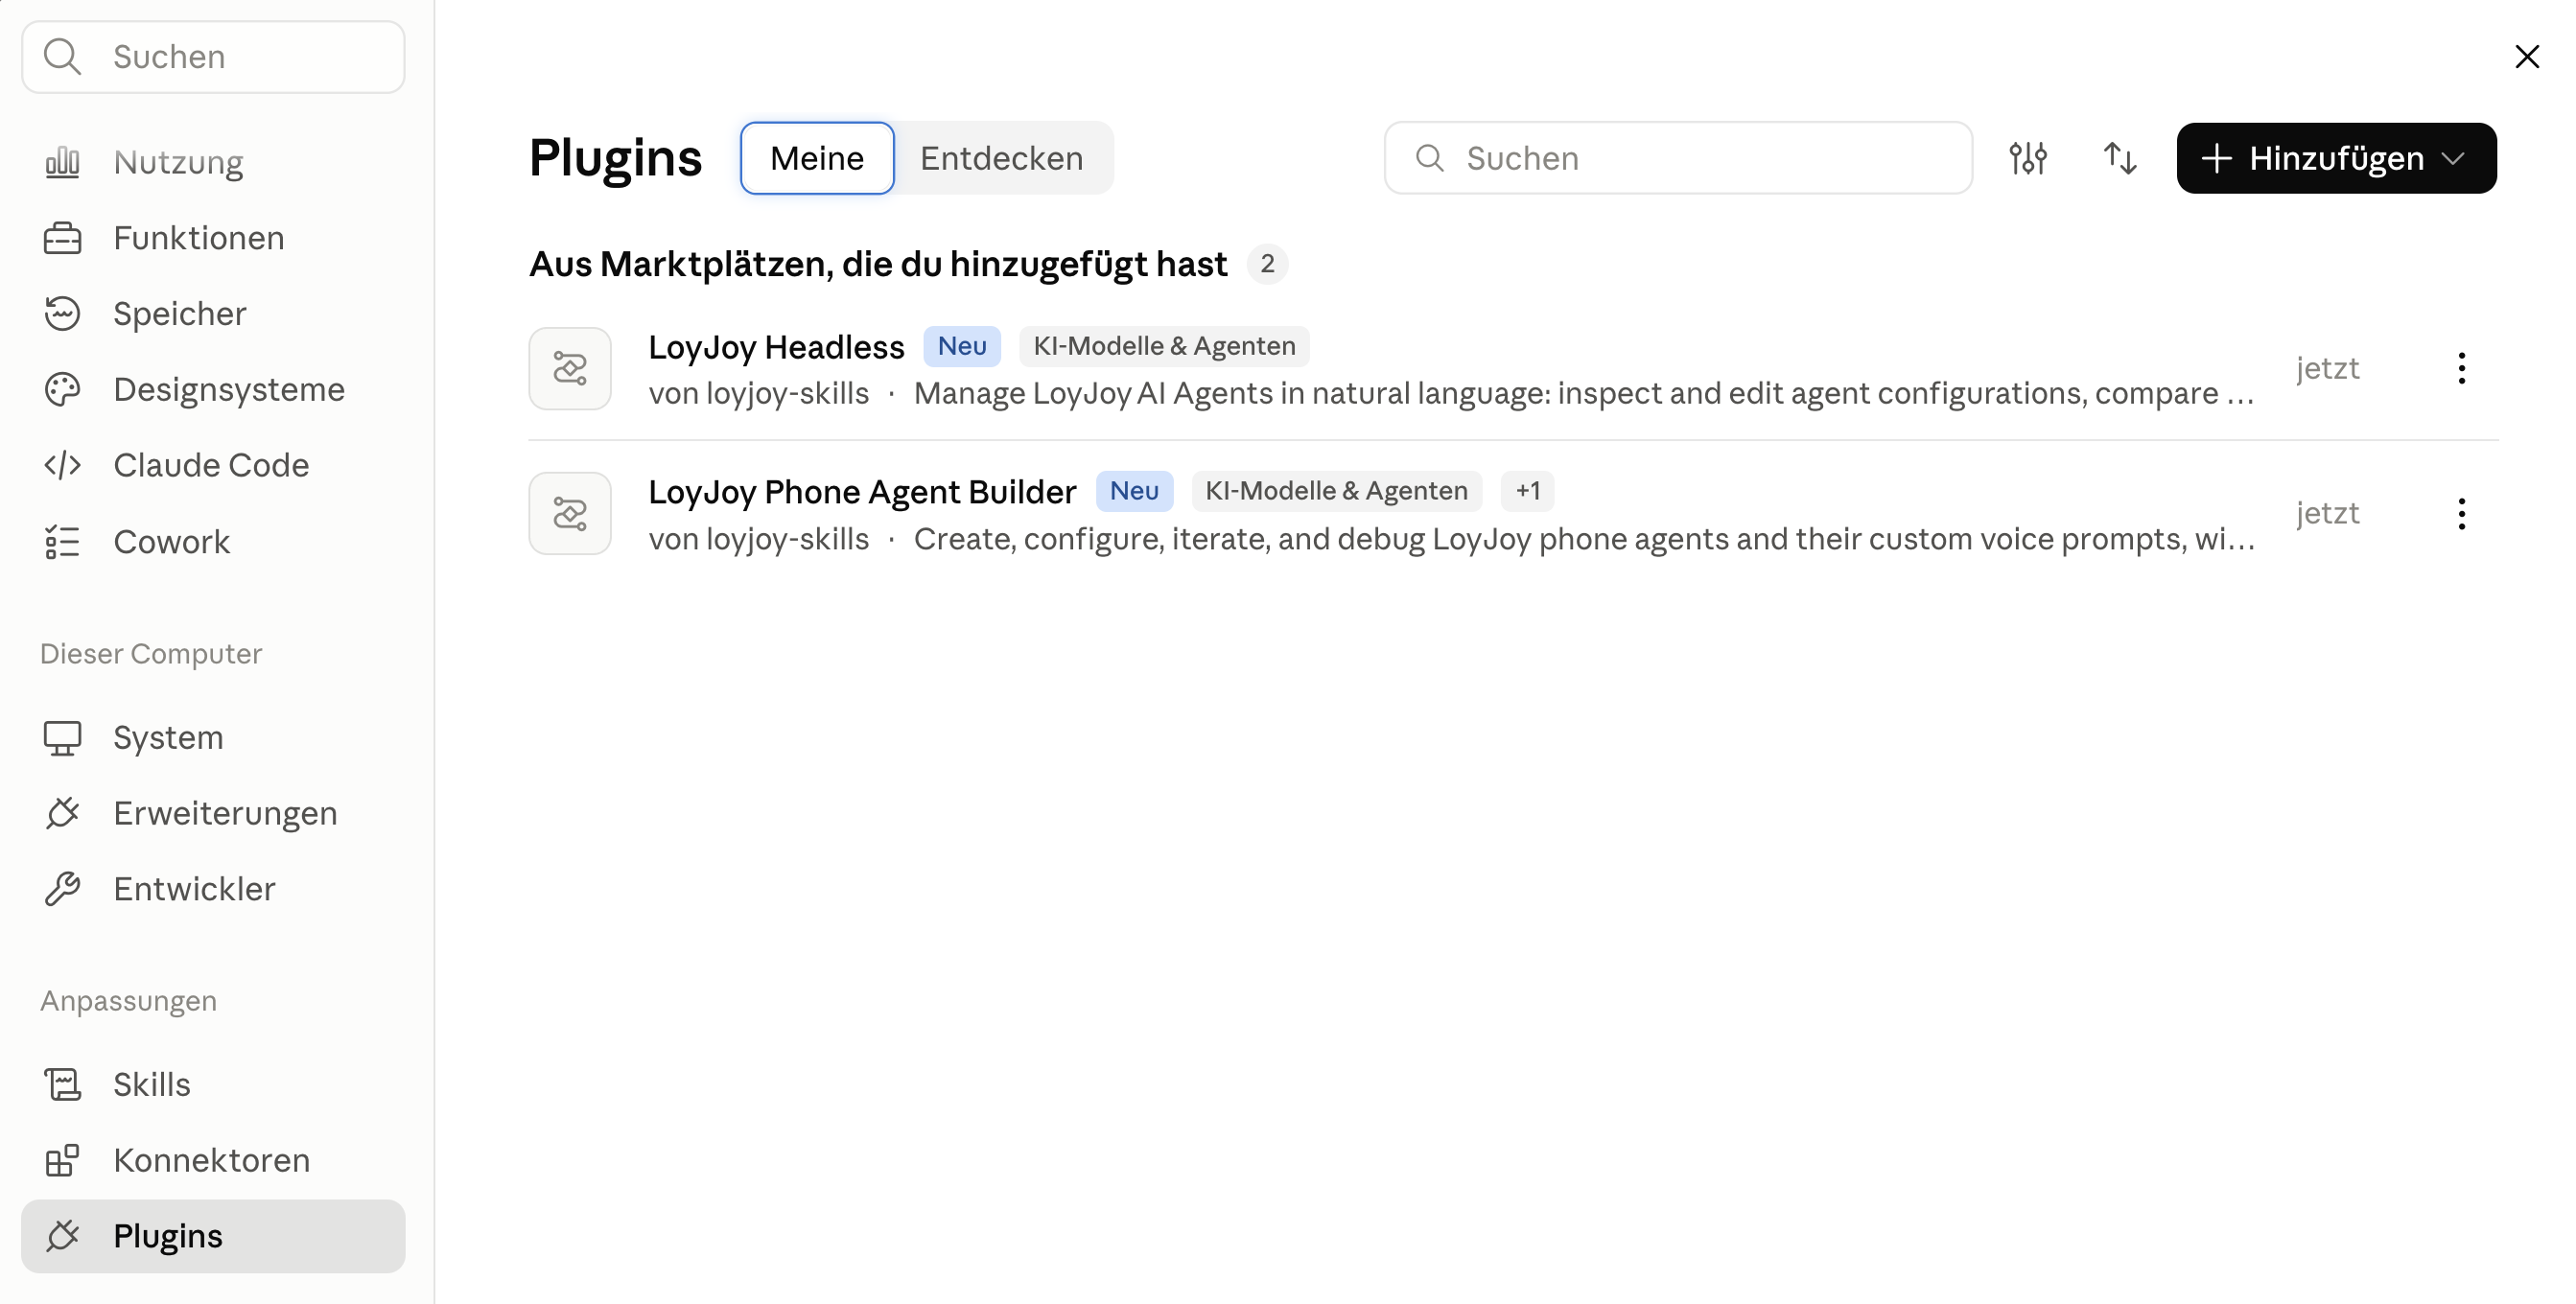
Both plugins now appear under My plugins.
Working in Claude Code instead? Add the marketplace and the plugins from the command line:
/plugin marketplace add loyjoy/loyjoy-skills
/plugin install loyjoy-headless@loyjoy-skills
/plugin install loyjoy-phone-agent-builder@loyjoy-skills
Step 3: Start modelling
Start a new chat and describe what you need. Examples:
- "Show me all AI Agents in my tenant."
- "In LoyJoy edit the agent 'Live Chat'. Set the opening hours to 10am to 6pm."
- "How many customer requests did agent X resolve end-to-end in the last 30 days?"
- "List the most-used knowledge articles this month."
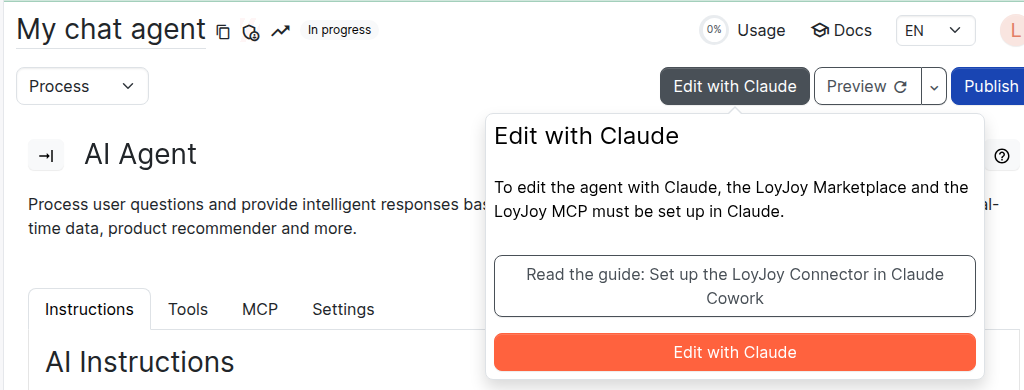
You can also start directly from the process editor of any agent. Open Edit with Claude in the editor navigation and click the Edit with Claude button. Claude opens with a prompt that already references the current agent. Add your change request and send it.
ChatGPT
The steps below use Codex, the agent app of ChatGPT.
Step 1: Add the LoyJoy Manager MCP server
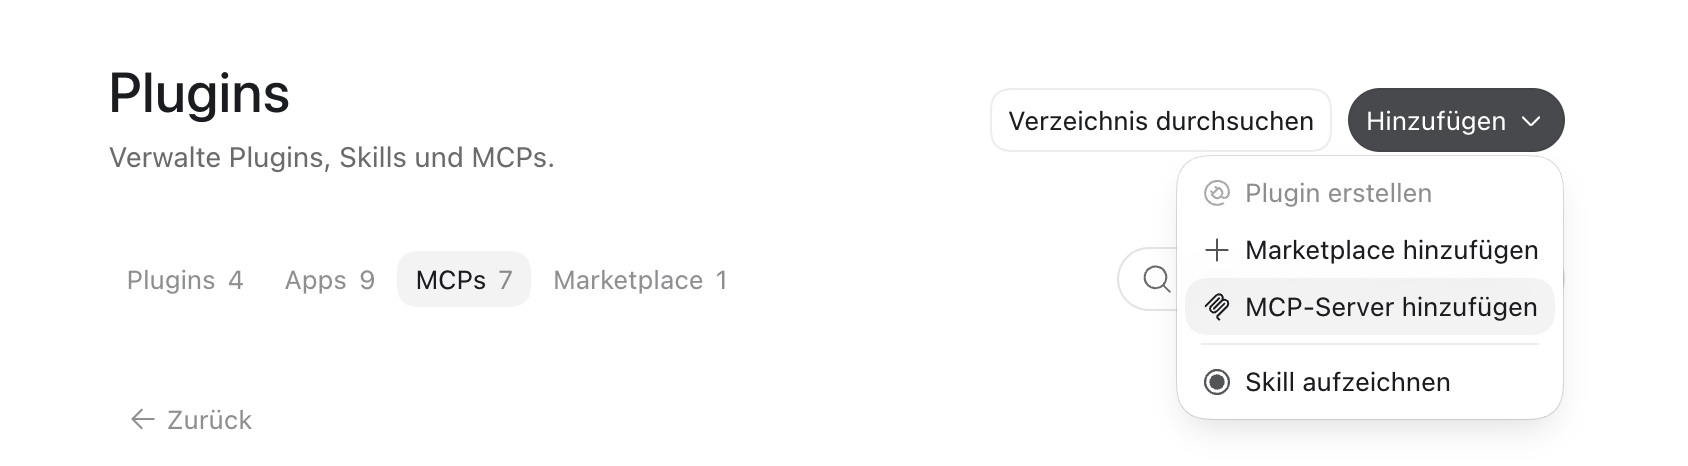
- Open Plugins, click Add and choose Add MCP server.
- Enter a name, for example "LoyJoy Manager". Switch the type from STDIO to Streamable HTTP, the default does not work. Then enter the URL
https://app-cloud.loyjoy.com/mcp. Leave the bearer token and header fields empty and click Save.
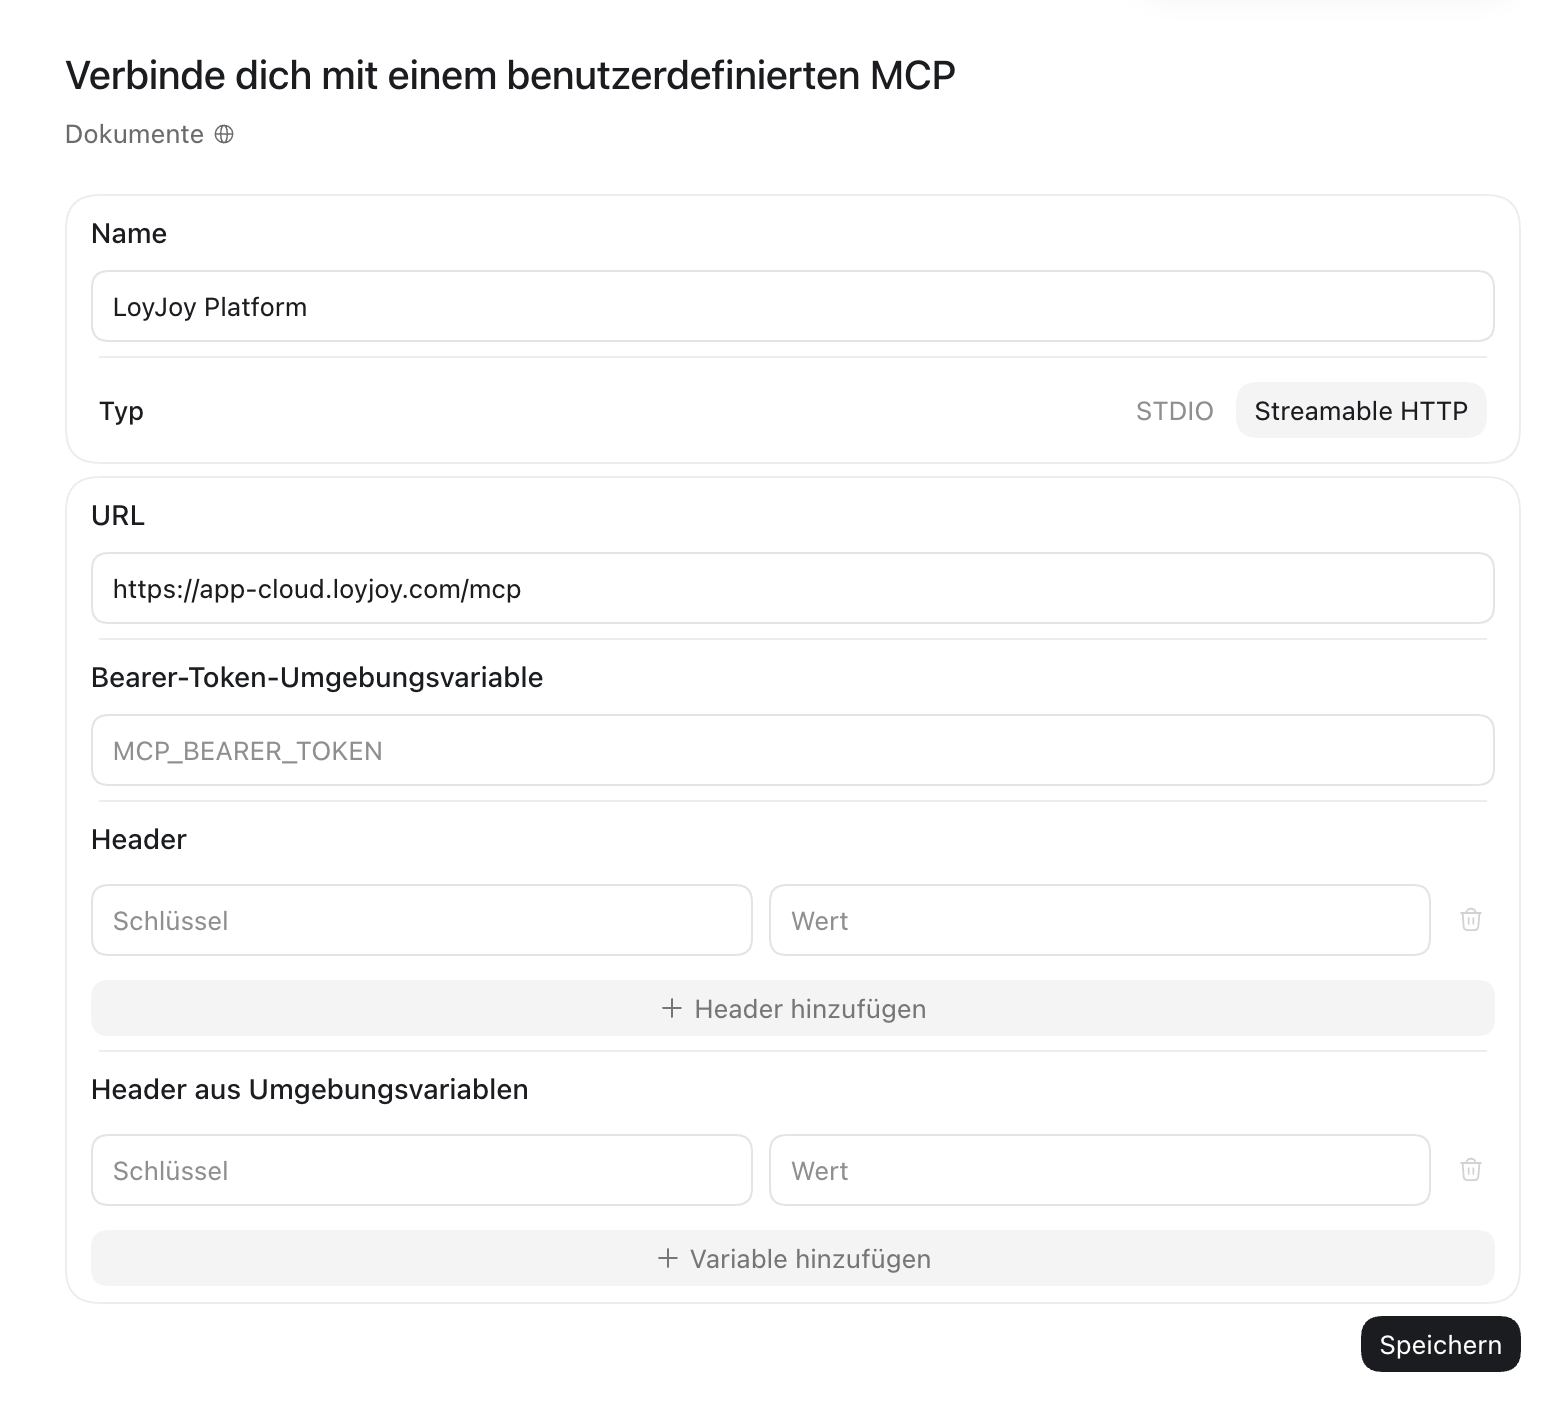
- Codex opens the LoyJoy login. Sign in as usual, then return to Codex.
Step 2: Add the skills
- Open Plugins, click Add and choose Add plugin marketplace.
- Enter
loyjoy/loyjoy-skillsas source andmainas Git ref. Leave the sparse paths empty and click Add marketplace.
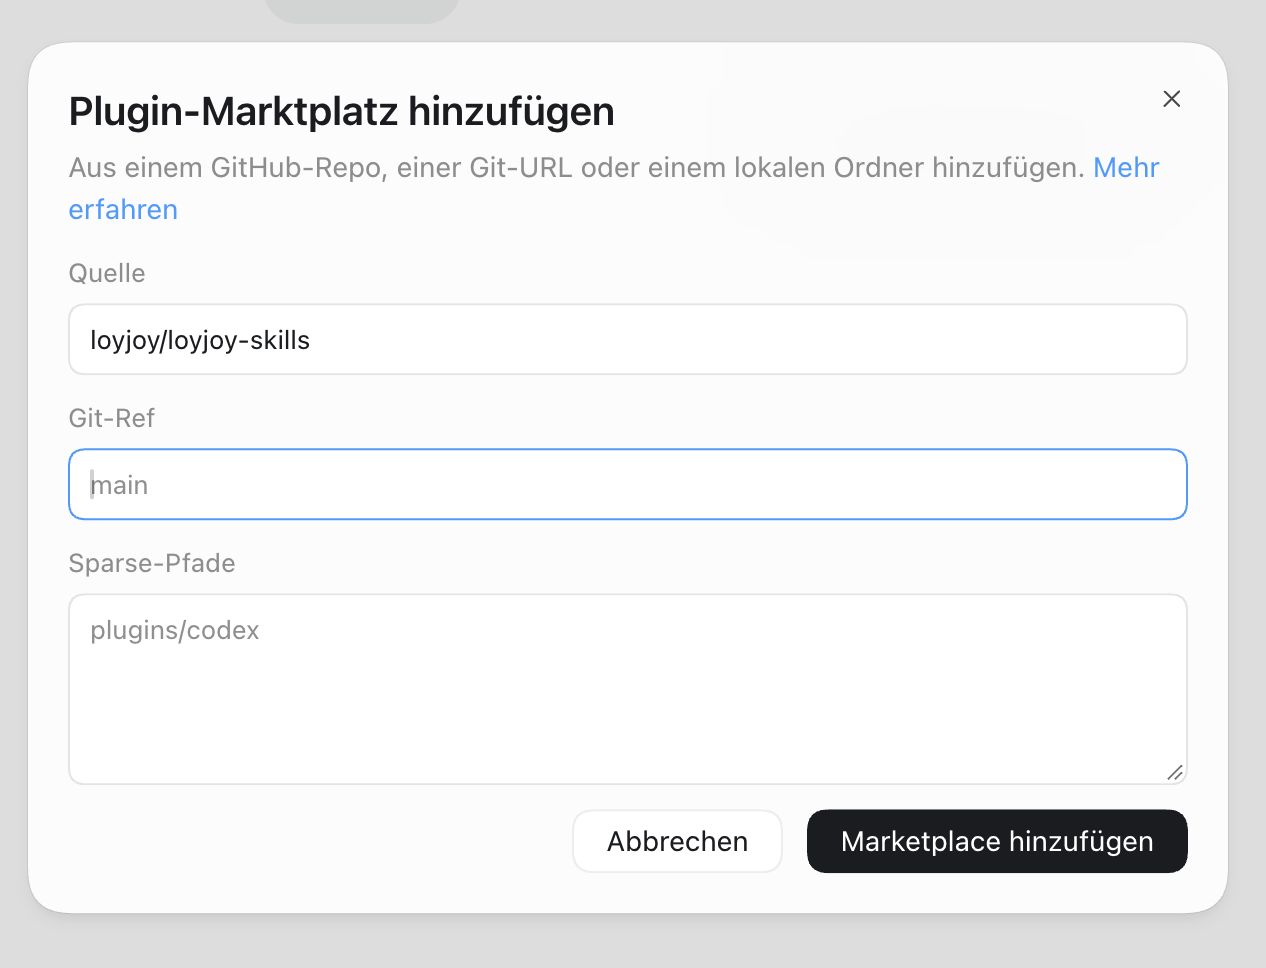
- Switch to Personal. Under loyjoy-skills, click + next to loyjoy-headless and loyjoy-phone-agent-builder.
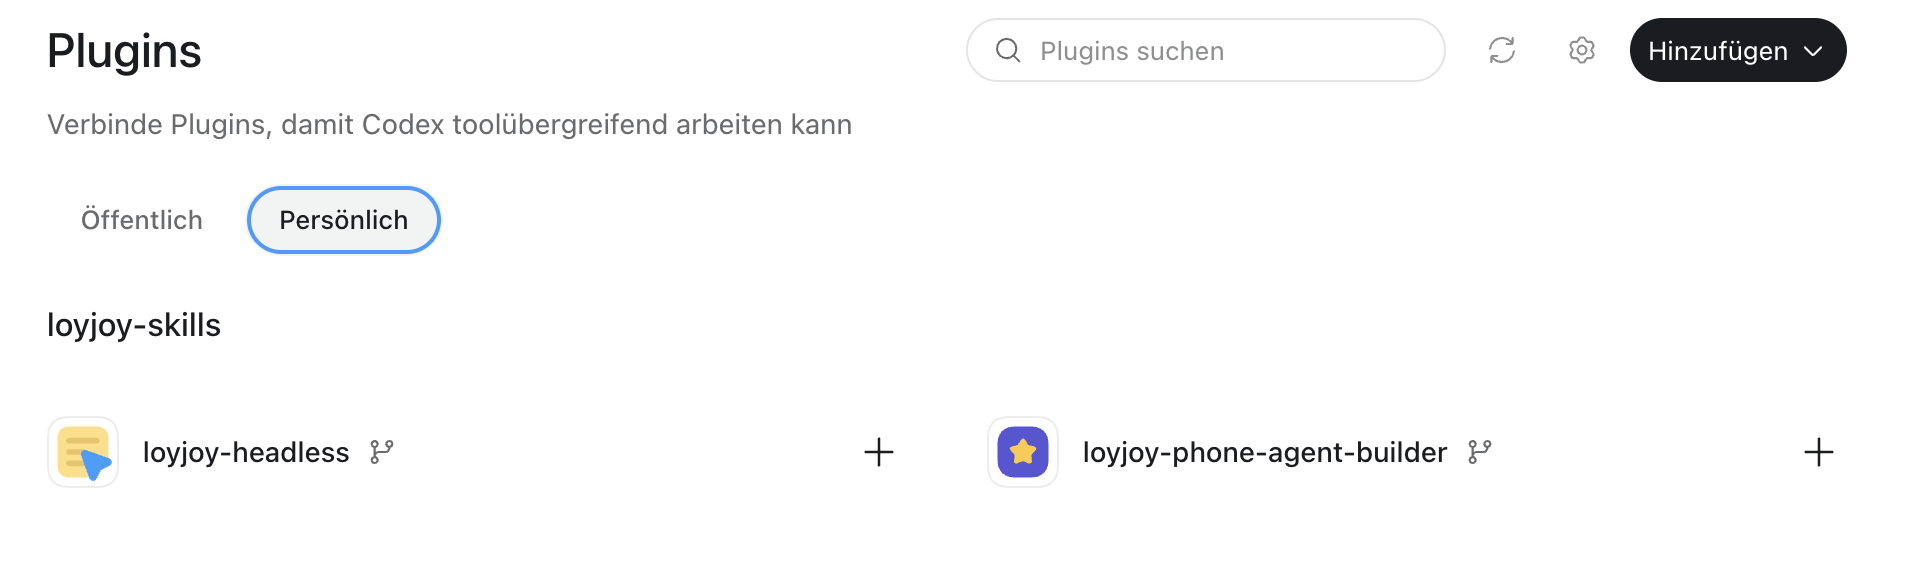
Installed plugins show a menu (…) instead of the plus sign.

Step 3: Start modelling
Start a new thread and describe what you need. The example prompts for Claude work the same way.
Other clients
We have tested Claude, Codex and OpenWork. Google Gemini, Microsoft Copilot, OpenCode and other MCP clients should work the same way, provided they support remote MCP servers with a browser-based login (OAuth). Let us know if you run into problems with a specific client.
Step 1: Add the LoyJoy Manager MCP server
Add a remote MCP server (often called custom connector or Streamable HTTP server) with the URL https://app-cloud.loyjoy.com/mcp. The client opens the LoyJoy login once. Sign in as usual. The LoyJoy tools and their schemas are advertised by the server and appear automatically.
Step 2: Add the skills
If your client supports skills (SKILL.md), copy the skill folders from plugins/*/skills/ in github.com/loyjoy/loyjoy-skills into the skills directory of your client. Without the skills, the client can still use all LoyJoy tools, but edits to agents are less guided and less reliable.
Step 3: Start modelling
Describe what you need in plain language. The example prompts for Claude work the same way.
Staging and publishing
The assistant works in staging first. Every change it makes lands in the staging version of your agent, while your live agent keeps running unchanged.
- Review: ask the assistant to summarize what it changed, or open the agent in the process editor of the Manager.
- Test: test the staging version yourself before publishing. We recommend this for every change.
- Publish: publish in the Manager as usual, or ask the assistant to publish, for example: "Publish the agent 'Live Chat'."
- Undo: every published version is kept, so you can restore an earlier version at any time.
Data protection
LoyJoy Headless is built for configuring agents and analyzing their performance. It does not give the assistant access to personal data of your end customers.
- What the assistant sees: agent configuration (processes, modules, prompts, knowledge, products) and anonymized analytics.
- What the assistant does not see: personal data of your end customers.
- Permissions: the assistant acts with the roles of the logged-in user, never with more rights. In Claude and Codex you can additionally allow, require approval for, or block each tool.
- Your AI provider: the content of your conversation with the assistant is processed by the provider of that assistant, for example Anthropic or OpenAI. Use it under your company's agreement with that provider.
Security and compliance documents are available in the LoyJoy Trust Center.
Work across multiple tenants
One connection reaches all tenants of your account. The list_tenants tool shows which tenants you can access and which roles you have in each. All other tools take a tenant_id argument, so you can switch tenants in the same conversation without reconnecting.
The tools reflect the permissions of your roles in the selected tenant. Tenant administration reserved for owners, such as users and roles, API tokens and billing, stays in the Manager.
Troubleshooting
- The login does not open: check that the URL is exactly
https://app-cloud.loyjoy.com/mcp. In Codex, the type must be Streamable HTTP, not STDIO. Leave bearer token and header fields empty. - You cannot add a custom connector in Claude: in Claude Team and Enterprise, ask an owner of your Claude organization to add the connector, see Before you start.
- The assistant finds no tenant: your LoyJoy user needs a role in at least one tenant. Ask the assistant to call
list_tenantsto see which tenants it can access. - The assistant can read but not change: your role in this tenant has no edit rights for agents, or the tool is blocked in the tool permissions of your client.
- The assistant does not use the skills: check that the plugins are installed and mention LoyJoy in your prompt, for example "In LoyJoy edit the agent ...".
- A change is not visible to your customers: the change is still in staging. Test it and publish, see Staging and publishing.
Larger rollouts
For SSO, team access concepts or a company-wide rollout, a dedicated LoyJoy project manager supports you from the first idea through to go-live.