Turn Your Website Search Bar into an AI Agent
Classic site search returns a list of links. Your visitors then have to click through pages to find the answer themselves. With LoyJoy you can connect your existing search bar (or a new one) to an AI agent: the visitor types a query, presses Enter, the chat opens with that query as the first message, and the agent answers it right away.
This guide shows how to set this up with a few lines of JavaScript and how we use it on loyjoy.com.
How It Works
- The visitor enters a query into a search field on your website and submits it.
- Your page calls
LoyJoy('boot', ...)with the query in themessageparameter andopen: true. - The chat opens and sends the query automatically on behalf of the visitor.
- The AI agent answers, and the visitor can continue the conversation with follow-up questions.
Example: loyjoy.com
On our own website the search icon sits in the main navigation.

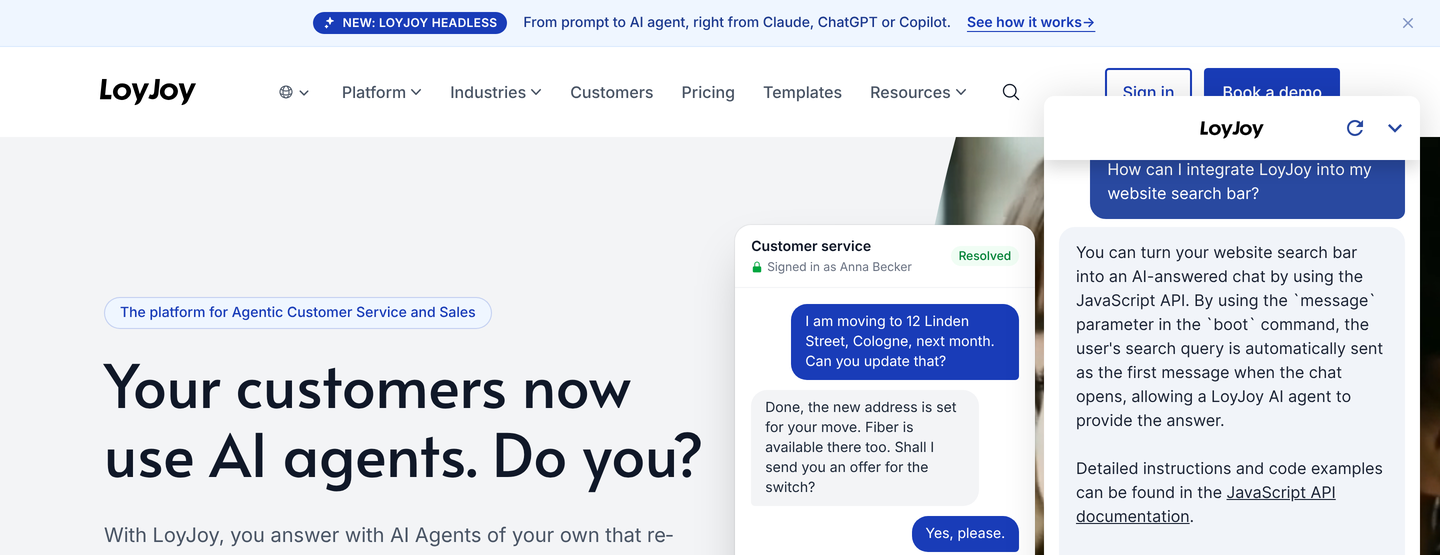
Clicking the icon opens a search overlay. The visitor types a question and presses Enter.
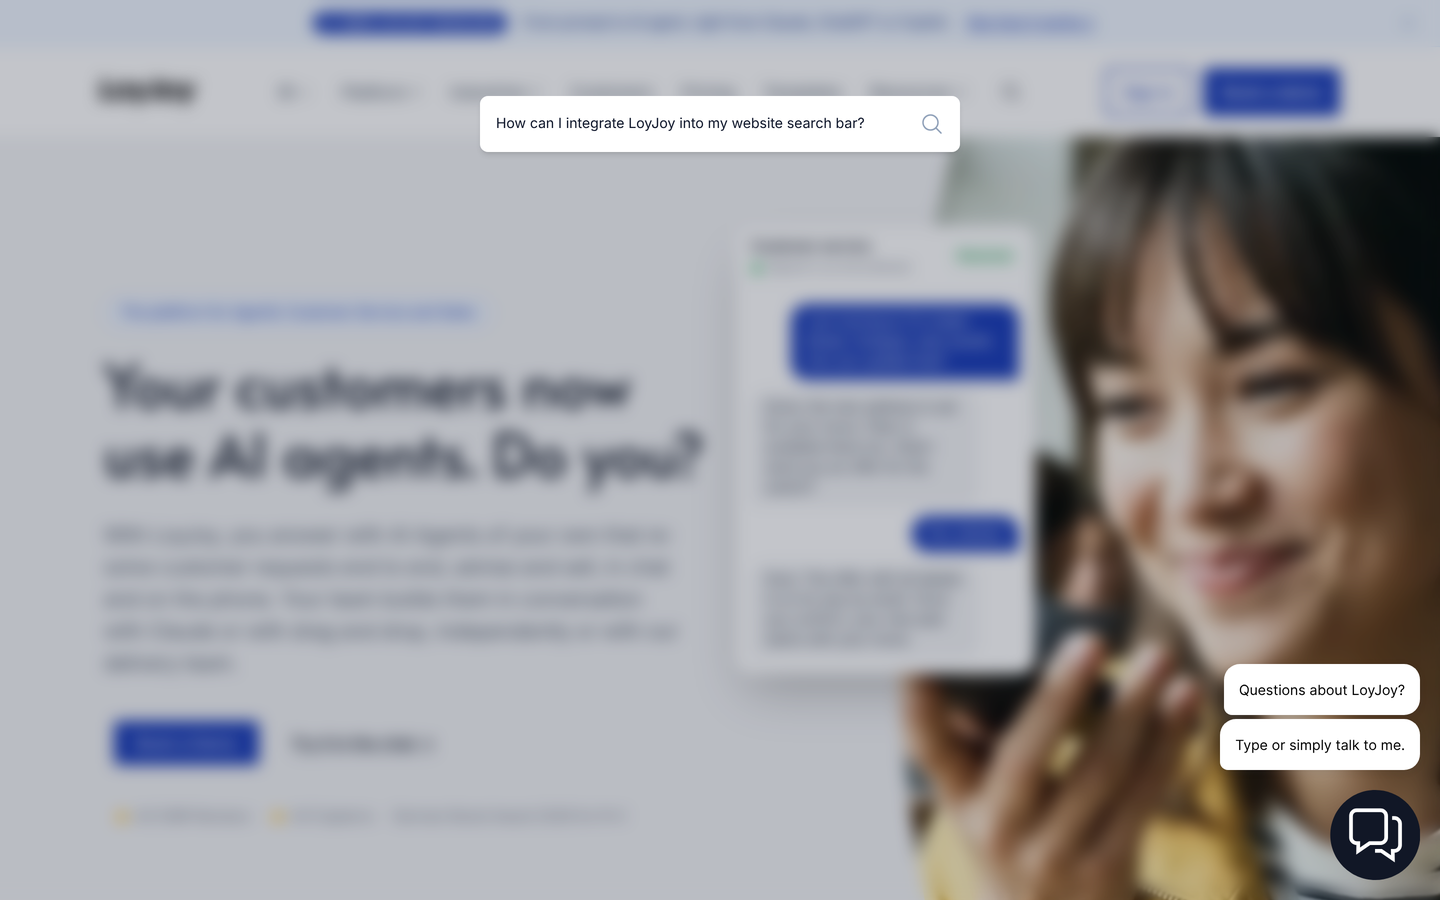
Instead of a results page, the LoyJoy chat opens with the question as the first message, and the AI agent answers it directly.
Prerequisites
- An agent that responds to free-text messages. The process must contain a Message Start Event or an AI Agent module in mode "Stay in the AI agent module and wait for user inputs". Otherwise the query is sent, but the agent does not answer it.
- Knowledge for the agent. The agent can only answer what it knows. Connect your website and other relevant sources as knowledge, so that it can answer the questions visitors usually type into a search bar.
- The process ID. You find it in the LoyJoy Manager in the
Publishtab of your agent. - Content Security Policy. If your website uses a CSP, add the required LoyJoy entries. See Content Security Policy (CSP).
Step 1: Load the LoyJoy Script
Add the LoyJoy widget script to every page that contains the search bar.
<script src="https://stable.loyjoy.com/widget.js"></script>
If the LoyJoy chat is already embedded on your website via the snippet from the Publish tab, you do not need to add the script again. The code in step 2 works in both cases.
Step 2: Connect the Search Form
Add a submit handler to your search form. It reads the query, removes any chat that is already on the page, and boots the agent with the query as the first message.
<form id="loyjoy-search">
  <label for="loyjoy-search-input" class="sr-only">Search</label>
  <input id="loyjoy-search-input" name="query" type="text" placeholder="Search..." autocomplete="off">
  <button type="submit">Search</button>
</form>

<script>
document.getElementById('loyjoy-search').addEventListener('submit', function (event) {
  event.preventDefault()

  var query = this.query.value.trim()
  if (!query) return

  LoyJoy('remove')
  LoyJoy('boot', {
    process: 'PROCESS_ID',
    message: query,
    open: true
  })

  this.reset()
})
</script>
Replace PROCESS_ID with the process ID of your agent.
Why LoyJoy('remove') before boot? If the chat is already on the page, for example via the snippet from the Publish tab, a second boot call is ignored and the query is not sent. Removing the existing chat first makes the search work no matter whether the chat was loaded before or not.
If you only need a minimal inline version, this one-liner is enough:
<form onsubmit="LoyJoy('boot', {process: 'PROCESS_ID', message: this.query.value, open: true}); return false;">
  <input name="query" type="text" placeholder="Search...">
  <button type="submit">Search</button>
</form>
Optional Settings
You can combine message with the other configuration parameters of the JavaScript API.
-
Context for the agent. Pass freely selected parameters, for example the entry point or the current page, and evaluate them in the process with the GetParam function.
LoyJoy('boot', {process: 'PROCESS_ID',message: query,open: true,params: {entry: 'search',page: window.location.pathname}}) -
Language. On multilingual websites, set the
localeto match the page language, e.g.locale: 'en-US'on English pages. -
Tracking. Use event listeners to send chat events to your web analytics, so you can measure how many searches lead to a conversation.
-
Different agent for search. The search bar can boot a different agent than the chat bubble, for example a dedicated search agent. After the search, the visitor stays in that agent.
Best Practices
- Place the search bar where visitors expect it. Navigation and hero sections work best. Keep the familiar search icon and wording such as "Search" or "Ask a question", so visitors know what to do.
- Register the submit handler only once. If your search overlay is opened by a button, attach the submit listener on page load, not inside the click handler. Otherwise every click adds another listener and a single search boots the chat several times.
- Ignore empty queries. Do not boot the chat if the input is empty.
- Close your search overlay on submit, so the chat is visible right away.
- Test typical search terms. Visitors type short keywords ("pricing", "WhatsApp", "GDPR") rather than full questions. Make sure the agent handles both and asks a follow-up question when a keyword is ambiguous.
Troubleshooting
- The chat opens, but the agent does not answer. The agent does not respond to free-text messages. Check the prerequisites above.
- Nothing happens or the chat opens without the query. The chat was already booted on the page, so the new
bootcall is ignored. CallLoyJoy('remove')beforeLoyJoy('boot')as shown in step 2. - The query is sent twice or more. The submit listener is registered several times. Register it only once on page load.
LoyJoy is not defined. The widget script is not loaded yet or blocked. Make surewidget.jsis included before your code runs and that your CSP allows LoyJoy.