Azure AI Search: Integrate SharePoint with LoyJoy
Setting up a Retrieval-Augmented Generation (RAG) pipeline featuring embeddings is a powerful way to enhance your AI's ability to deliver relevant, fact-based responses based on your own data sources like Microsoft SharePoint. SharePoint often houses valuable organizational knowledge and documents, but accessing this unstructured data in real-time for AI-driven solutions can be challenging. By creating a RAG pipeline, you can index SharePoint data to make it searchable and enrich your AI model's responses with up-to-date, contextually aware information.
In this blog post, we'll provide a step-by-step guide to setting up a RAG pipeline in Azure, detailing how to integrate Azure AI Search with your SharePoint data. This will enable your AI to access and retrieve the most relevant information directly from SharePoint, improving accuracy and relevance in the responses it generates. You’ll find a detailed description of the entire setup, using built-in embedding generation and retrieval capabilities.
And the best part? All of this can be seemingly integated into the LoyJoy platform, making it easy to create your own chatbot using generative AI, providing a seamless experience for your customers.
Note that you need to make API calls to the Azure AI Search service to set up the pipeline. As an alternative for using curl, you can also use our Postman Collection to make these API calls.
Prerequisites
- SharePoint account with access to the site you want to index.
- Azure account with access to Azure AI Search associated with the Microsoft SharePoint account.
- An Azure OpenAI embedding service e.g. with
text-embedding-ada-002or a similar model.
Step 1: Set up Azure AI Search
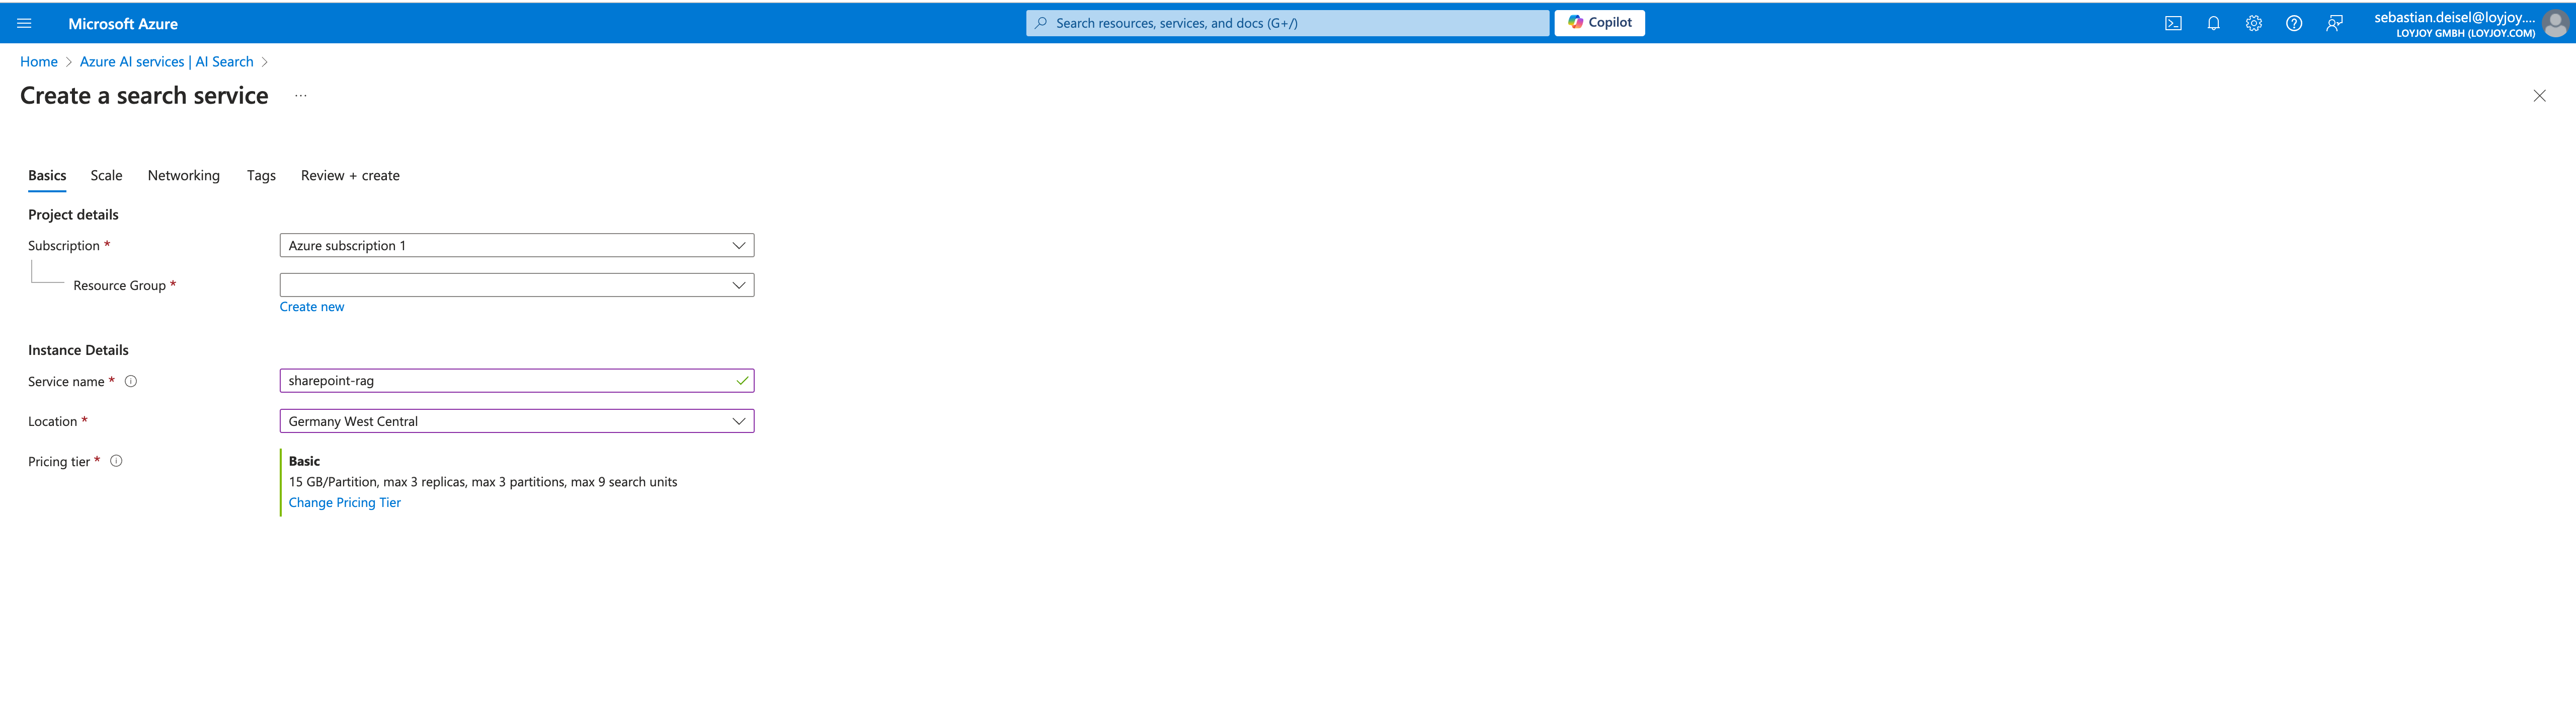
In the Microsoft Azure portal, create a new Azure AI Search resource. You can find this under the "Create a resource" section. Choose a unique name and note it down, give a proper location and a pricing tier for your resource. Note that the later needs to be at least "Basic" to index your SharePoint data.
Step 2: Note down the API key of your Azure AI Search resource
Once your Azure AI Search resource is created, note down your Primary admin key by navigating to Settings -> Keys, You will need these later to create your AI Search resources. Finally, navigate to Settings -> Identity and turn on System-Assigned Managed Identity.
Step 3: Create a Microsoft Entra application registration
The SharePoint Online indexer uses this Microsoft Entra application for authentication. Follow these steps to create an application registration in the Azure portal. Alternatively, follow the steps on the official Microsoft documentation.
- Search for or navigate to Microsoft Entra ID, then select App registrations.
- Select + New registration.
- Provide a name for your app.
- Select Single tenant.
- Skip the URI designation step. No redirect URI required.
- Select Register.
- Note down your
Application (client) ID - On the left, select API permissions, then Add a permission, then Microsoft Graph and add the following:
- Application - Files.Read.All
- Application - Sites.Read.All
- After adding the permissions, select Grant admin consent for [your organization].
- Select the Authentication tab.
- Set Allow public client flows to Yes then select Save.
- Select + Add a platform, then Mobile and desktop applications, then check
https://login.microsoftonline.com/common/oauth2/nativeclient, then Configure. - On the left, select Certificates & secrets, then + New client secret.
- Provide a description.
- Select an expiration period.
- Select Add.
- The new
Application secretappears in the secret list. Once you navigate away from the page, the secret is no longer be visible, so copy it using the copy button and save it in a secure location.
Step 4: Create data source
Starting in this section, use a preview REST API for the remaining steps. We recommend the latest preview API version. An example SharePoint site url is https://microsoft.sharepoint.com/teams/MySharePointSite. You can get the endpoint by navigating to the home page of your SharePoint site and copying the URL from the browser.
Note, in the container parameter, you can specify the name of the SharePoint library you want to index. If you want to index the default library of the SharePoint site, you can set the container name to defaultSiteLibrary. Read more here
curl --location 'https://[Azure AI service name].search.windows.net/datasources?api-version=[Api version]' \
--header 'api-key: [Primary Admin key]' \
--header 'Content-Type: application/json' \
--data '{
    "name" : "sharepoint-datasource",
    "type" : "sharepoint",
    "credentials" : { "connectionString" : "SharePointOnlineEndpoint=[Sharepoint site url];ApplicationId=[Application (client) ID];ApplicationSecret=[Application secret];" },
    "container" : { "name" : "defaultSiteLibrary", "query" : null }
}'
Step 4: Create an index
Create an index to store the data from your SharePoint site. The following example creates an index named sharepoint-index with fields for the metadata of the SharePoint items, the content of their chunks and their embeddings. Note that the field metadata_spo_item_weburi is used to store the URL of the SharePoint item. It can only be used if the user has access to the SharePoint site.
curl --location 'https://[Azure AI search service name].search.windows.net/indexes?api-version=[Api version]' \
--header 'api-key: [Primary Admin key]' \
--header 'Content-Type: application/json' \
--data '{
    "name" : "sharepoint-index",
    "fields": [
        { "name": "id", "type": "Edm.String", "key": true, "searchable": true, "analyzer": "keyword" },
        { "name": "metadata_spo_item_name", "type": "Edm.String", "key": false, "searchable": true, "filterable": false, "sortable": false, "facetable": false },
        { "name": "metadata_spo_item_path", "type": "Edm.String", "key": false, "searchable": false, "filterable": false, "sortable": false, "facetable": false },
        { "name": "metadata_spo_item_content_type", "type": "Edm.String", "key": false, "searchable": false, "filterable": true, "sortable": false, "facetable": true },
        { "name": "metadata_spo_item_last_modified", "type": "Edm.DateTimeOffset", "key": false, "searchable": false, "filterable": false, "sortable": true, "facetable": false },
        { "name": "metadata_spo_item_size", "type": "Edm.Int64", "key": false, "searchable": false, "filterable": false, "sortable": false, "facetable": false },
        { "name": "metadata_spo_item_weburi", "type": "Edm.String", "key": false, "searchable": false, "filterable": false, "sortable": false, "facetable": false },
        { "name": "content", "type": "Edm.String", "searchable": true, "filterable": false, "sortable": false, "facetable": false },
        { "name": "parent_key", "type": "Edm.String", "filterable": true },
        { "name": "embedding", "type": "Collection(Edm.Single)", "searchable": true, "dimensions": 1536, "vectorSearchProfile": "vectorizer-embedding" }
    ],
    "vectorSearch": {
      "profiles": [
        {
          "name": "vectorizer-embedding",
          "algorithm": "hsnw-1",
          "vectorizer": "embedding-vectorizer"
        }
      ],
      "algorithms": [
        {
          "name": "hsnw-1",
          "kind": "hnsw",
          "hnswParameters": {
            "m": 4,
            "efConstruction": 400,
            "efSearch": 500,
            "metric": "cosine"
          }
        }
      ],
      "vectorizers": [
        {
          "name": "embedding-vectorizer",
          "kind": "azureOpenAI",
          "azureOpenAIParameters": {
            "resourceUri": "[Embedding resource url]",
            "deploymentId": "[Embedding deployment id]",
            "modelName": "[Embedding model name]",
            "apiKey": "[Embedding api key]"
          }
        }
      ]
    }
}
'
Step 5: Create a Skillset
Create skillset to split the content of the SharePoint items into chunks and generate embeddings for each chunk. The following example creates a skillset named chunk-and-embed with three skills: A LanguageDetectionSkill to identify the language of the document, a SplitSkill to split the content of the document into chunks and an AzureOpenAIEmbeddingSkill to generate embeddings for each chunk.
curl --location --request PUT 'https://[Azure AI service name].search.windows.net/skillsets/chunk-and-embed?api-version=[Api version]' \
--header 'api-key: [Primary Admin key]' \
--header 'Content-Type: application/json' \
--data-raw '{
  "@odata.context": "https://[Azure AI service name].search.windows.net/$metadata#skillsets/$entity",
  "@odata.etag": "\"0x8DCD2580917230A\"",
  "name": "chunk-and-embed",
  "description": null,
  "skills": [
    {
      "@odata.type": "#Microsoft.Skills.Text.LanguageDetectionSkill",
      "name": "LanguageDetectionSkill",
      "context": "/document",
      "inputs": [
        {
          "name": "text",
          "source": "/document/content"
        }
      ],
      "outputs": [
        {
          "name": "languageCode",
          "targetName": "language"
        }
      ]
    },
    {
      "@odata.type": "#Microsoft.Skills.Text.SplitSkill",
      "name": "SplitSkill",
      "context": "/document",
      "defaultLanguageCode": "en",
      "textSplitMode": "pages",
      "maximumPageLength": 800,
      "pageOverlapLength": 0,
      "maximumPagesToTake": 0,
      "inputs": [
        {
          "name": "text",
          "source": "/document/content"
        },
        {
          "name": "languageCode",
          "source": "/document/language"
        }
      ],
      "outputs": [
        {
          "name": "textItems",
          "targetName": "chunks"
        }
      ]
    },
    {
      "@odata.type": "#Microsoft.Skills.Text.AzureOpenAIEmbeddingSkill",
      "name": "AzureOpenAIEmbeddingSkill",
      "context": "/document/chunks/*",
      "resourceUri": "[Embedding resource url]",
      "apiKey": "[Embedding api key]",
      "deploymentId": "[Embedding deployment id]",
      "modelName": "[Embedding model name]",
      "dimensions": 1536,
      "inputs": [
        {
          "name": "text",
          "source": "/document/chunks/*"
        }
      ],
      "outputs": [
        {
          "name": "embedding",
          "targetName": "embedding"
        }
      ]
    }
  ],
  "indexProjections": {
    "selectors": [
      {
        "targetIndexName": "sharepoint-index",
        "parentKeyFieldName": "parent_key",
        "sourceContext": "/document/chunks/*",
        "mappings": [
          {
            "name": "content",
            "source": "/document/chunks/*"
          },
          {
            "name": "metadata_spo_item_name",
            "source": "/document/metadata_spo_item_name"
          },
          {
            "name": "metadata_spo_item_path",
            "source": "/document/metadata_spo_item_path"
          },
          {
            "name": "metadata_spo_item_content_type",
            "source": "/document/metadata_spo_item_content_type"
          },
          {
            "name": "metadata_spo_item_last_modified",
            "source": "/document/metadata_spo_item_last_modified"
          },
          {
            "name": "metadata_spo_item_size",
            "source": "/document/metadata_spo_item_size"
          },
          {
            "name": "metadata_spo_item_weburi",
            "source": "/document/metadata_spo_item_weburi"
          },
          {
            "name": "embedding",
            "source": "/document/chunks/*/embedding"
          }
        ]
      }
    ],
    "parameters": {
      "projectionMode": "skipIndexingParentDocuments"
    }
  }
}'
Step 6: Create an indexer
Create an indexer to populate the index with data from the SharePoint site. An indexer is a pull model, hence managing the index and detecting changes automatically. It is scheduled to run hourly. Note that as of 09-12-2024 the incremental cache enrichment is not recommended by Azure.
curl --location 'https://[Azure AI service name].search.windows.net/indexers?api-version=[Api version]' \
--header 'api-key: [Primary admin key]' \
--header 'Content-Type: application/json' \
--data '{
    "name": "sharepoint-indexer",
    "dataSourceName": "sharepoint-datasource",
    "targetIndexName": "sharepoint-index",
    "skillsetName": "chunk-and-embed",
    "schedule": {
      "interval": "PT1H",
      "startTime": "2024-09-01T08:00:00.7Z"
    },
    "parameters": {
      "batchSize": null,
      "maxFailedItems": null,
      "maxFailedItemsPerBatch": null,
      "base64EncodeKeys": null,
      "configuration": {
        "indexedFileNameExtensions": ".pdf, .docx",
        "excludedFileNameExtensions": ".png, .jpg",
        "dataToExtract": "contentAndMetadata"
      }
    },
    "fieldMappings": [
      {
        "sourceFieldName": "metadata_spo_site_library_item_id",
        "targetFieldName": "id",
        "mappingFunction": {
          "name": "base64Encode"
        }
      }
    ]
}'
When you create the indexer for the first time, the Create Indexer (preview) request waits until you complete the next step. You must call Get Indexer Status to get the link and enter your new device code.
curl --location 'https://[Azure AI service name].search.windows.net/indexers/sharepoint-indexer/status?api-version=[Api version]' \
--header 'api-key: [Primary admin key]' \
--header 'Content-Type: application/json'
Copy the device login code from the Get Indexer Status response. The device login can be found in the "errorMessage".
{
  "lastResult": {
    "status": "transientFailure",
    "errorMessage": "To sign in, use a web browser to open the page https://microsoft.com/devicelogin and enter the code <CODE> to authenticate."
  }
}
Thats it! You have now set up a RAG pipeline in Azure, integrating Azure AI Search with your SharePoint data. You can now use the Azure AI Search API to query your SharePoint data and retrieve the most relevant information directly from SharePoint.
Step 7: Integrate with LoyJoy
It is now time to integrate Azure AI Search into LoyJoy. To authorize LoyJoy to access your Azure AI Search resources, you need to create a new query api key in the Azure portal. Navigate to your Azure AI Search resource, then to Settings -> Keys and create a new query key.
Inside your LoyJoy Experience, in the GPT Knowledge Module you can configure your sources. Click on the cloud icon, enter your Azure AI Search service name created in Step 1, paste your index name (sharepoint-index) and paste the query key you just created.
Each LoyJoy chat experience by default is accessible to the public internet. If Sharepoint contains sensitive or internal information that should not be public, access to the chat MUST be restricted to certain IP addresses. This can be achieved by configuring certain allowed IP addresses - such as of your company network - in the LoyJoy tenant settings.