Web Component Module
Introduction
Display a web component within the chat.
Typical Use Cases
In the next section you will find an example as well as template.
How to Use the Module
For example the following web component defines a web component with the tag image-upload. To integrate the web component in LoyJoy, (1) deploy the following JavaScript snippet as a file to a Web hosting of your choice, (2) enter the URL to this file in LoyJoy as the URL of web component and (3) enter image-upload as the HTML tag of the web component.
class ImageUpload extends HTMLElement {
    constructor() {
        super();
        this.attachShadow({
            mode: 'open'
        });

        // define the parameters you want to transfer from LoyJoy here
        this.props = {
            guid: ''
        };

        this.render = () => {

            this.shadowRoot.innerHTML = `
              <style>
                div {
                  background-color: #eee;
                  padding: 10px;
                  border-radius: 5px;
                  width: 75%;
                }

                input {
                  padding-bottom: 10px;
                }
              </style>

              <div>
                <input class="fileupload" type="file" name="fileupload"/>
                <button class="upload-button">Upload</button>
              </div>
            `;

            var uploadButton = this.shadowRoot.querySelector('.upload-button');

            uploadButton.onclick = async () => {
                var fileupload = this.shadowRoot.querySelector('.fileupload');
                var formData = new FormData();
                formData.append("file", fileupload.files[0]);
                await fetch(`https://httpbin.org/post?Action=new2&guid=${this.props.guid}`, {
                    method: "POST",
                    body: formData
                });

                uploadButton.disabled = true;

                // this call in combination with the continue: true allows the chat to continue after waiting
                this.dispatchEvent(new CustomEvent('variables', {
                    detail: {
                        'variables': {
                          filename: fileupload.files[0].name
                        },
                        'continue': true
                    }
                }));
            };
        };

        this.setProps = () => {
            var attribute = this.attributes['properties']
            var props = attribute?.value && JSON.parse(attribute.value)

            if (props) {
                Object.keys(this.props).forEach(propKey => {
                    this.props[propKey] = props[propKey] || ''
                });
            }
        };
    }

    connectedCallback() {
        this.setProps();

        if (!this._rendered) {
            this.render();
            this._rendered = true;
        }
    }
}

if (!customElements.get('image-upload')) {
    customElements.define('image-upload', ImageUpload);
}
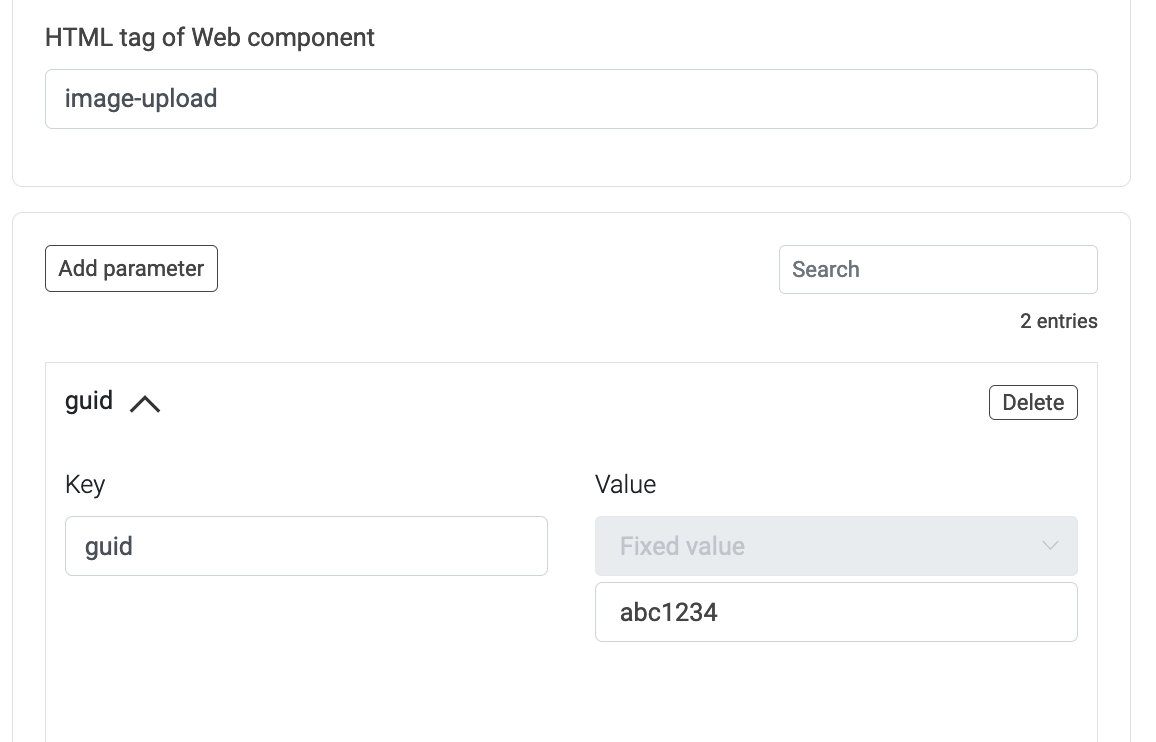
This example uses a parameter called guid that has to be defined in LoyJoy like so:
Stopping the chat at the web component, waiting for input
Use the option Wait at Web Component to wait for user input when the web component is displayed:
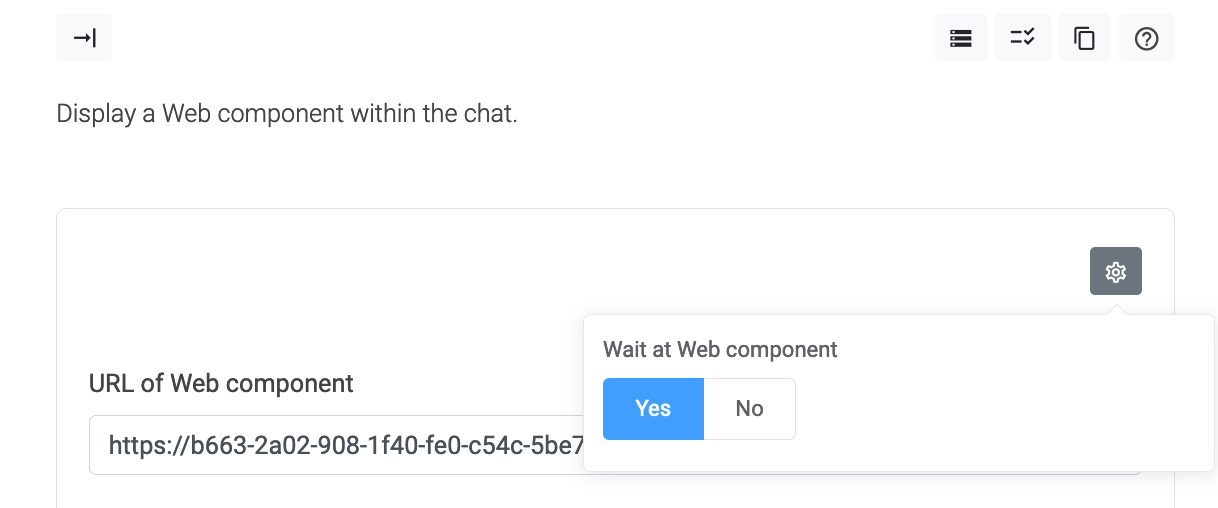
Inside the web component, the flow can be continued using the call this.dispatchEvent(new CustomEvent('variables', .... Note: you have to use { 'detail' : { ..., 'continue': true } } to activate continuing the chat flow.
Accessing variables written by web components
When your web component writes a variable such as filename in the example above, the variable name is not written as-is but with a suffix. You can find the correct suffix for you web component module at the bottom of the web component settings:
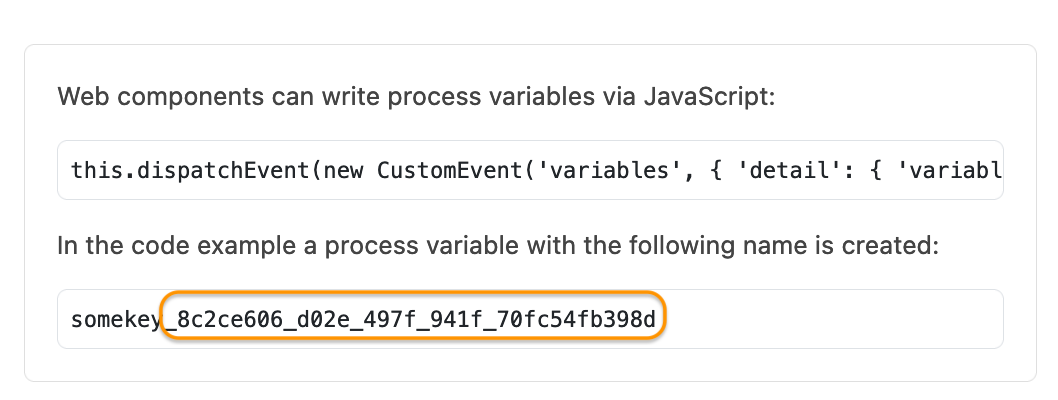
This suffix is added to ensure that variables from the potentially untrusted web component context cannot overwrite existing variables.