Zapier Module
Introduction
This module allows to send data from LoyJoy to Zapier. Zapier is a service that allows you to connect to more than 4,000 other cloud applications. You can use Zapier to send data to other systems like Salesforce, Google Sheets, Mailchimp, etc. Zapier calls these connections "Zaps". You can create a Zap that will be triggered by the chat. The chat will send data to Zapier and Zapier will send the data to the other system.
How to Use the Module
Step 1: Add Zapier Process Module to an Experience
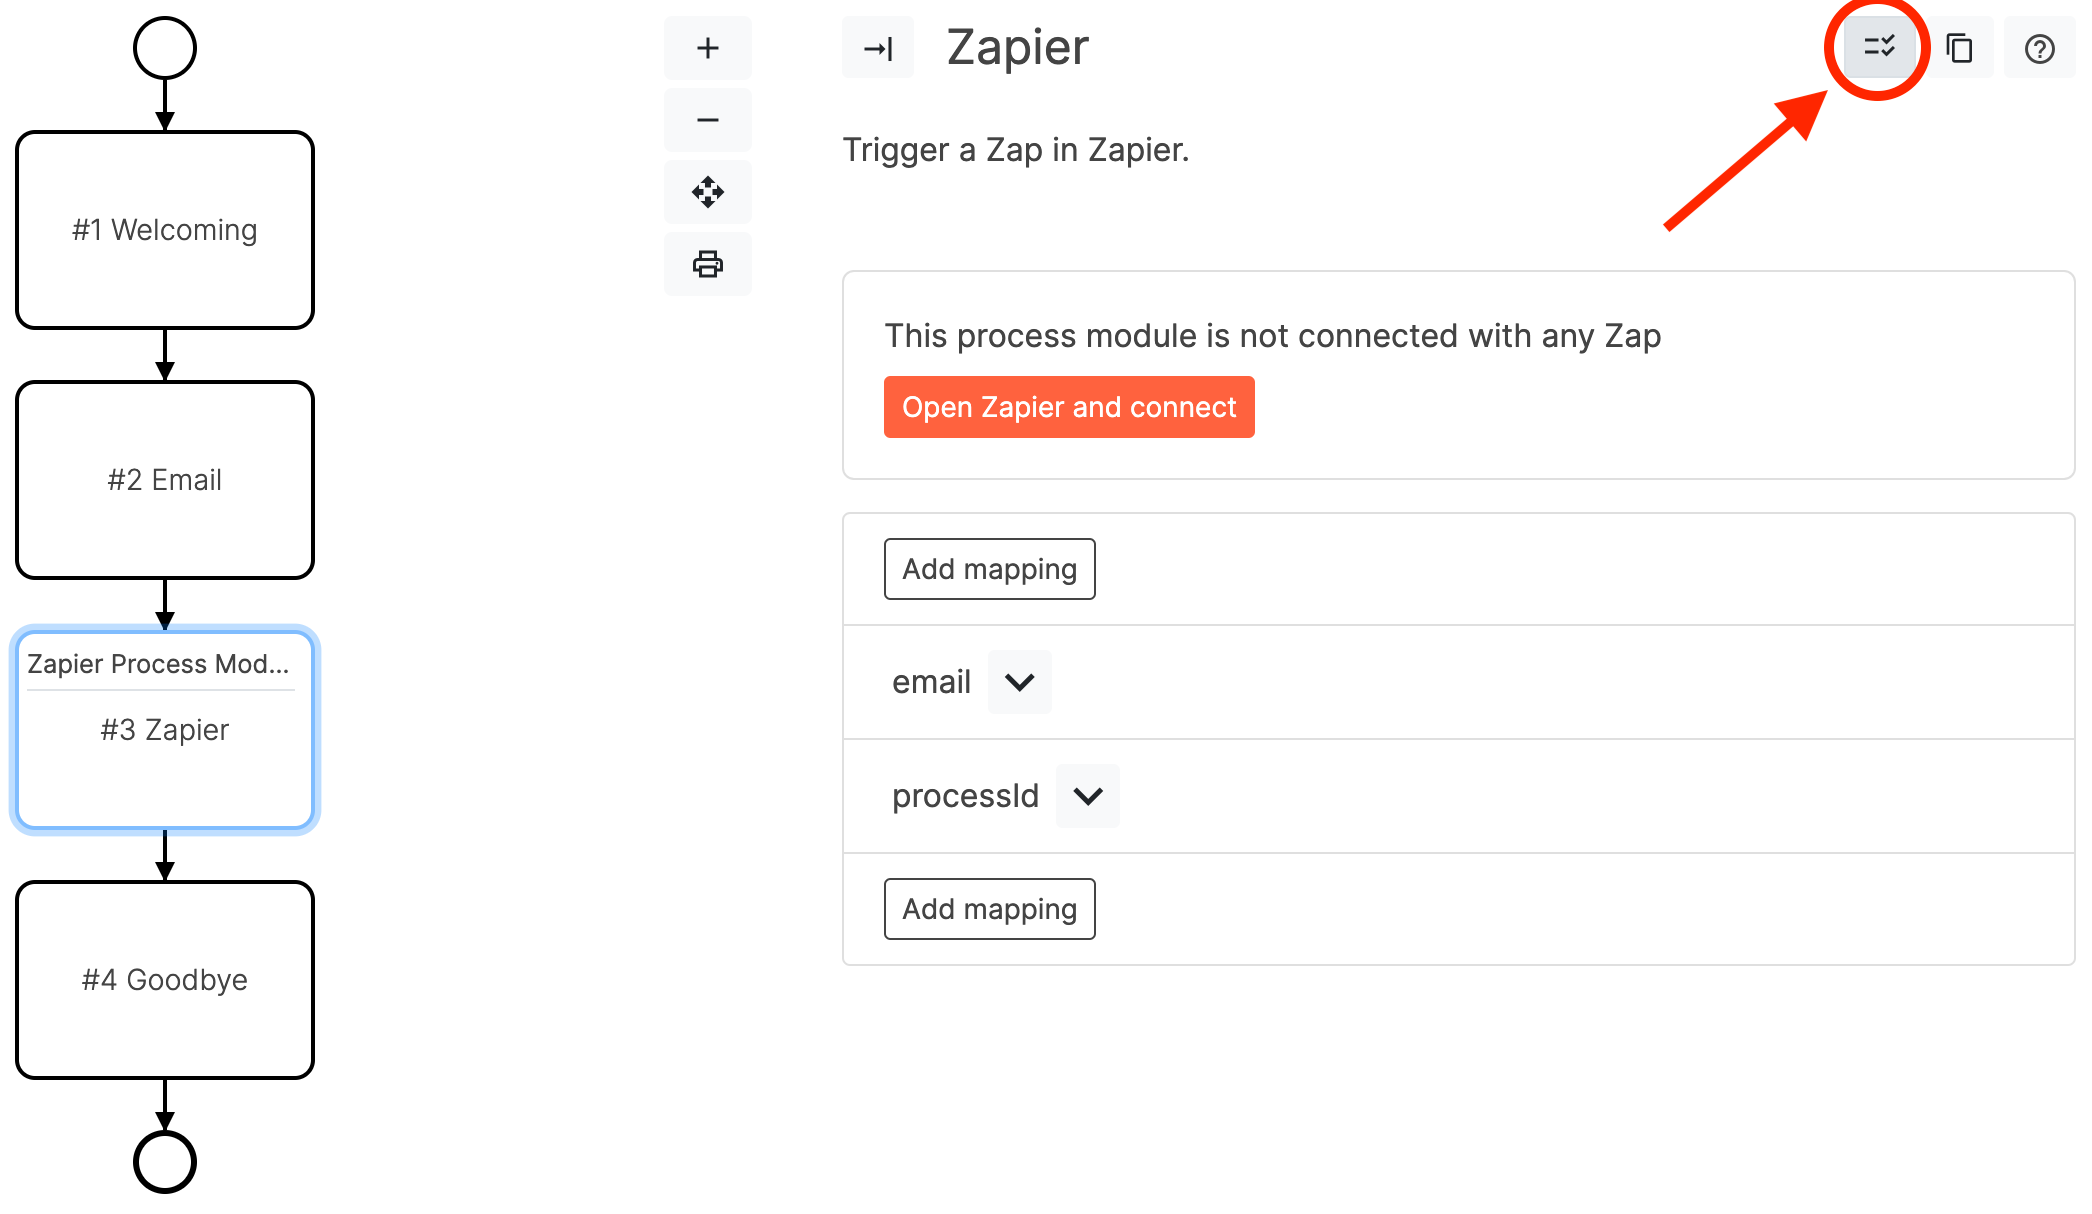
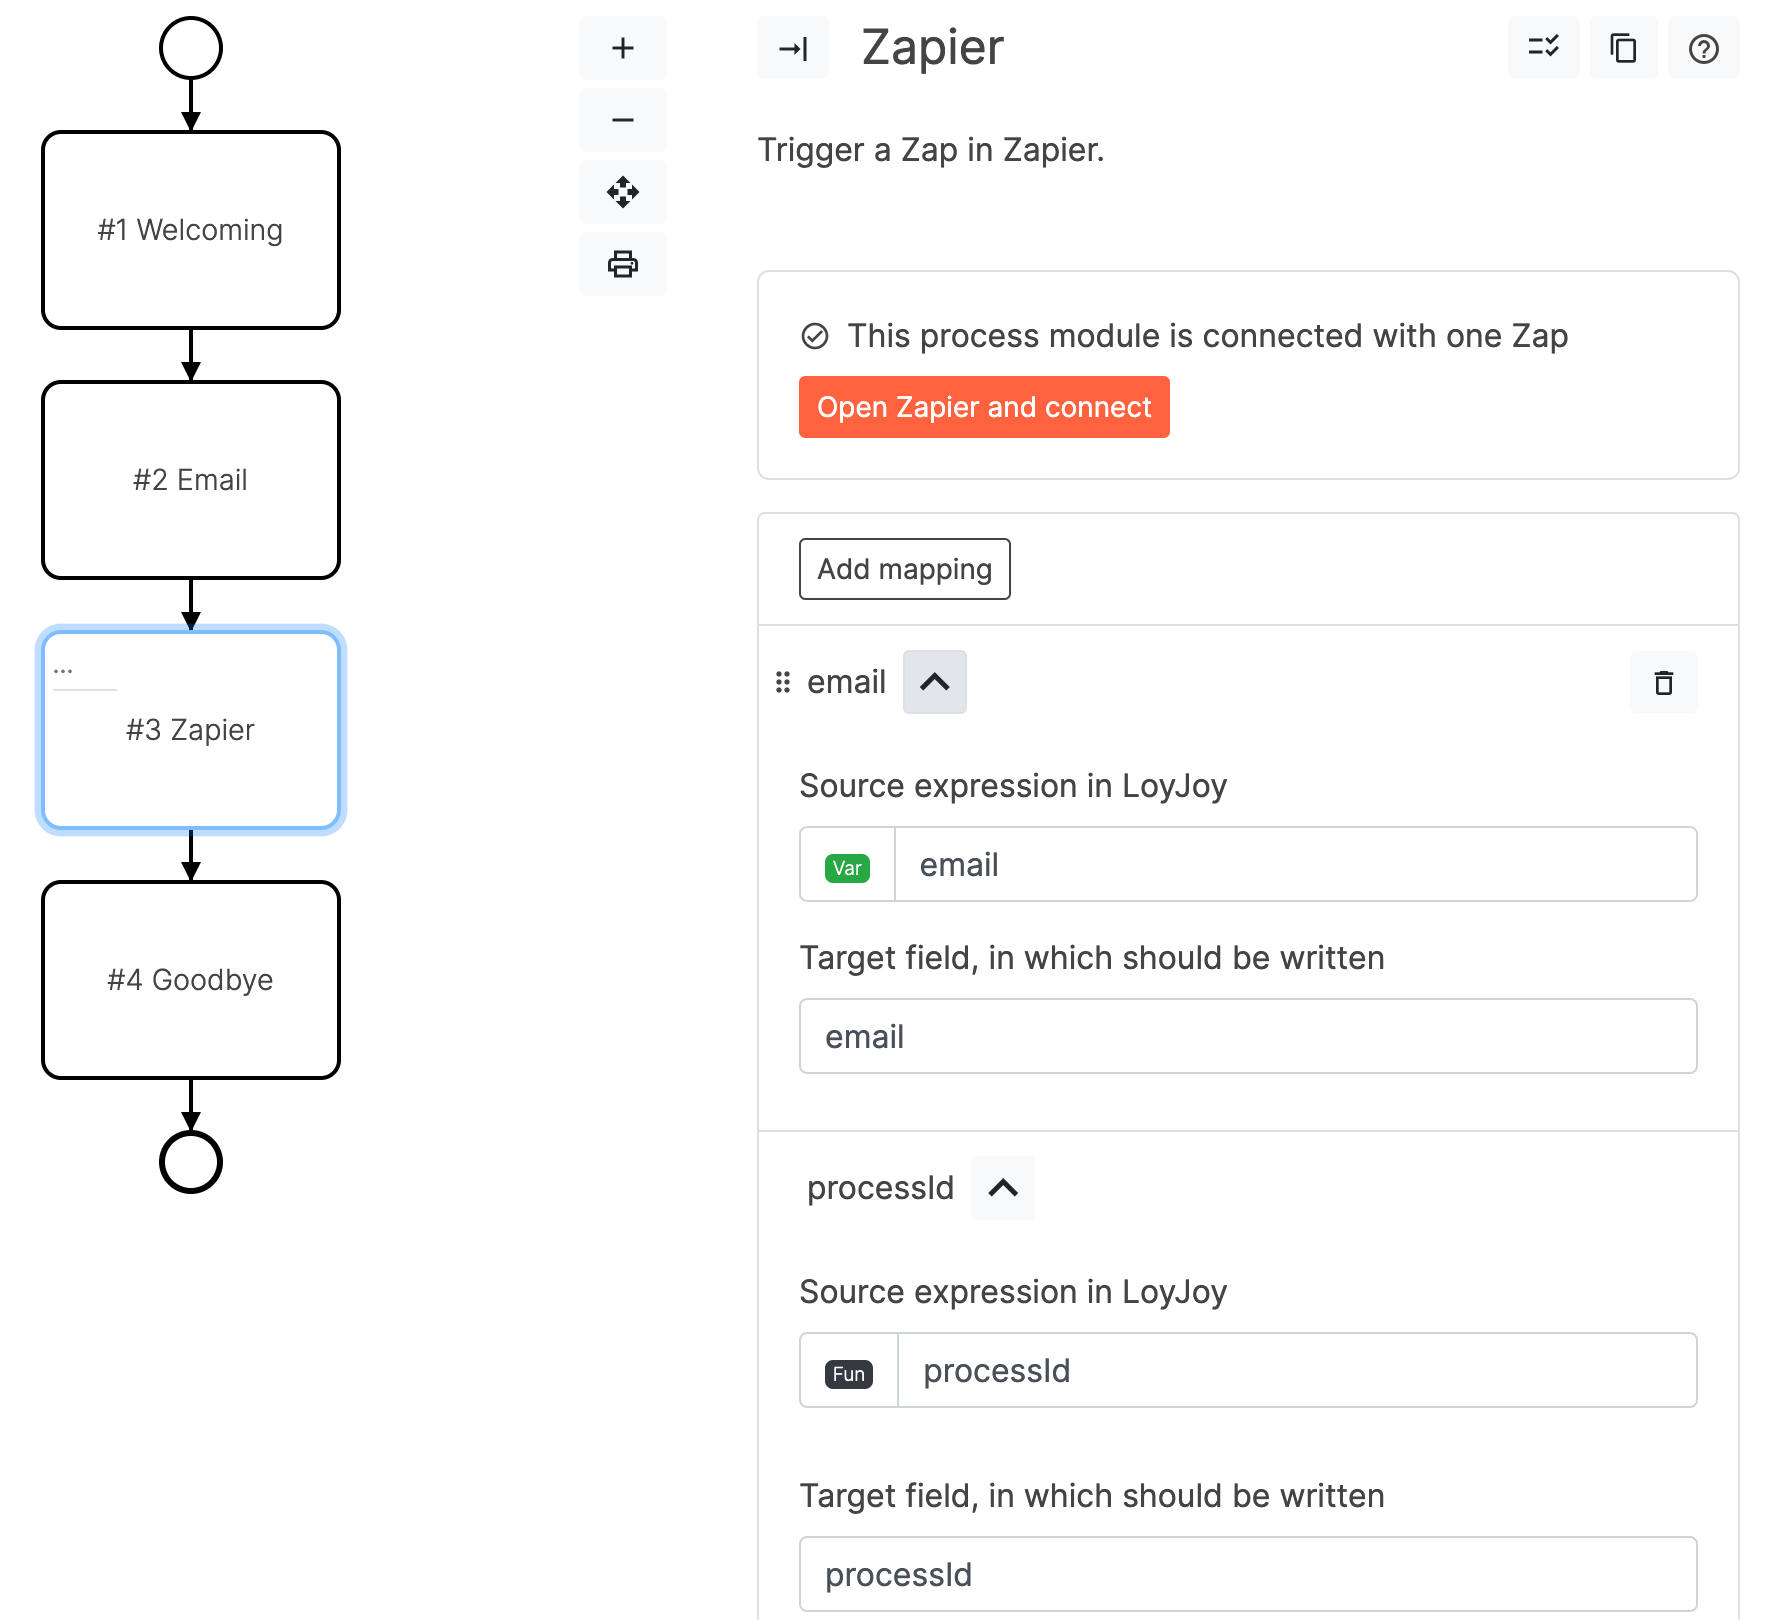
To use the Zapier process module you need to add it to an experience. You can add the process module to the experience by dragging it from the palette onto the canvas. Open the process module and add one or more mappings. Each mapping describes that a variable or expression result should be sent to a variable in Zapier. For example you could send the customers's first name to a "FirstName" field in Zapier.
Step 2: Create a Zapier Account
To execute the process module you need to create a Zapier account and connect it with the process module. You can create a free account at https://zapier.com.
Step 3: Create a Zap in Zapier
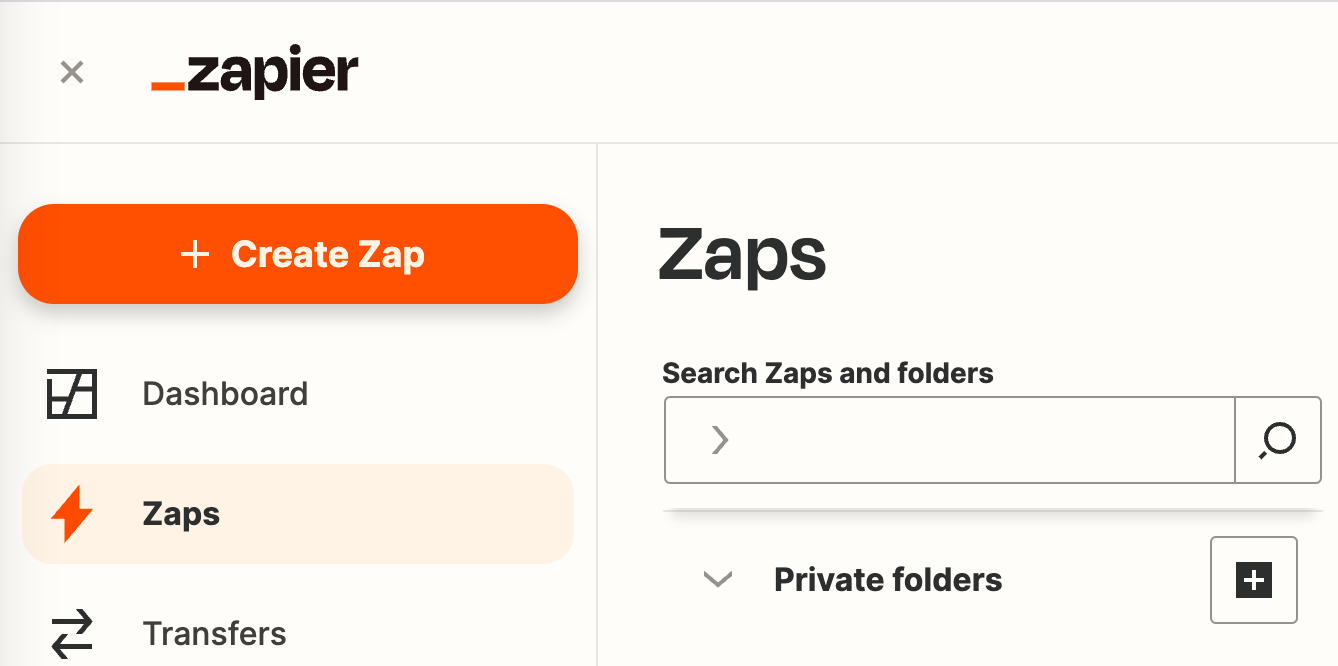
Once you have created a Zapier account you can create a Zap. A Zap is a connection between the process module and other Zapier-enabled applications such as Gmail or Asana. You can create a Zap by clicking on the "+ Create Zap" button in the top left corner of the Zapier dashboard.
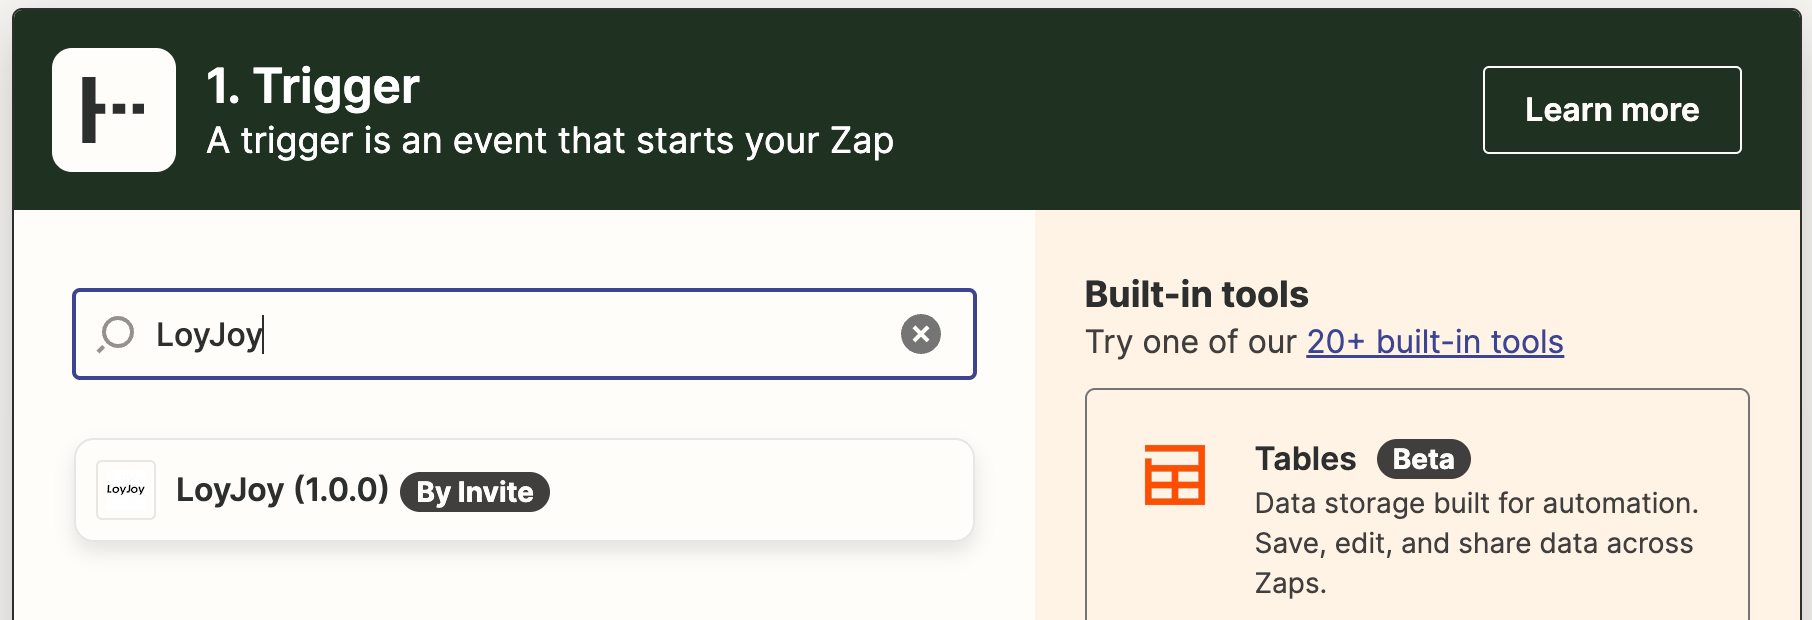
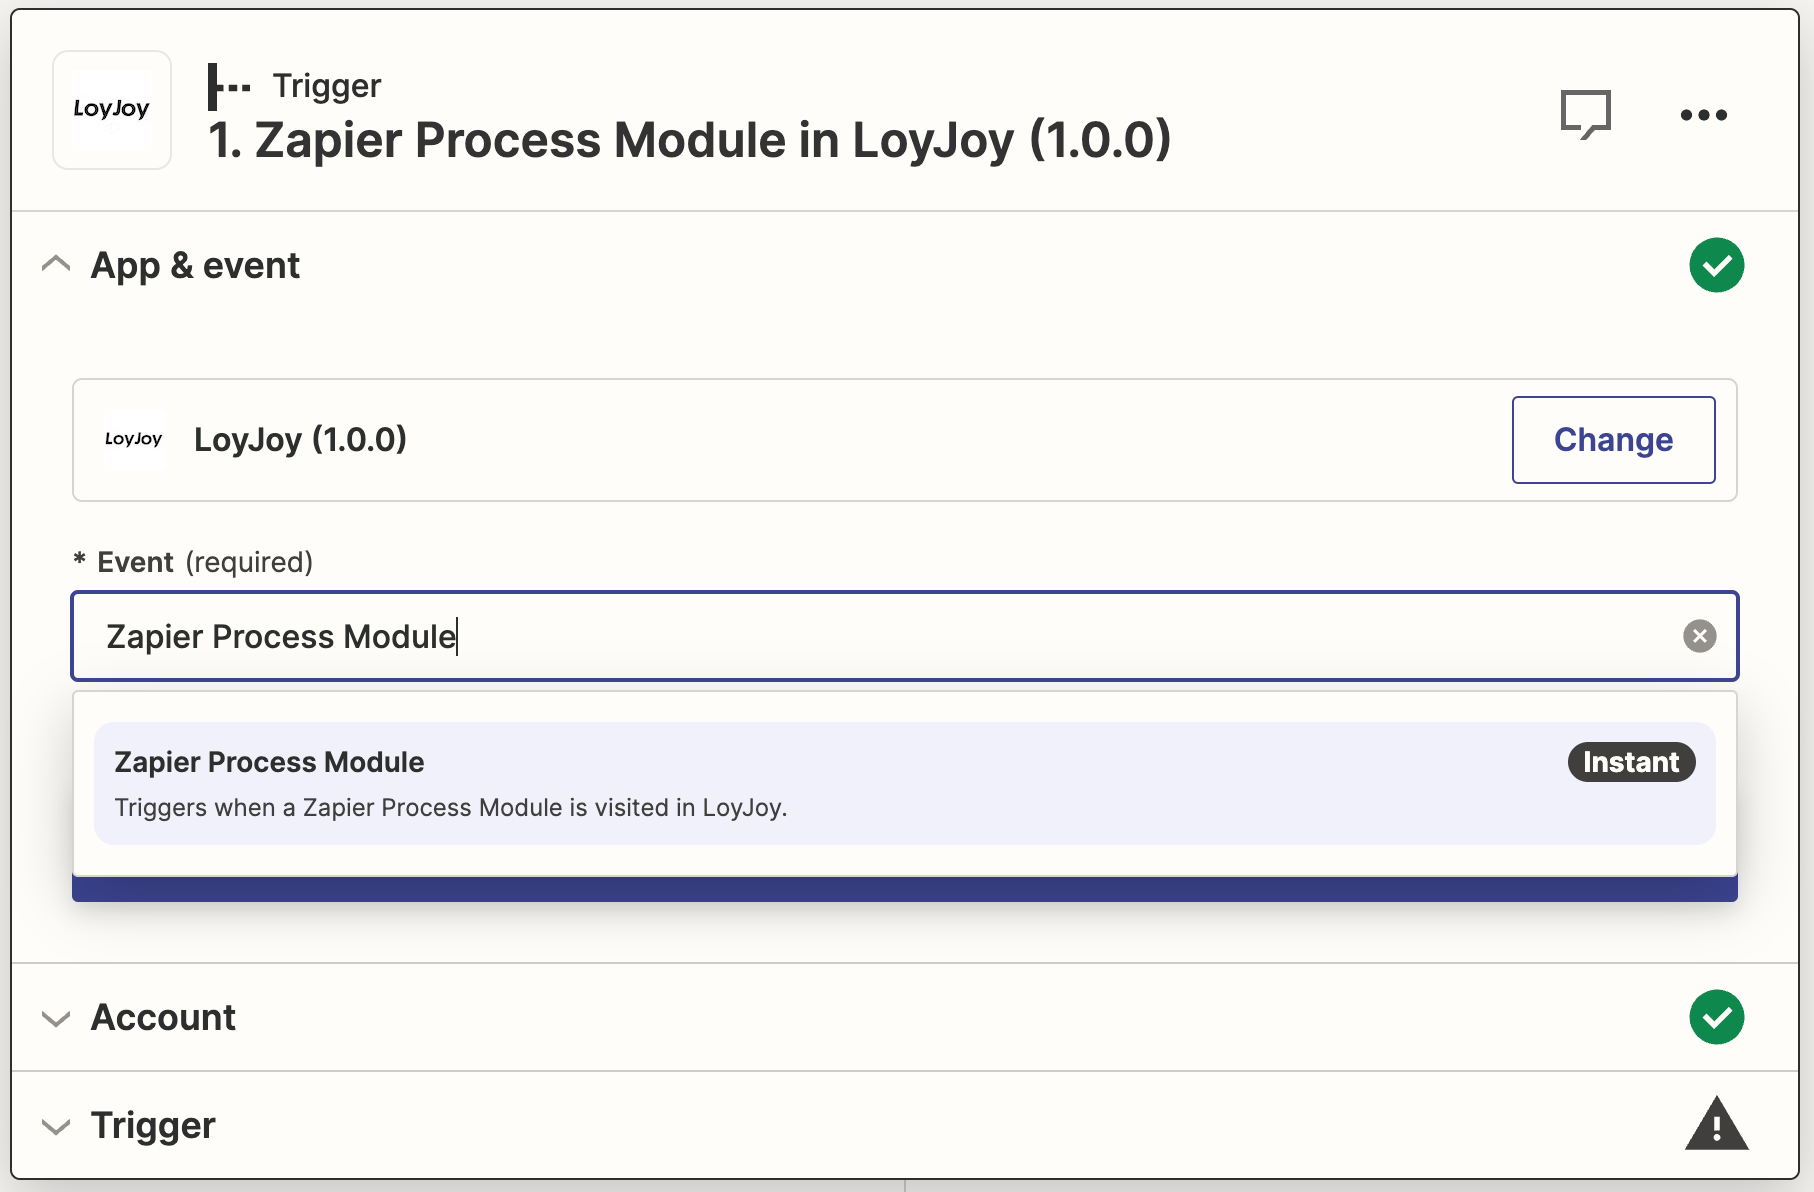
To create a Zap you need to select a trigger. The trigger is the event that will trigger the Zap. In this case the trigger will be "LoyJoy". You can select LoyJoy as a trigger by searching for "LoyJoy" in the search box. Then select the "LoyJoy" trigger.
You will be asked to select the trigger event. Select the "Zapier Process Module" event. This means that the Zap will be triggered every time the process module is visited in the chat. Click on "Continue" to continue.
If this is your first LoyJoy Zap you will be asked to connect LoyJoy with Zapier. Click "Sign in".

A separate browser window will open. You will be asked to enter your LoyJoy API key.
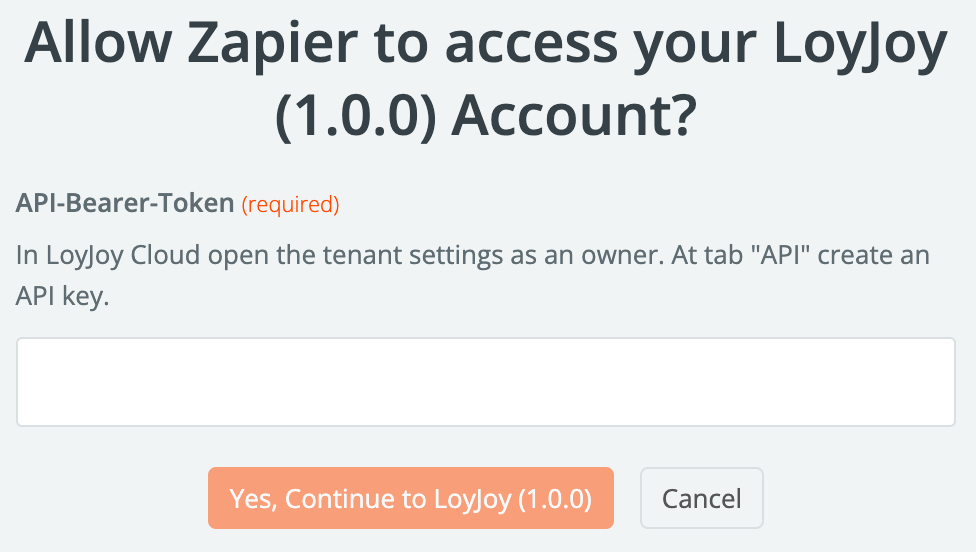
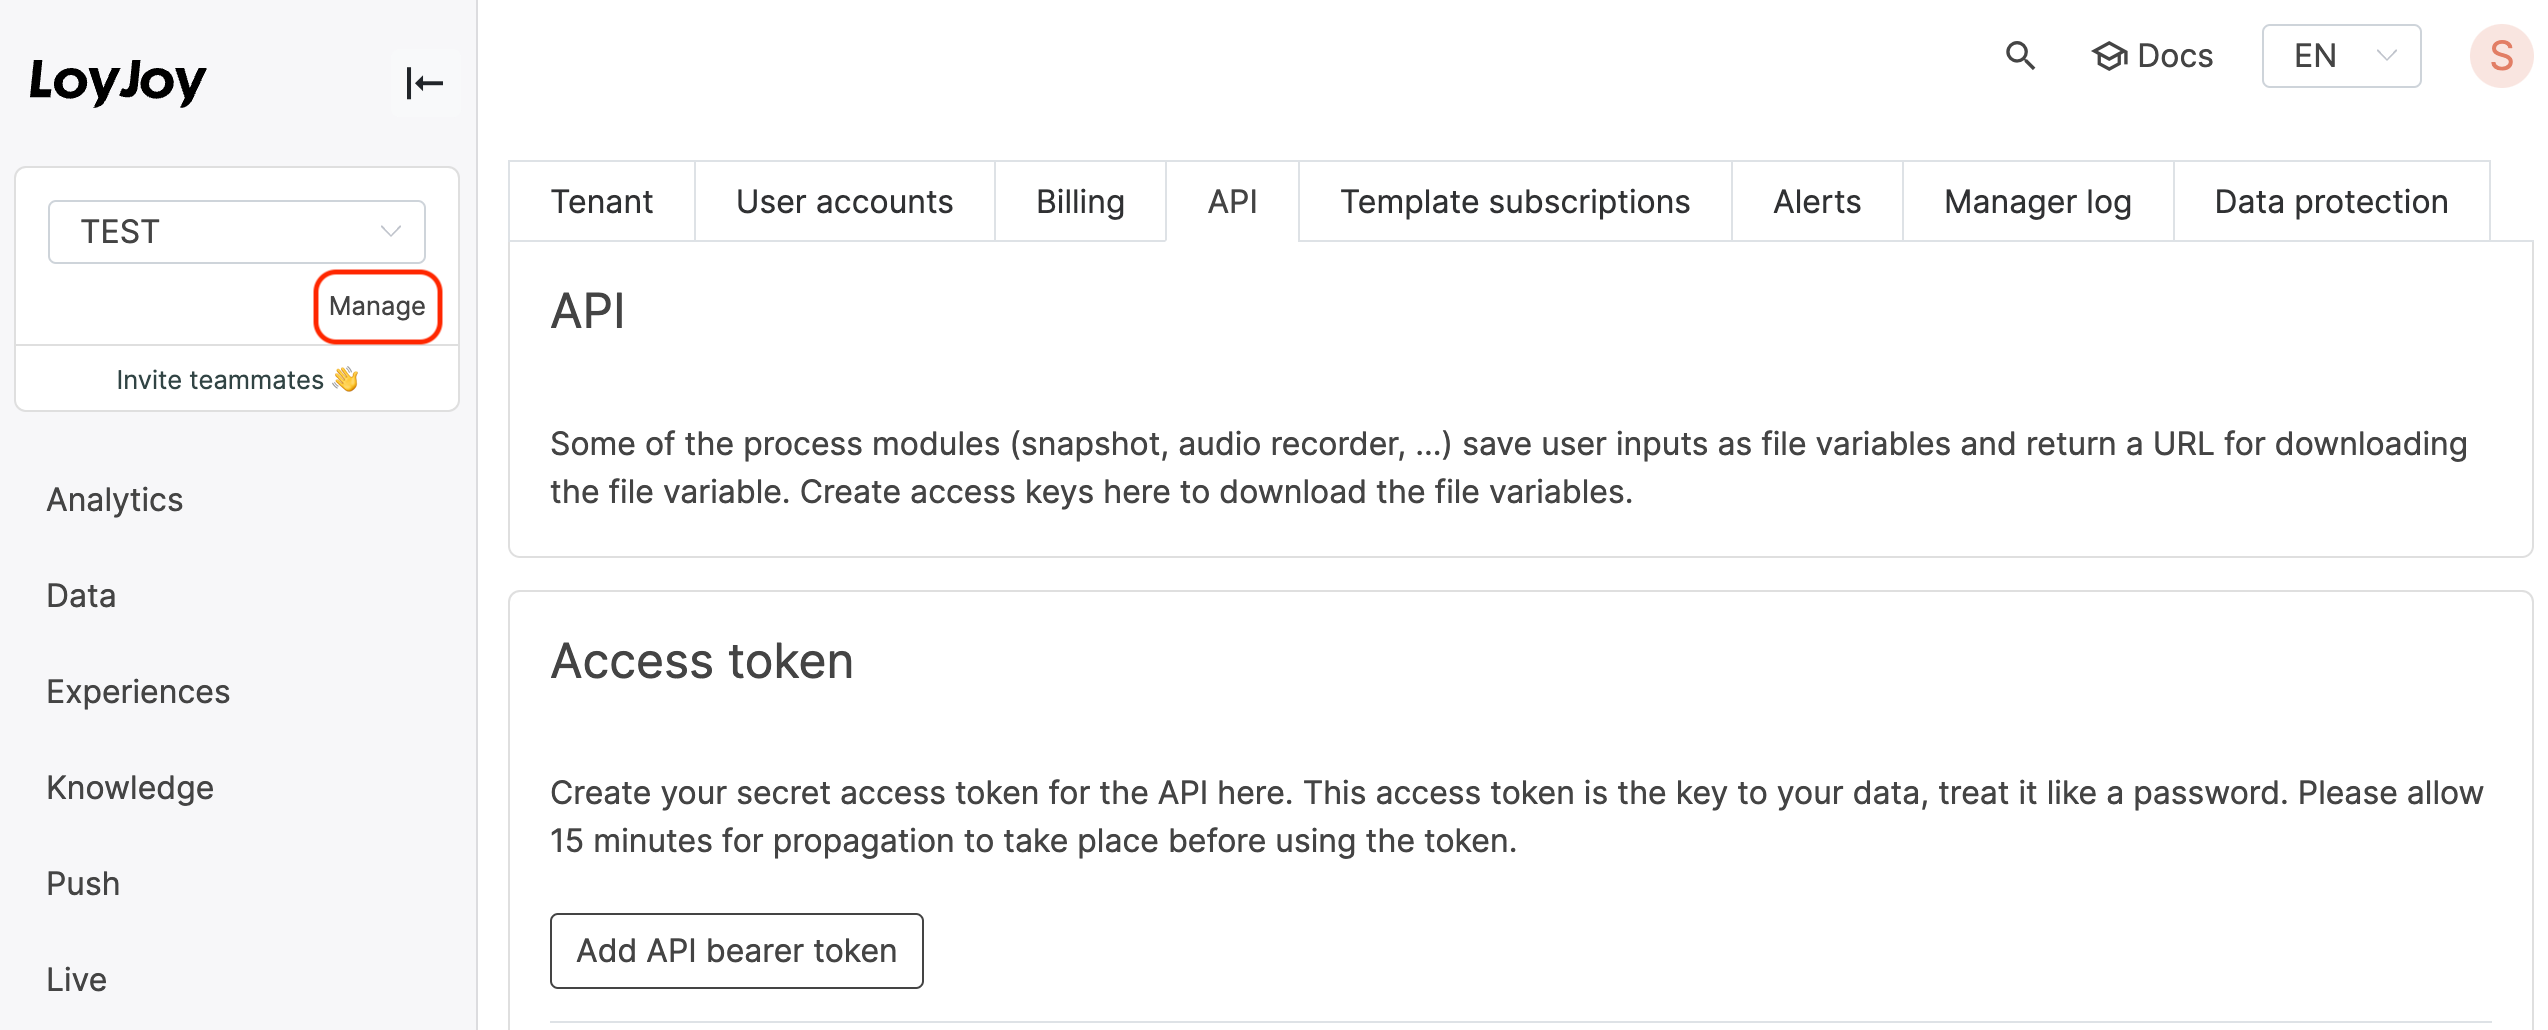
You can find your API key in LoyJoy tenant settings. In LoyJoy Cloud open the tenant settings as an owner. At tab "API" create an API key.
Please wait for 1 minute until the API key has been enabled automatically in all systems. Else you would get an HTTP 403 error in the next step, before it has been enabled.
Copy the API key and paste it into the Zapier popup. Then click "Yes, Continue to LoyJoy" in Zapier. The separate browser window should close.
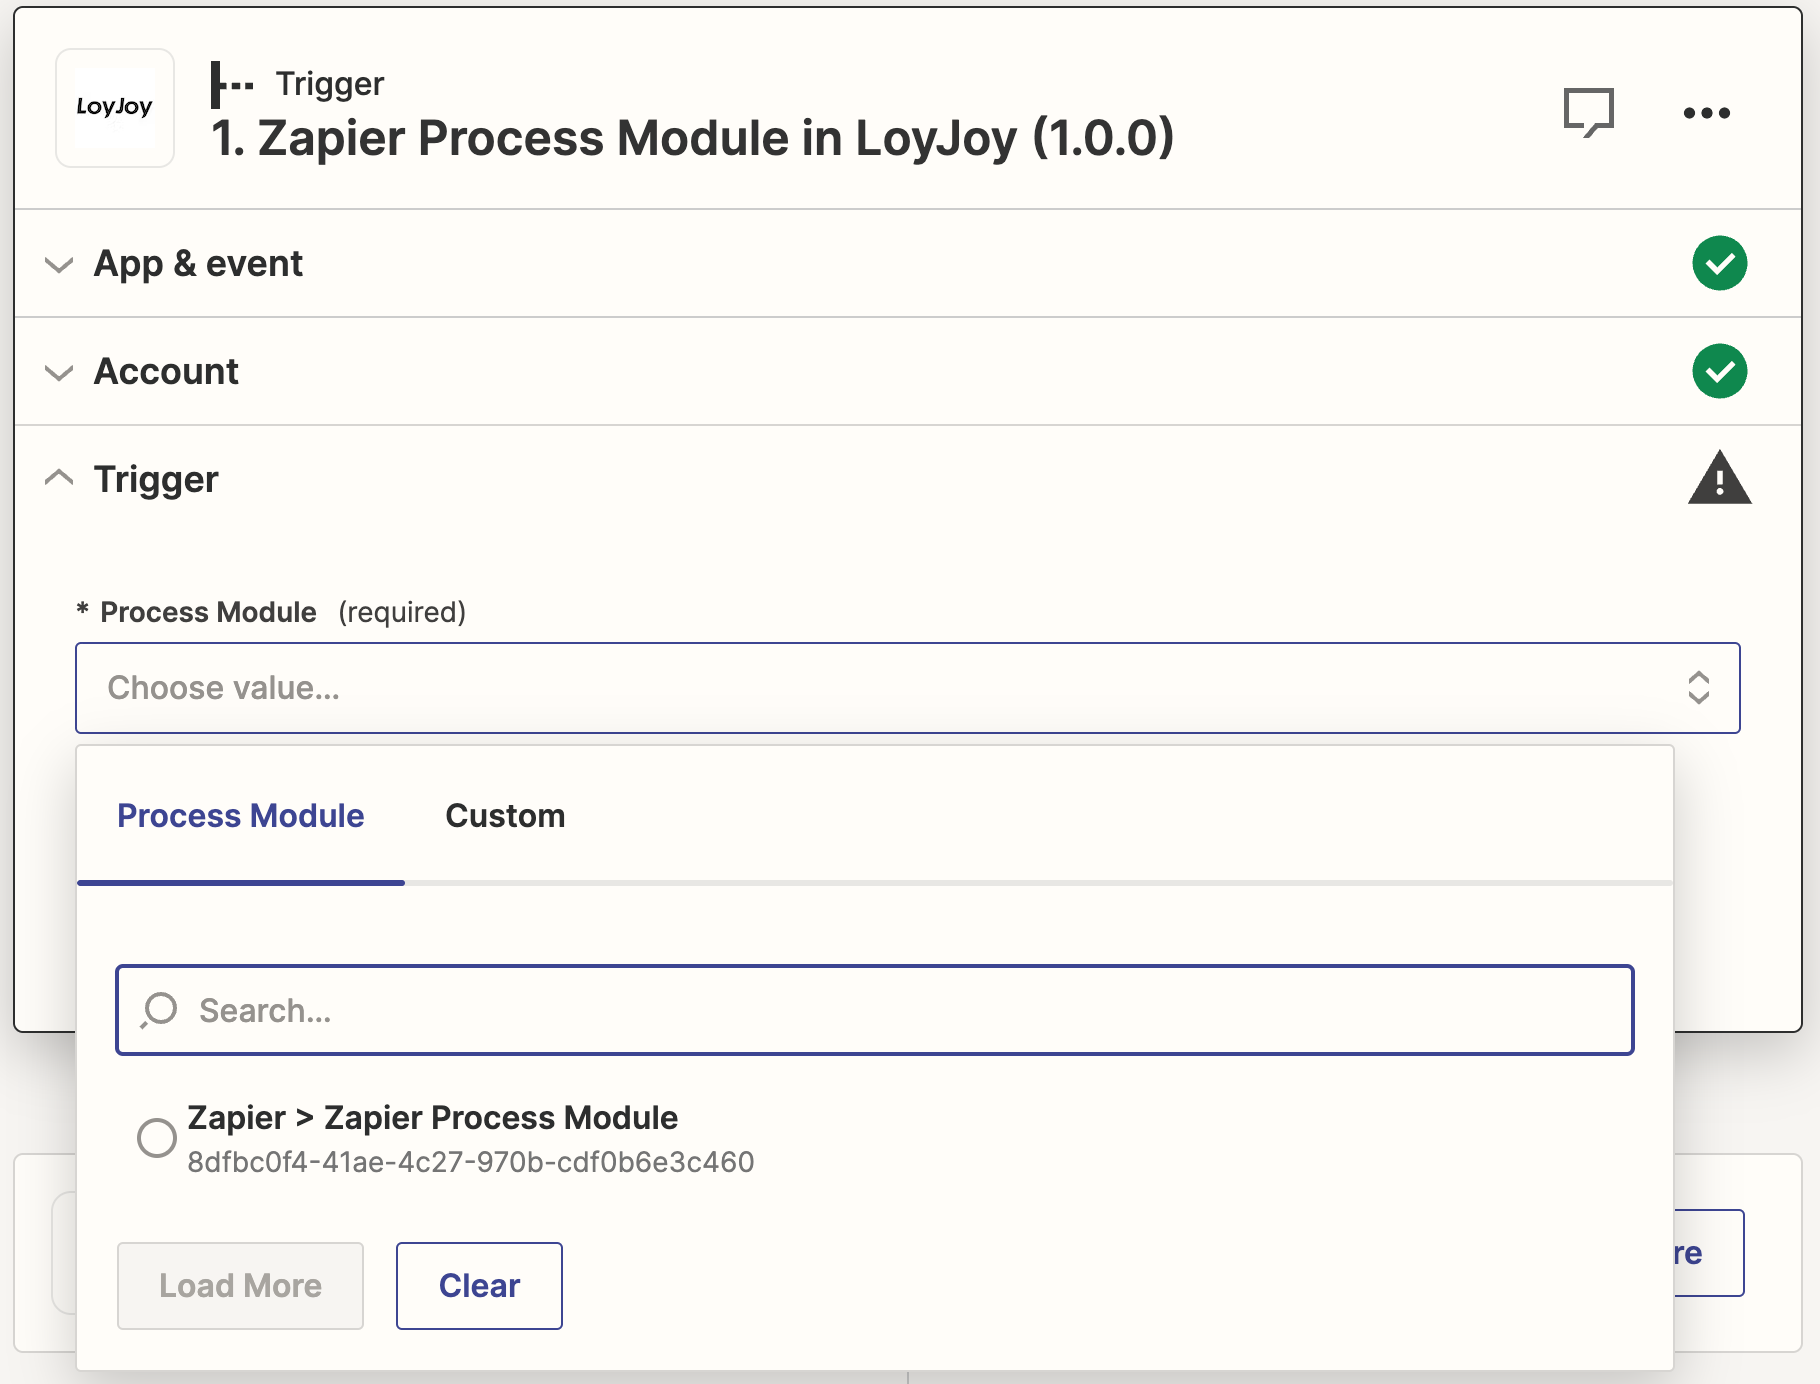
In Zapier select the process module that should trigger the Zap. You can select the process module by clicking on the "Process Module" dropdown. Then select the process module you want to connect to. Click "Continue" to continue.
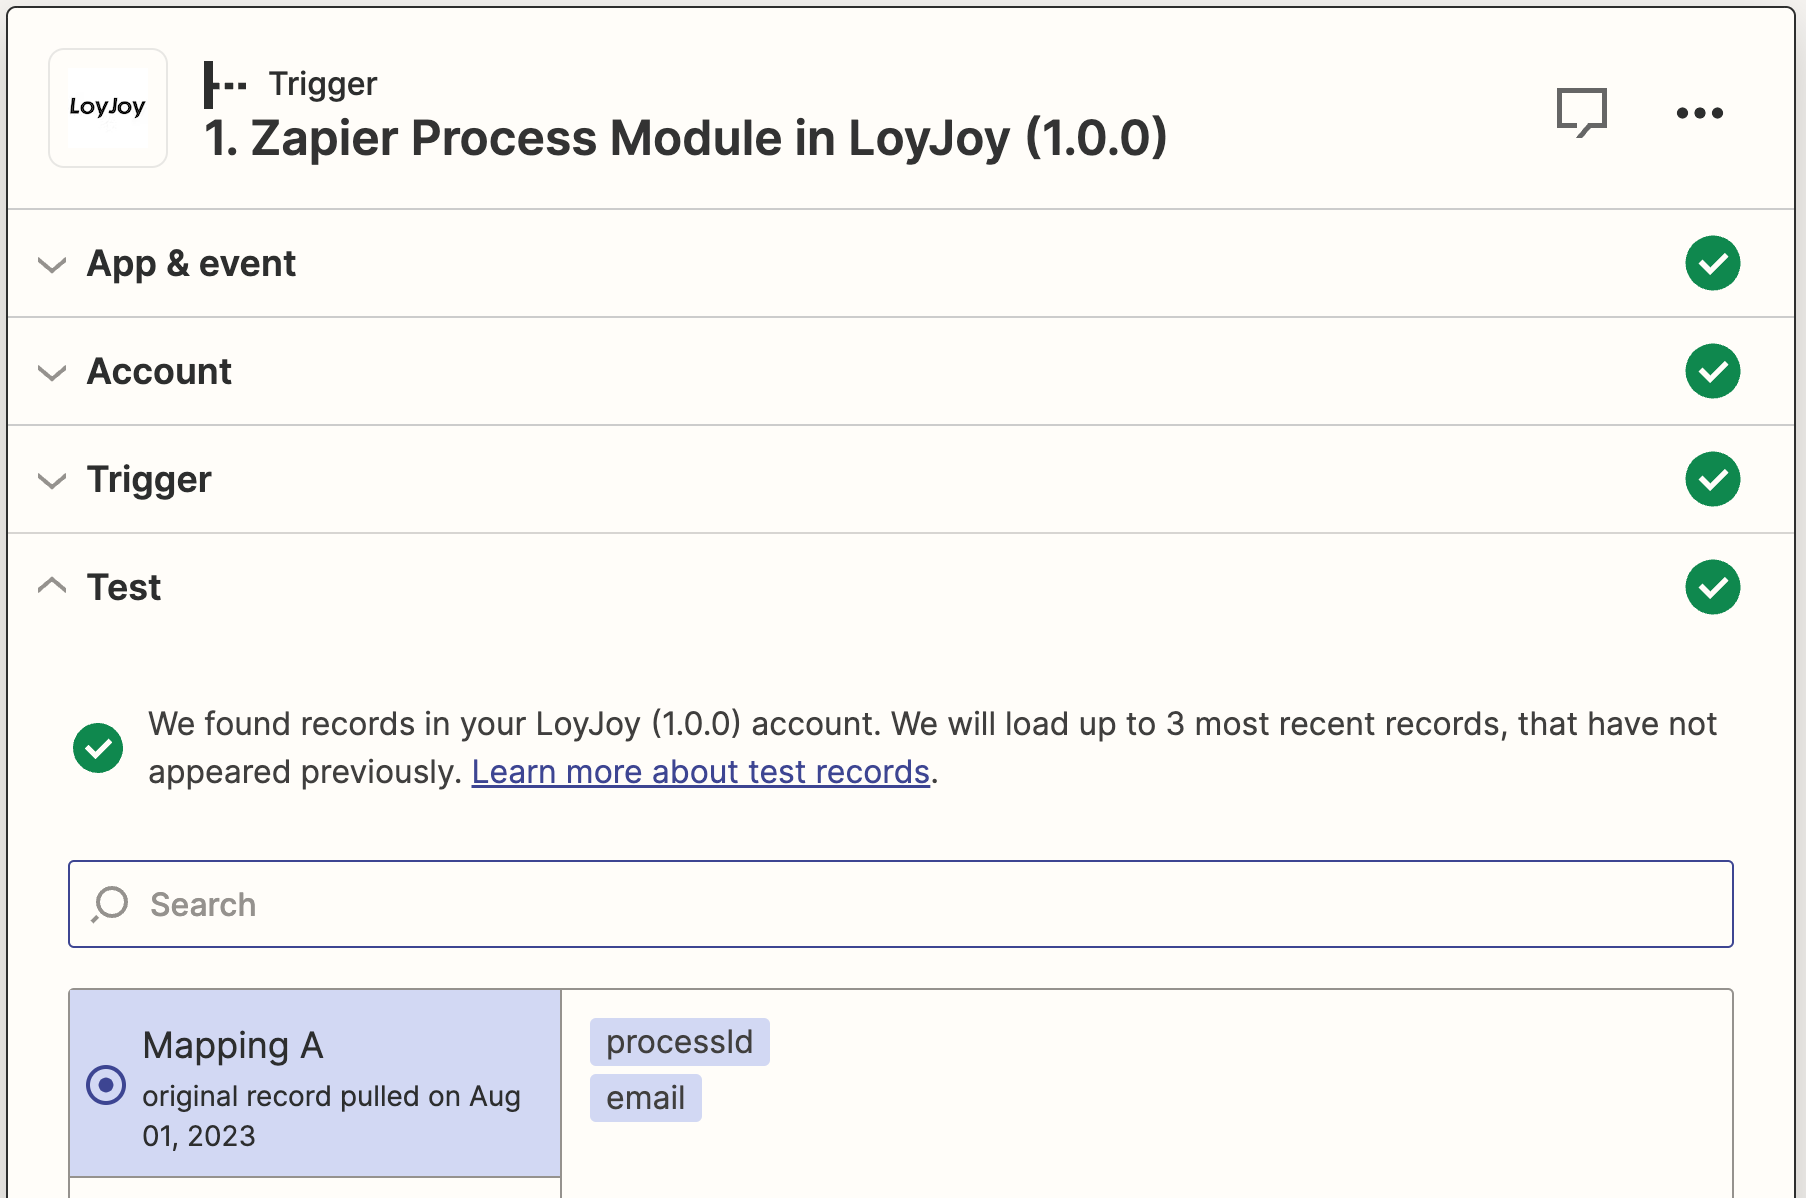
You will be asked to test the trigger. Click on "Test trigger" to test the trigger. This will send a test request to the process module. The process module will send a test response back to Zapier that contains all fields contained in the process module mappings. Zapier will show the test response. If the test response is correct click on "Continue with selected record".
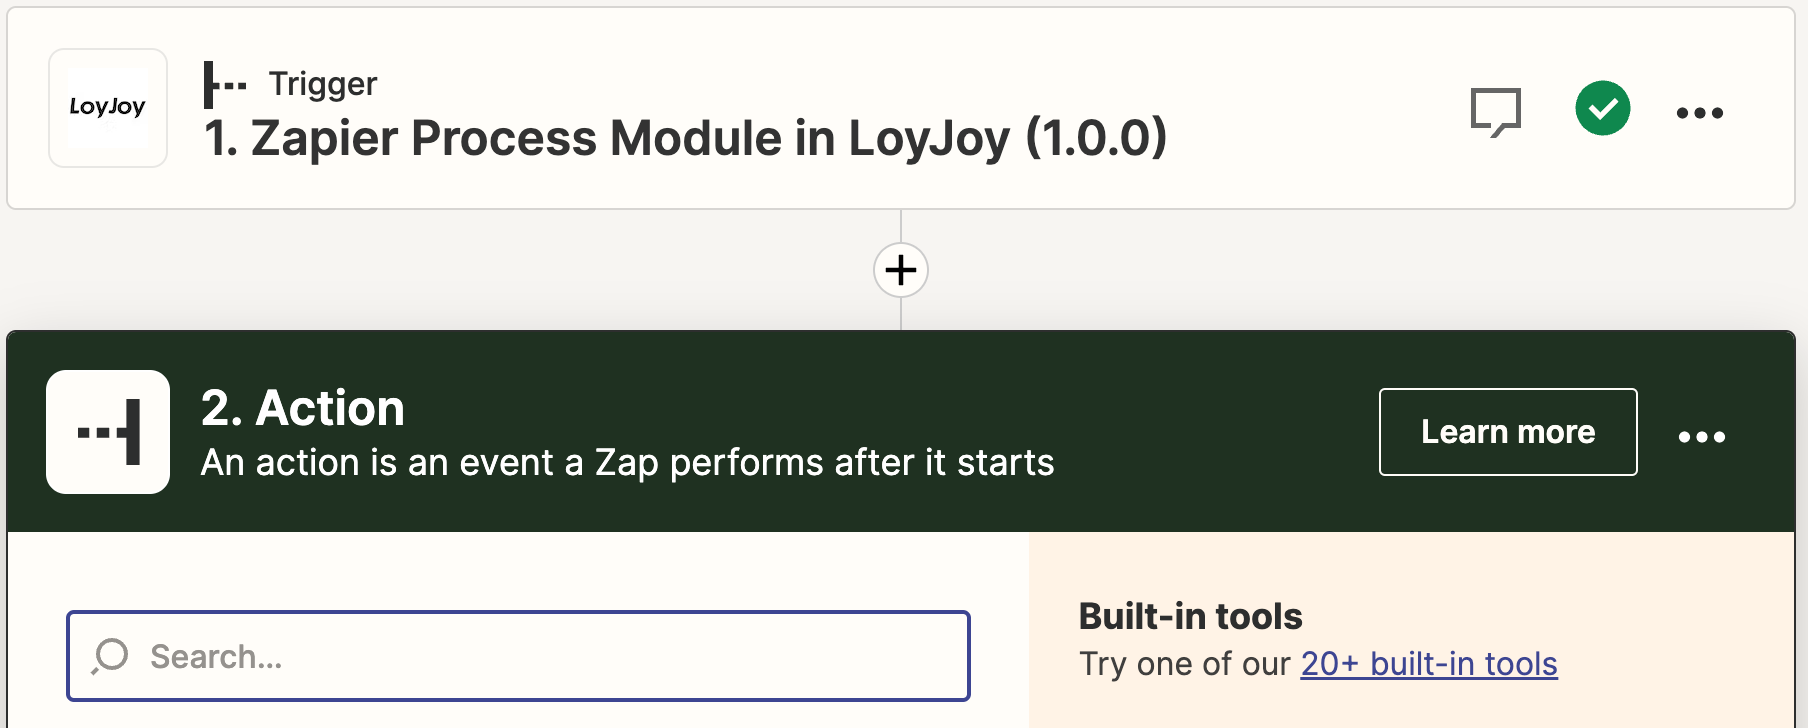
You will be asked to select an action. The action is the action that will be executed when the Zap is triggered. Select any action of your choice and use the fields from the test response to fill the action fields. Click on "Continue" to continue.
Finalize the configuration of the Zap in Zapier.
Step 4: Test the Zap in LoyJoy
In LoyJoy open the Experience and test the chat. The Zap will be triggered when the process module is visited in the chat. You can check the Zap history in Zapier to see if the Zap was triggered and if data was retrieved from LoyJoy.
Also in LoyJoy in the Zapier process module you can enable debugging in the log to debug the communication between LoyJoy and Zapier, if necessary.