Workato
Introduction
This module allows to send data from LoyJoy to Workato. Workato is a service that allows you to connect to many other cloud applications. You can use Workato to send data to other systems like Salesforce, Google Sheets, Mailchimp, etc. Workato calls these connections "Recipes". You can create a Recipe that will be triggered by the chat. The chat will send data to Workato and Workato will send the data to the other system.
How to Use the Module
Step 1: Add Workato Process Module to an Experience
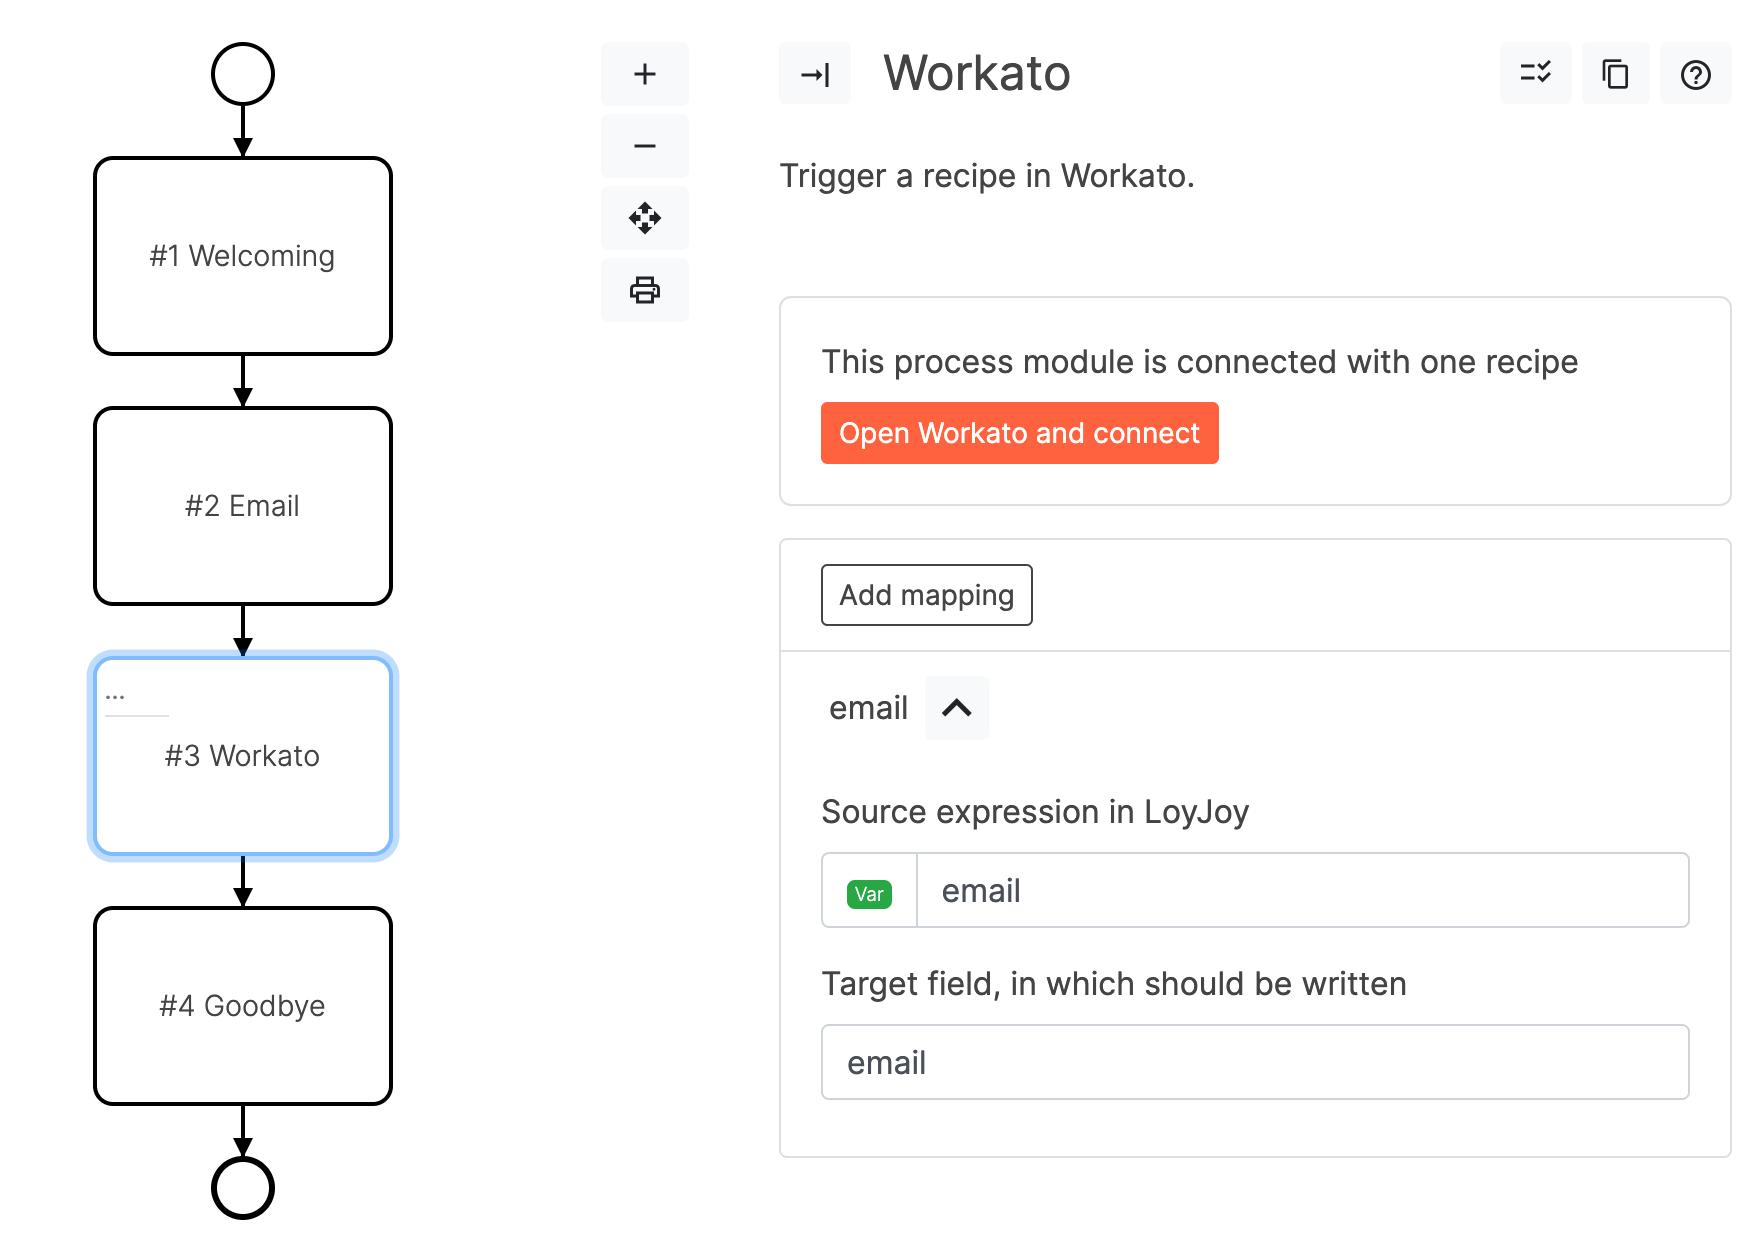
To use the Workato process module you need to add it to an Experience. You can add the process module to the Experience by dragging it from the palette onto the canvas. Open the process module and add one or more mappings. Each mapping describes that a variable or expression result should be sent to a variable into Workato. For example you could send the customer email to an email field in Workato.
Step 2: Create a Workato Account
To execute the process module you need to create a Workato account and connect it with the process module. You can create a free account at https://workato.com.
Step 3: Create a Recipe in Workato
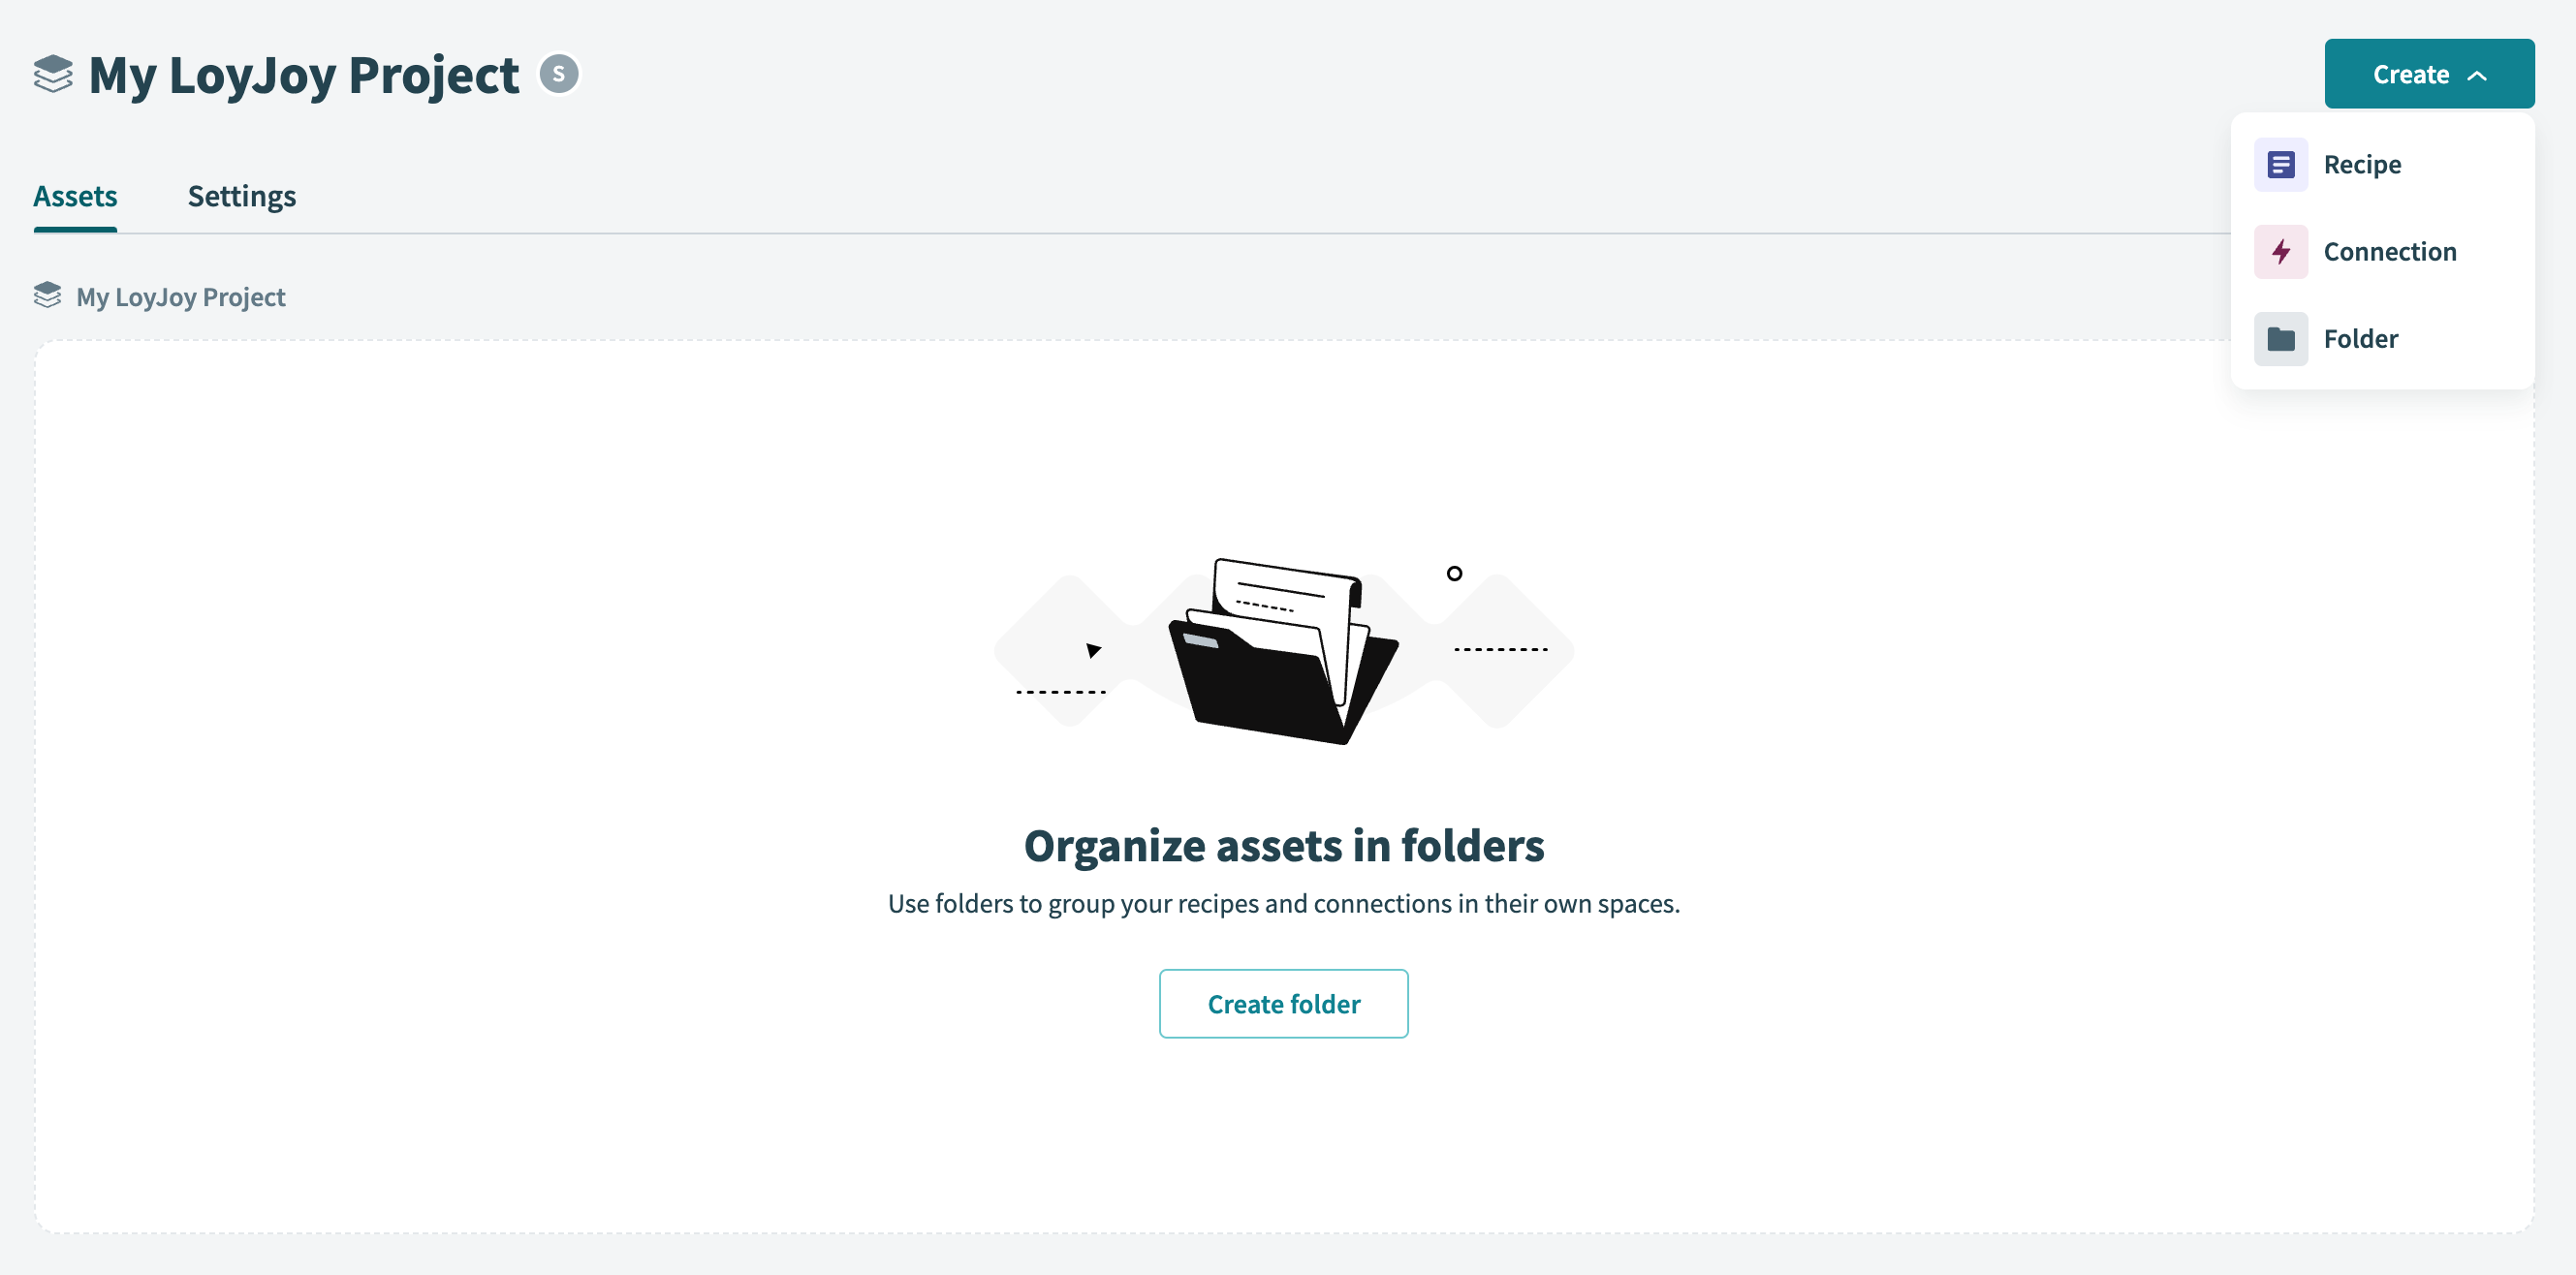
In your projects overview, create a blank project or select a project that you want to use for your recipe. Afterwards, create a new recipe in the upper right corner of your project screen. Give your new recipe a name and select "Trigger from an app".
Step 4: Use LoyJoy as your Recipe Trigger
In the following screen search for "LoyJoy" and click on the LoyJoy icon. This results in LoyJoy being used as a trigger in your recipe.
Step 5: Create a Connection to LoyJoy
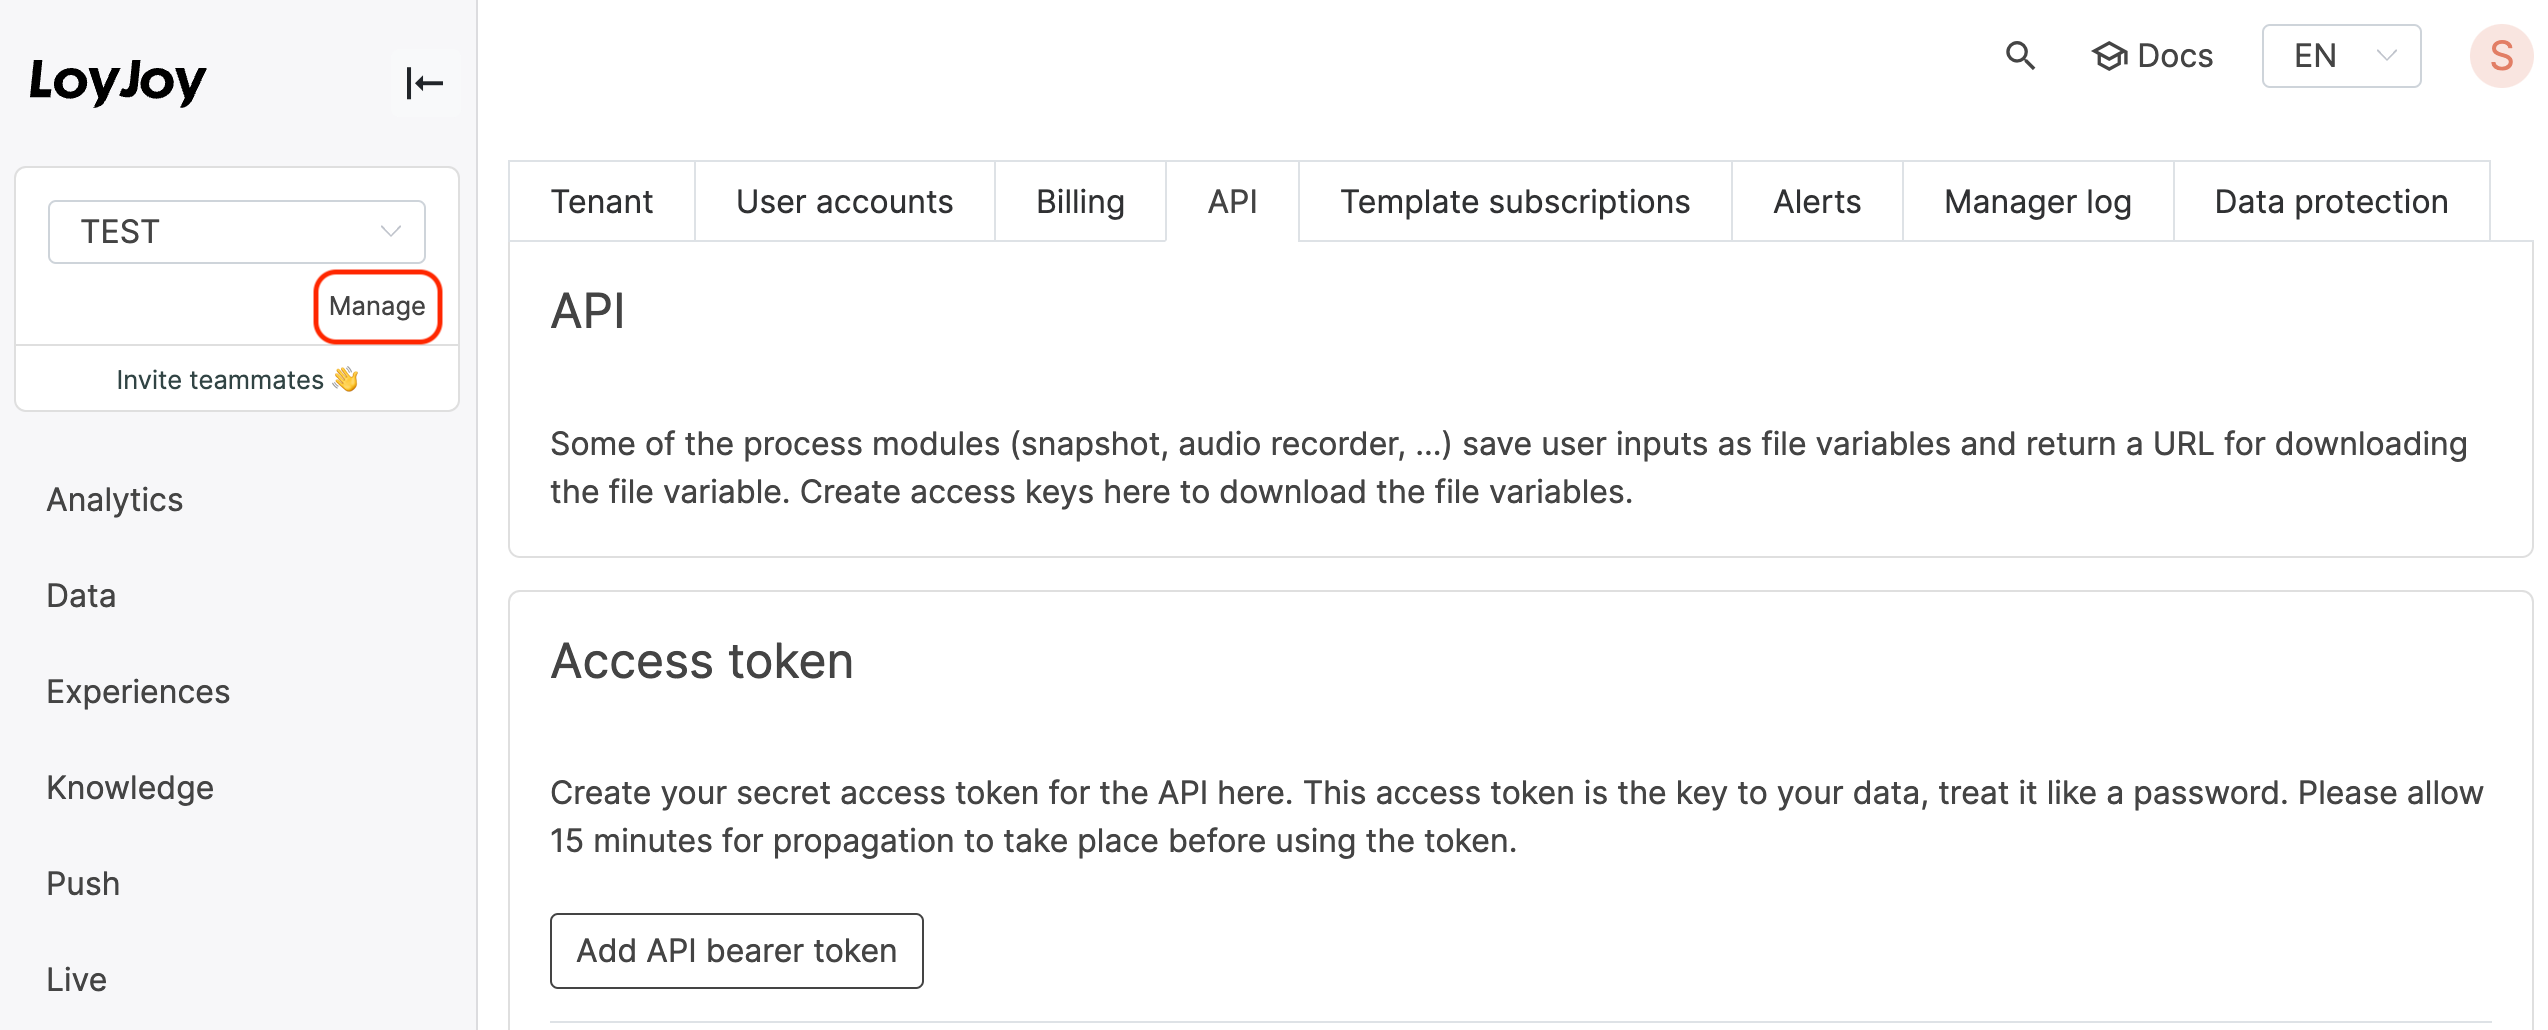
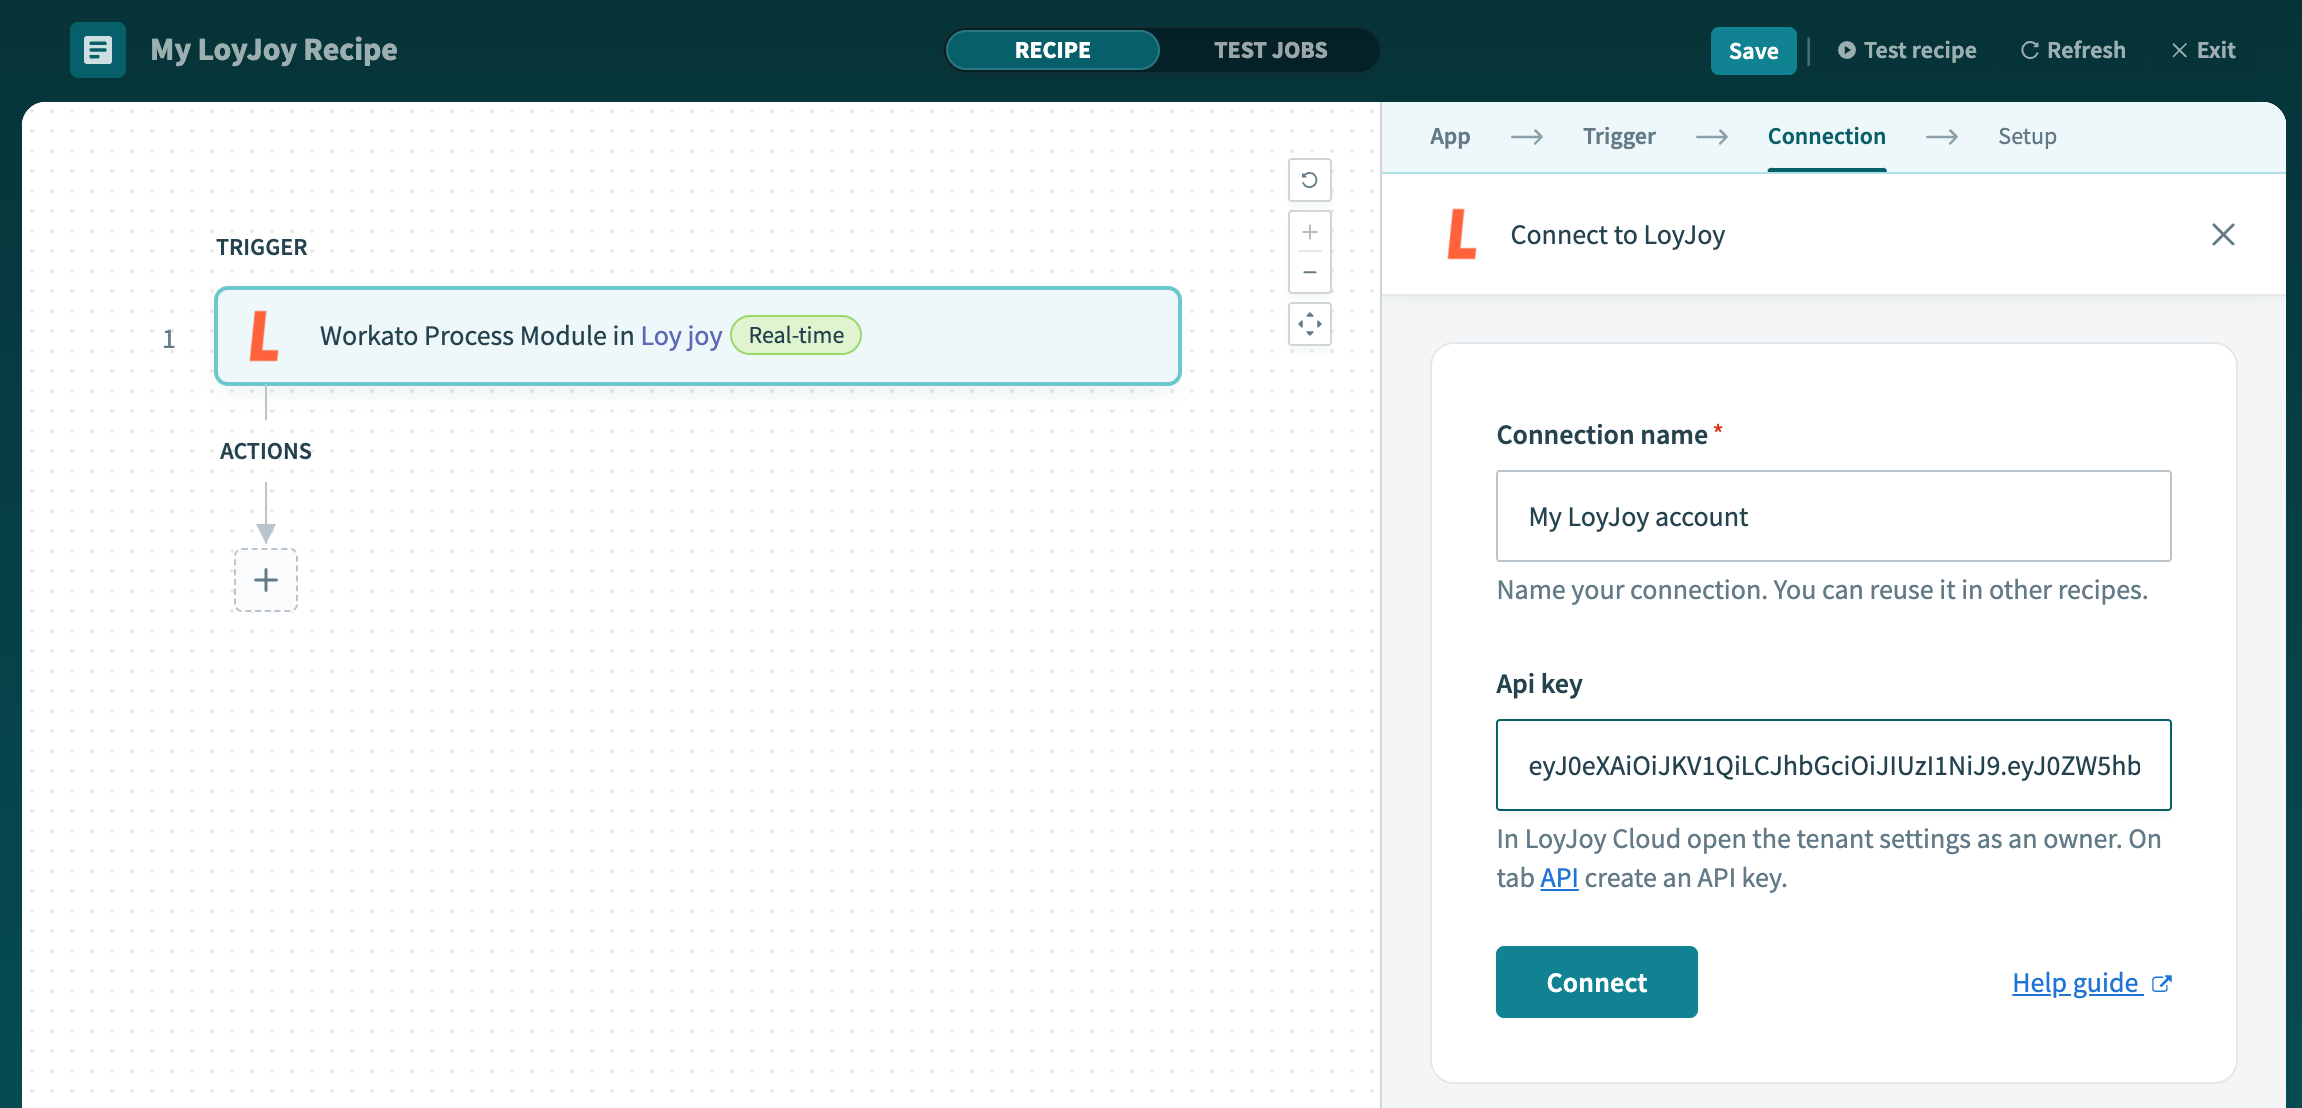
To give Workato permissions to communicate with your LoyJoy Account it is necessary to generate an API key in LoyJoy tenant settings. Go to the LoyJoy Cloud open the tenant settings as an owner and click on the "API" tab to create an API key.
Step 6: Enter your API key in Workato
Use this API key to fill the API key field in Workato and click on connect.
Step 7: Select your Workato Module
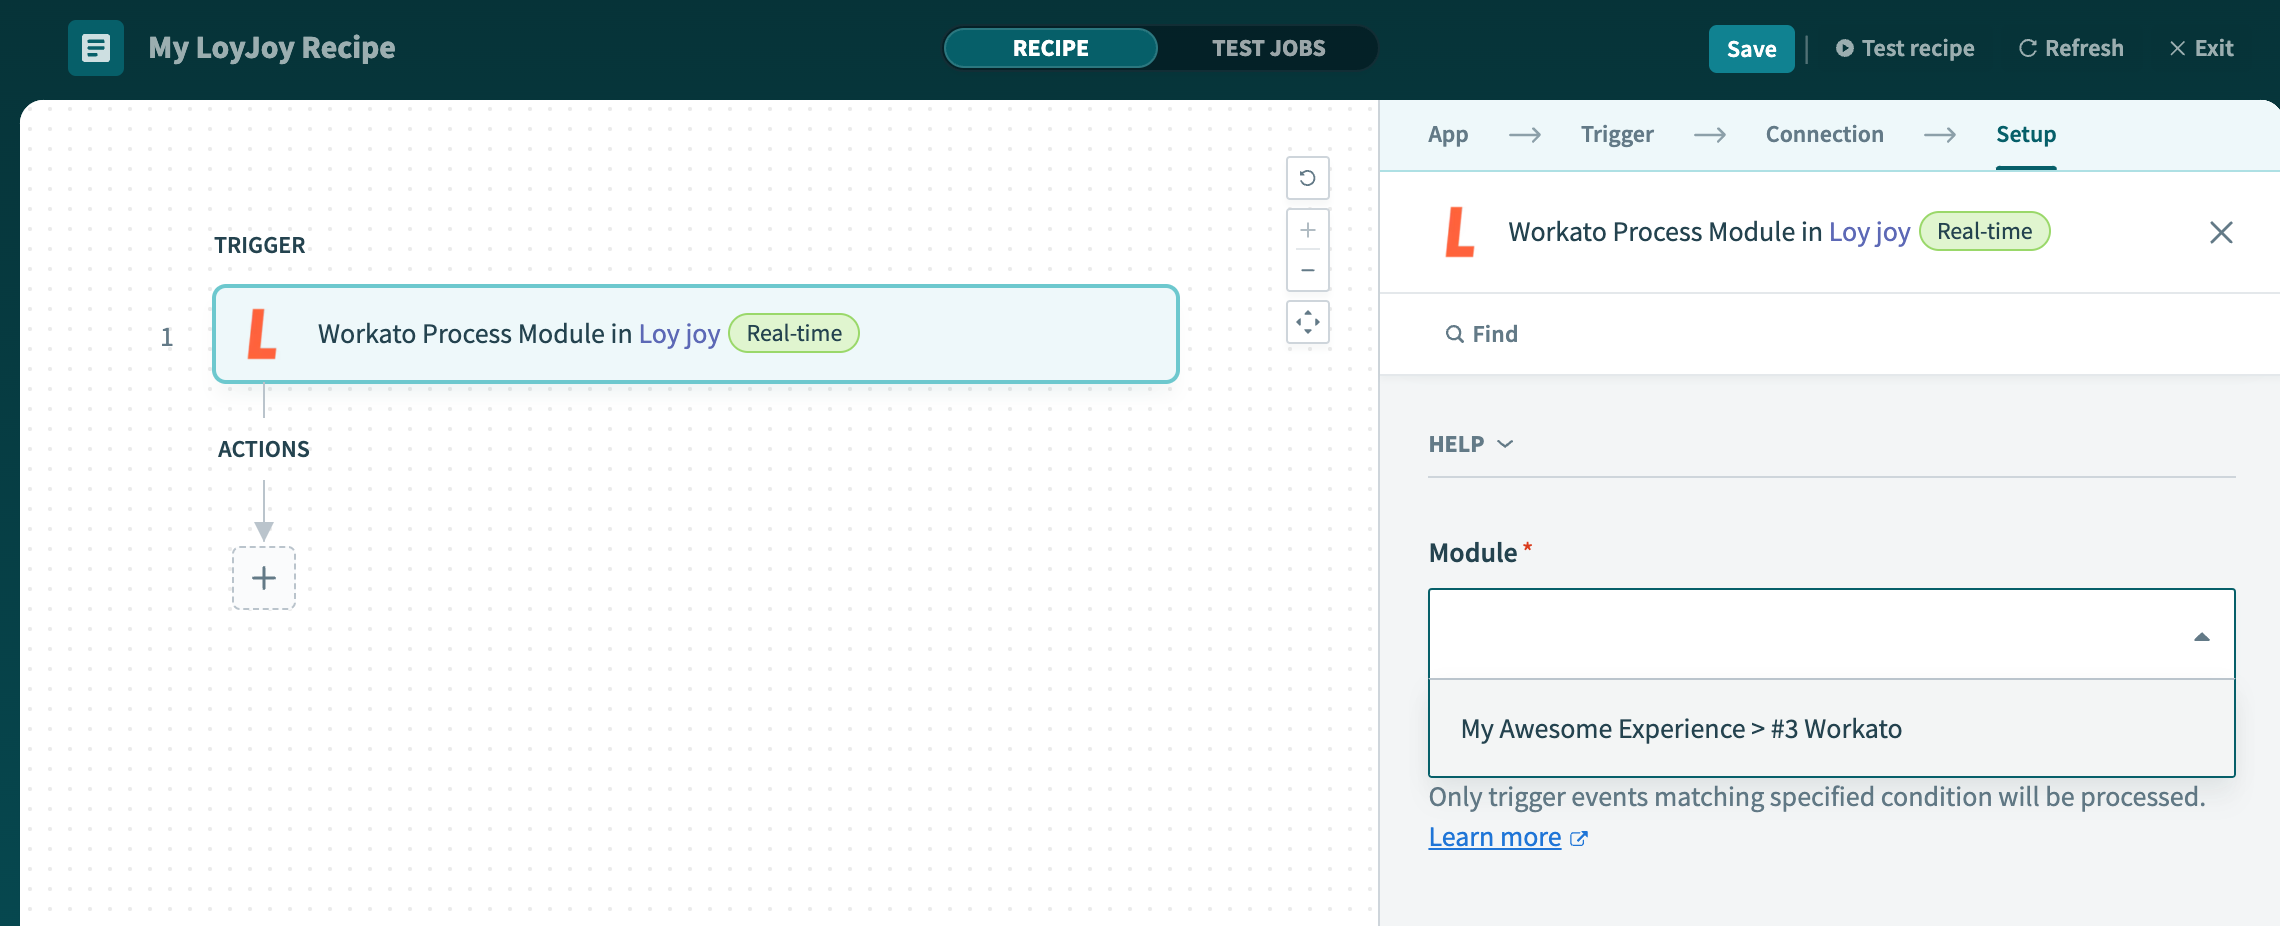
Select your Workato Module you want to use as a trigger. Note that all Workato Modules of your LoyJoy account are listed in the dropdown list.
Step 8: Finish your Recipe
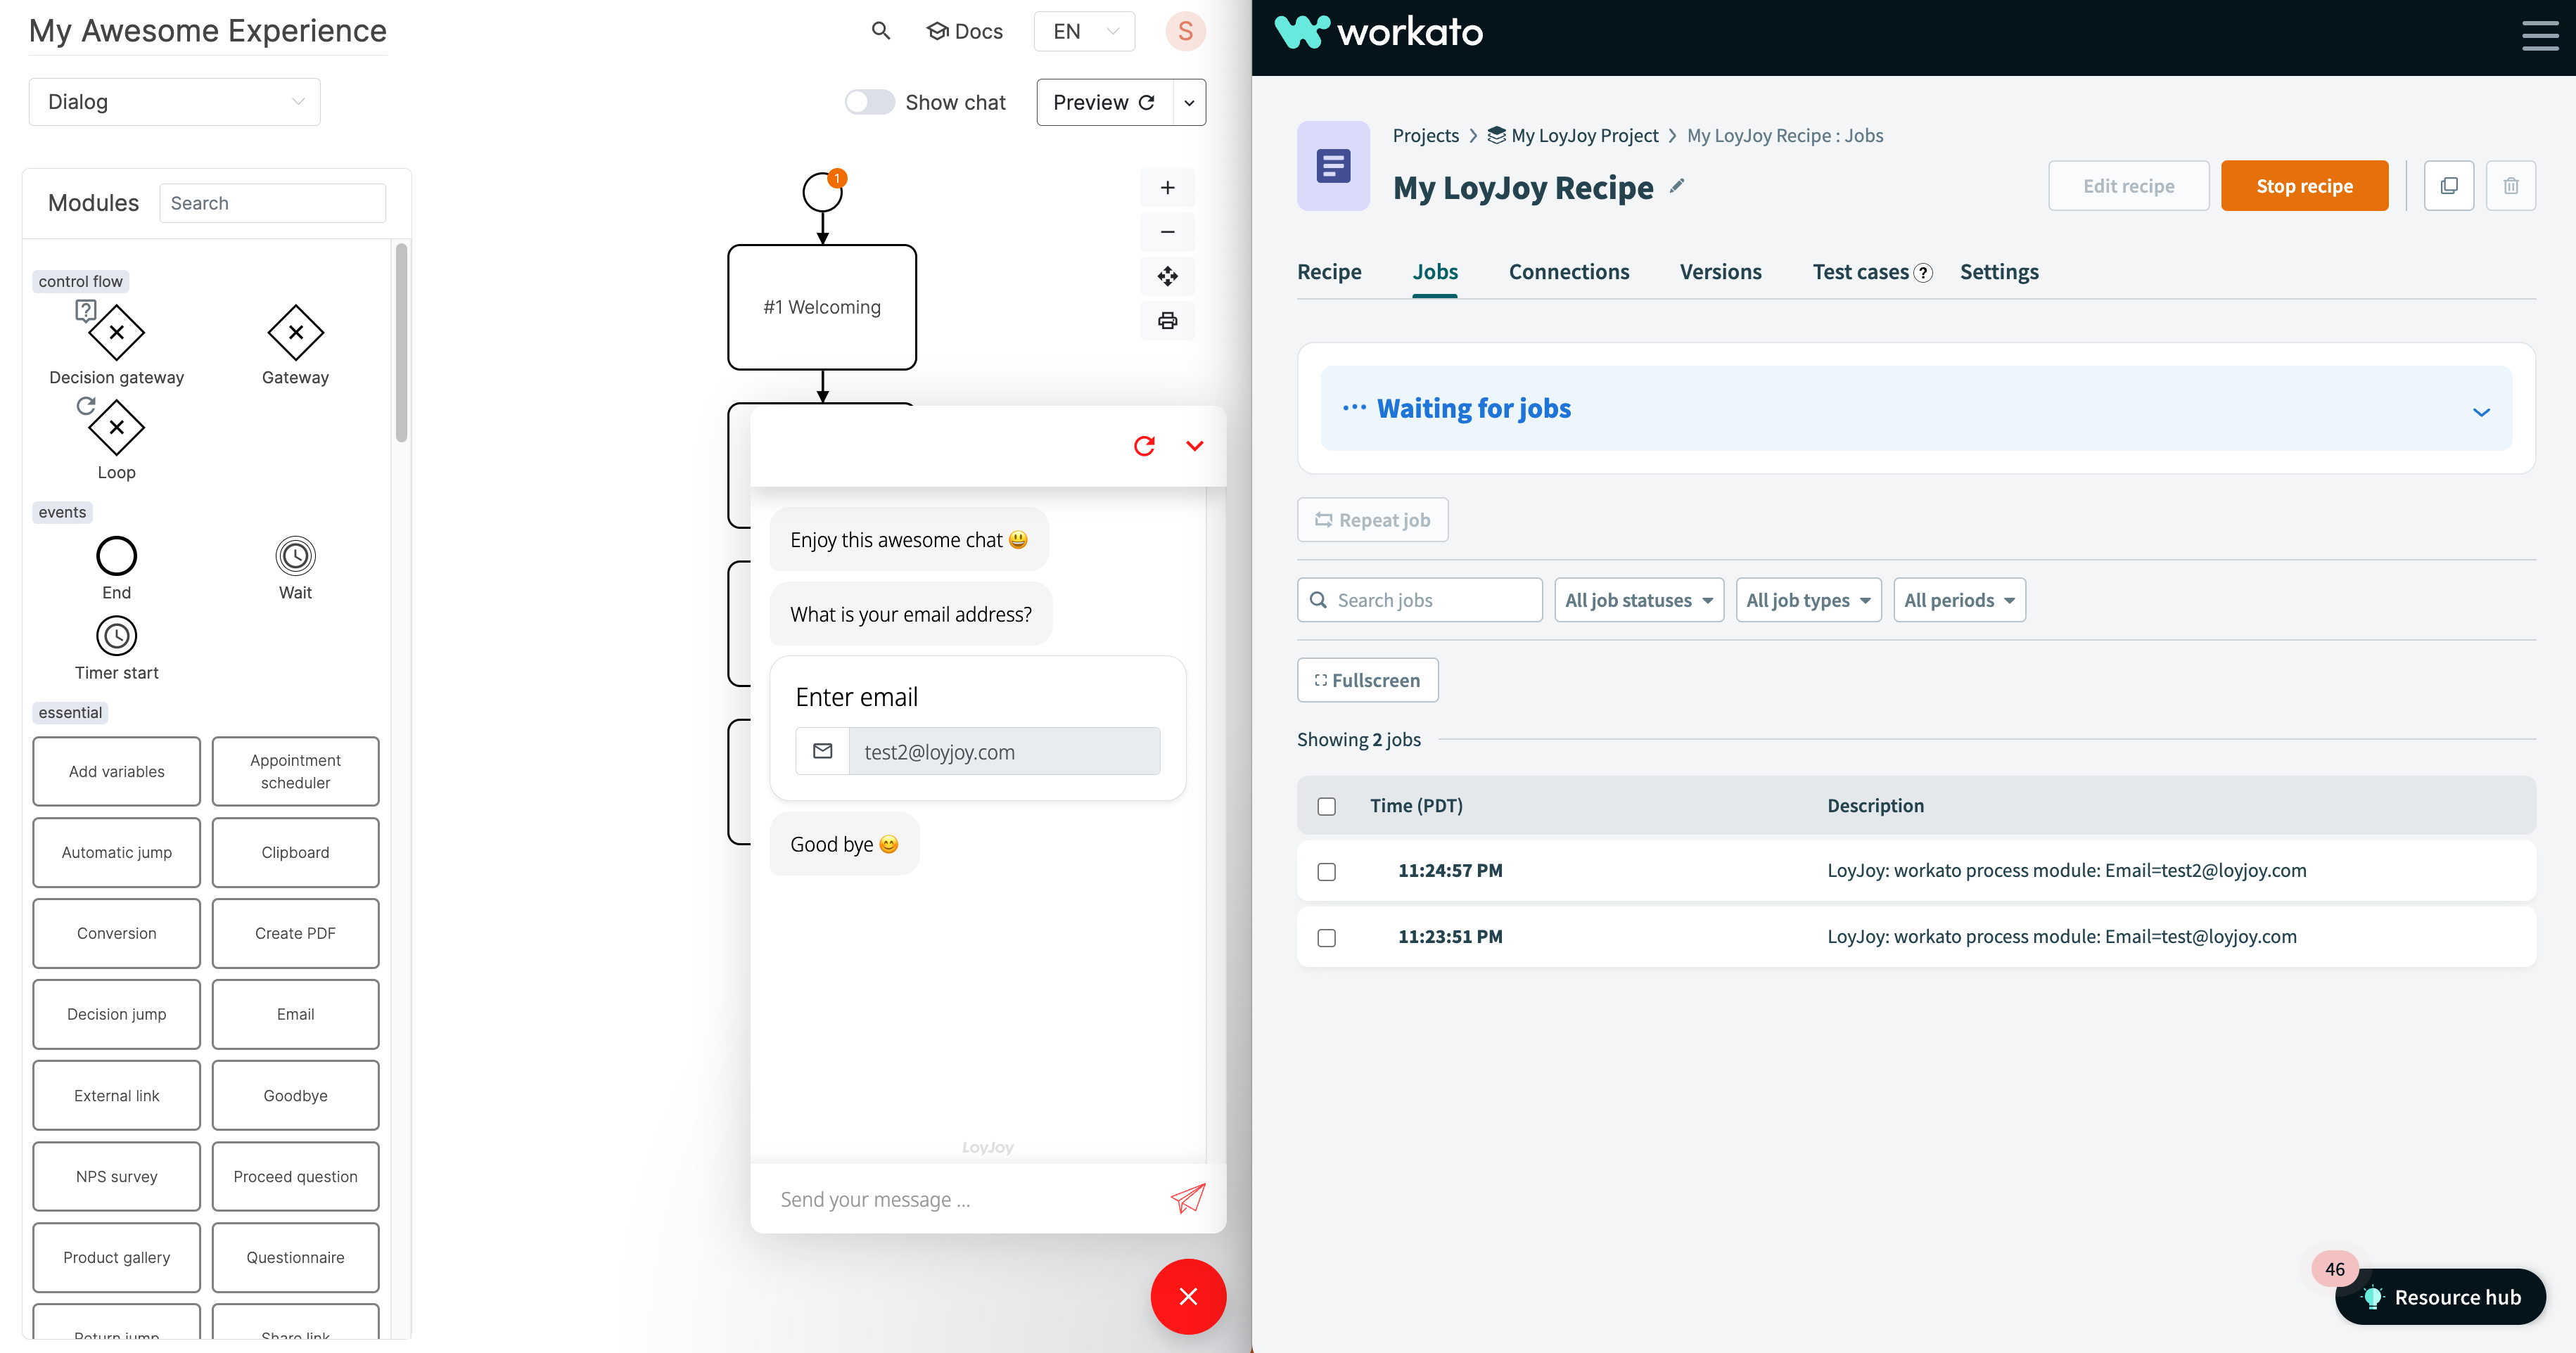
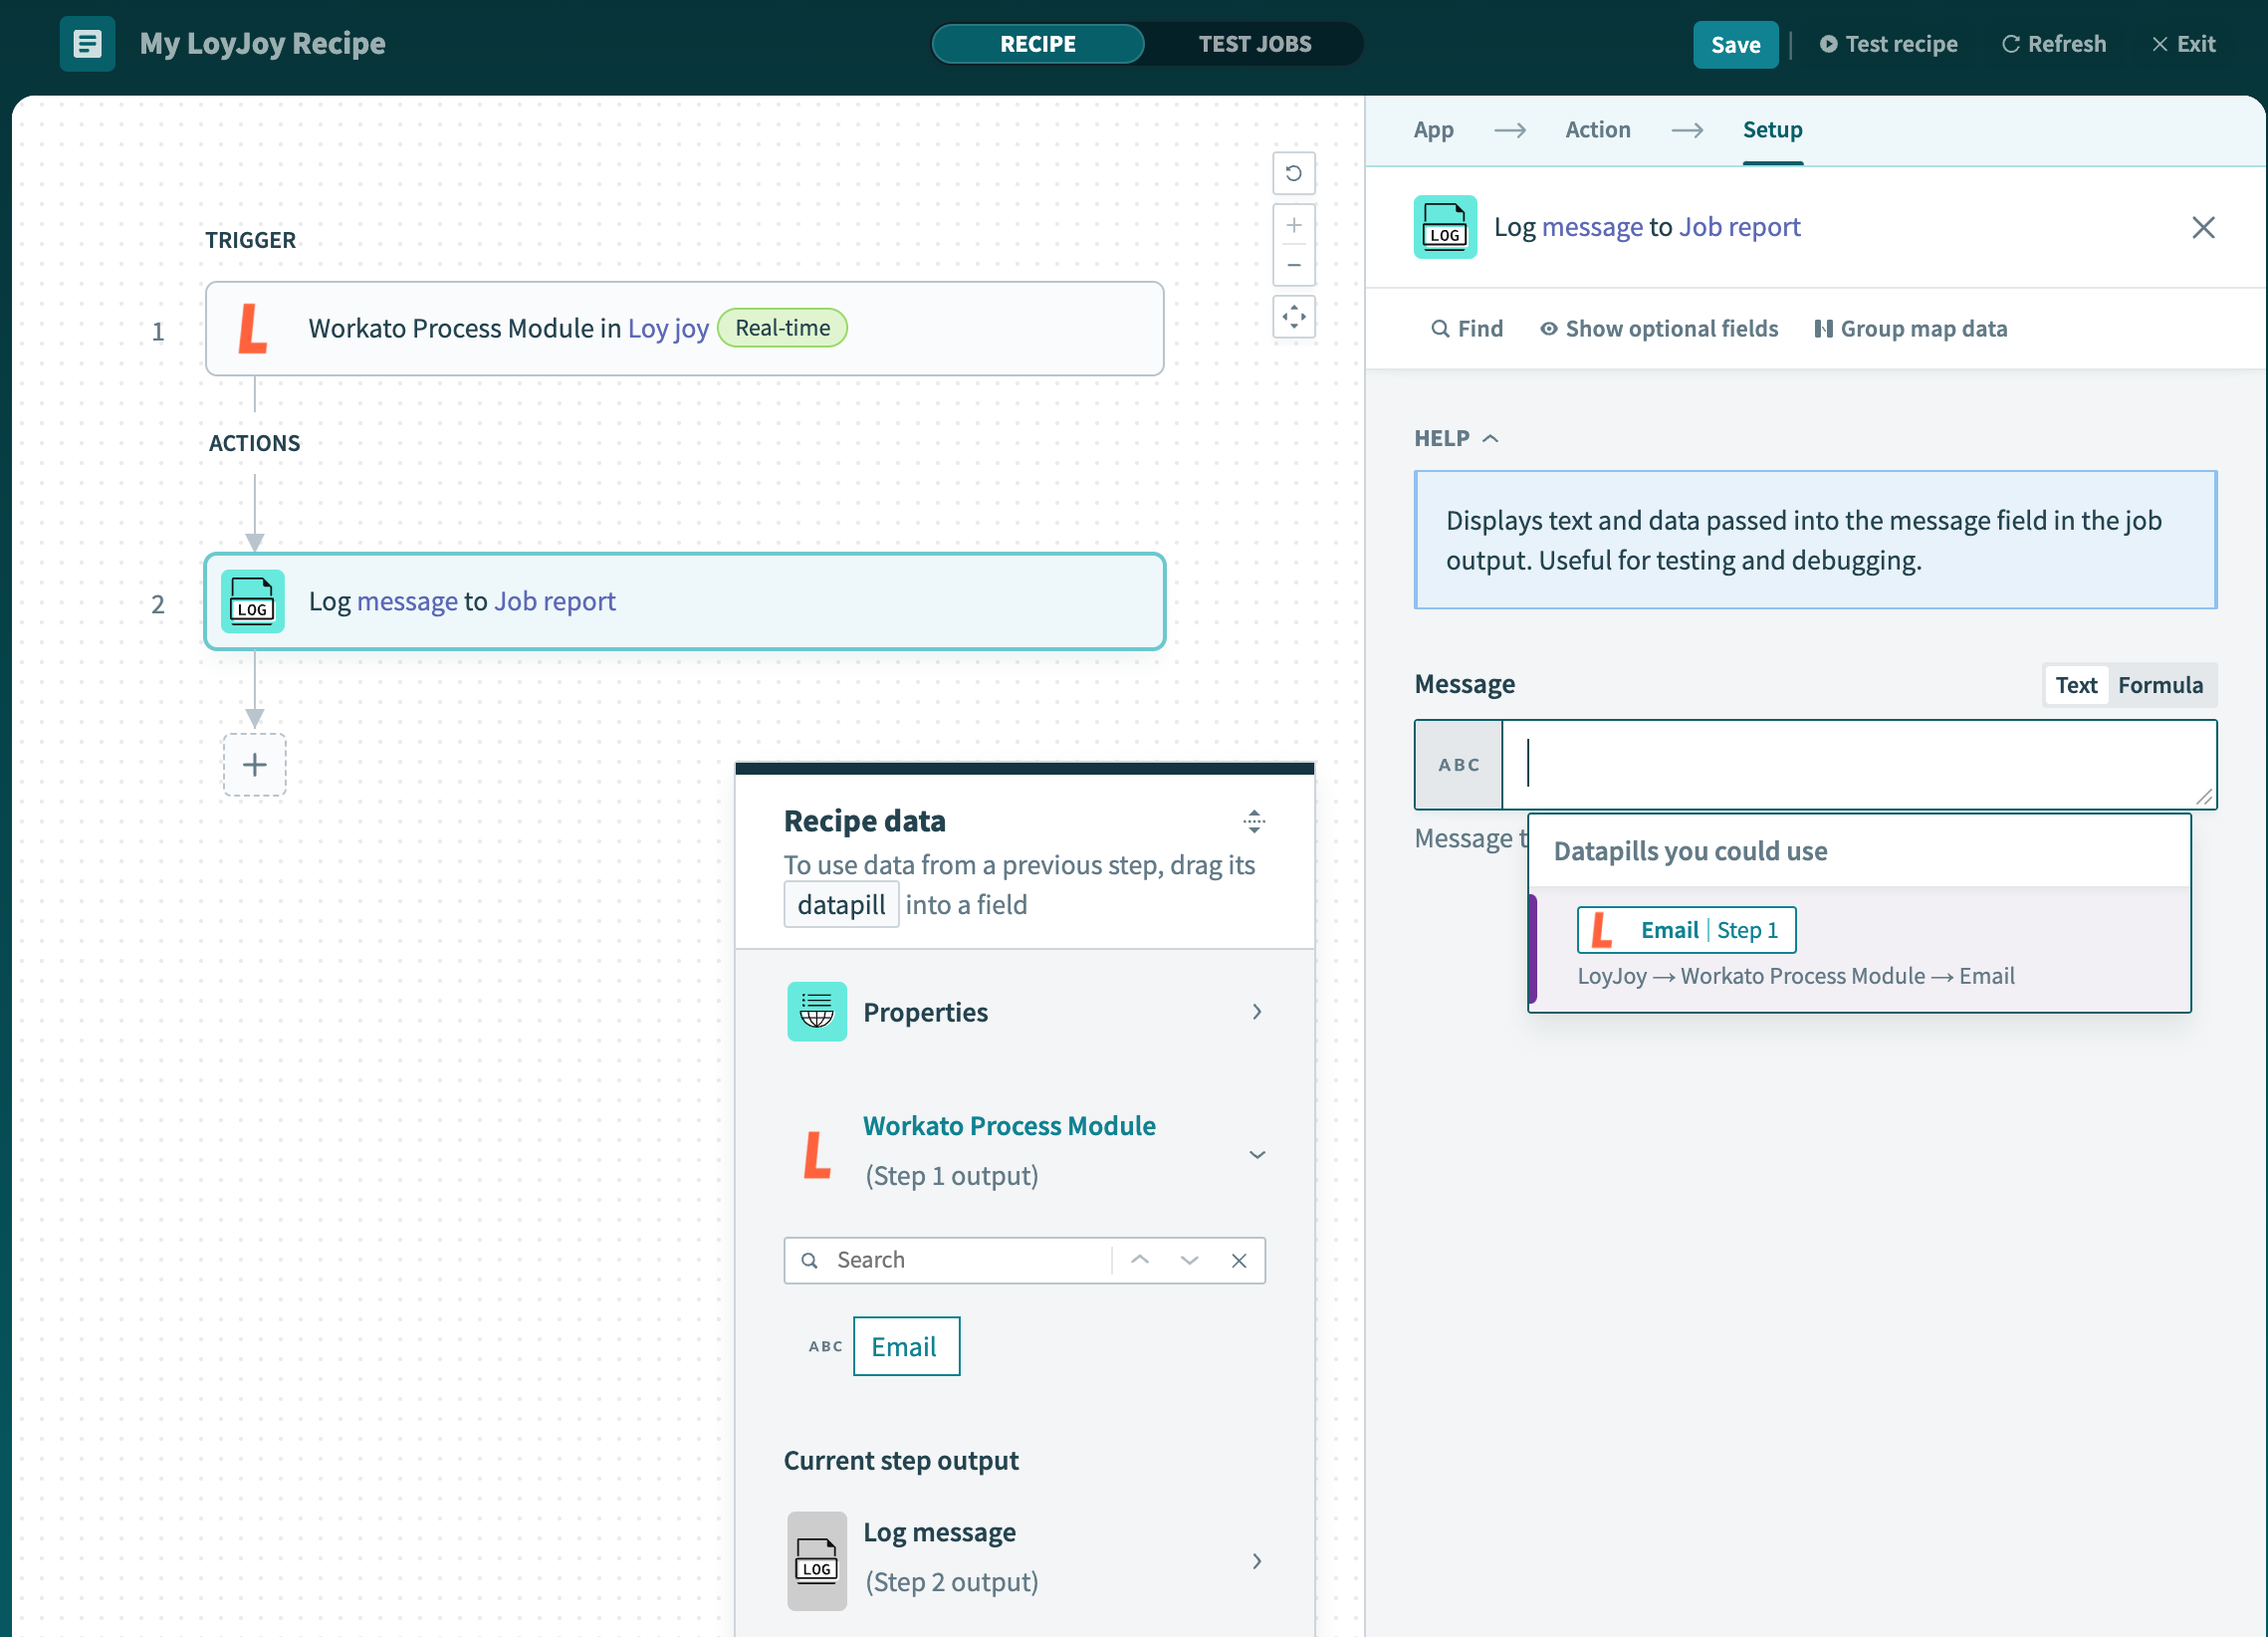
Now finish your recipe. In the following modules actions, you can use the mapping you created in Step 1. The following recipe will simply log the email address of your customers.
Step 9: Save and Start your Recipe
Safe and exit your recipe in the upper right corner. To test your recipe click on Start recipe on the following screen and test your Experience in the LoyJoy Cloud. If your job does not appear in the list refresh the Workato page.
