Sign In Module
Introduction
The Sign In module enables customers to enter their email addresses to sign in, storing this information in the CRM for future use. When customers log in on a different device or through another channel (e.g., WhatsApp, Facebook, WeChat, Alexa, Google), they receive a PIN to verify their identity, ensuring secure access to their profile.
Typical Use Cases
This module provides an email address to any process that collects personal information such as first name or birth date. The email address will the appear in the variables database together with such data.
How to Use the Module
Email Verification Process
1. First-Time Login: When a customer logs in for the first time with their email address, it is stored as a cookie in the browser.
2. Returning Login: If the same device and browser are used, the customer does not need to enter their email or a code again. If the customer logs in with a new browser or device, a new code is sent.
3. Long-Term Login: Customers remain logged in even after leaving the site. They need to log in again only after 365 days of inactivity, at which point session information is lost.
Code / OTP email
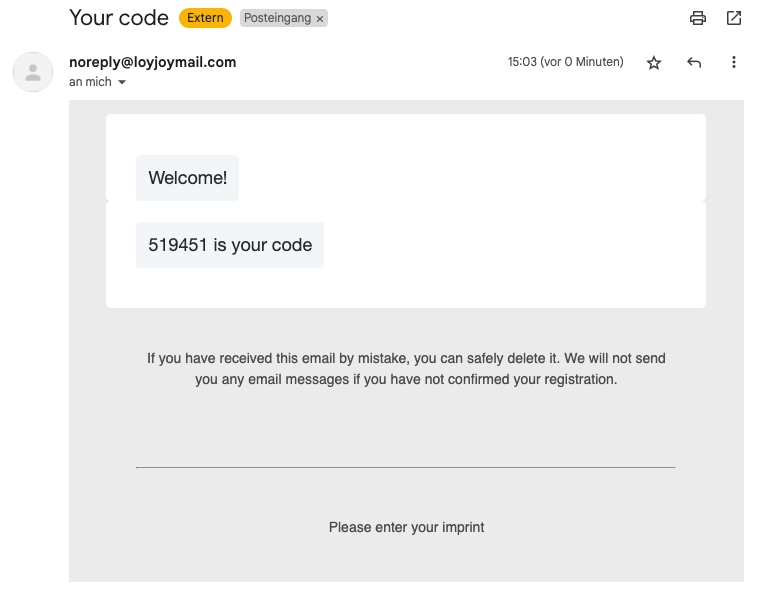
An email containing a verification code (or one-time password, OTP) is sent when a returning customer logs in. This step ensures that no data can be leaked or settings can be changed without verifying the user's identity.
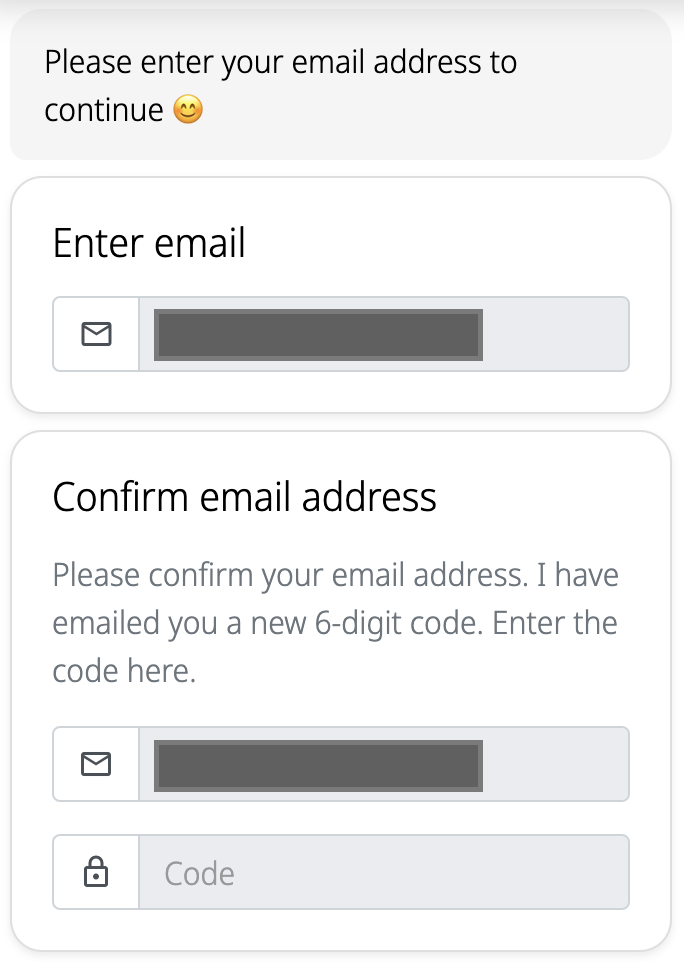
Here’s what the UI element looks like when a code is required:

Code email template
The code email body can be customized by entering an HTML email template. Without any customization the email looks like the following.

If you do not provide a custom template for the email, you must include your imprint (here can you check out how). The imprint information should be specified in the Publish tab. This is crucial to meet legal requirements for email communications.
Additional Settings
1. External Email System: Option to send the code email through an external system. Necessary configurations need to be set up.
2. Email Server Configuration: Use your own email server by providing the required configurations.
3. Email Customization: Set the email sender and reply-to address to ensure brand identification and recognition by customers. Customize the email subject, intro, and closing text.
Example of customization:
Email Sender and Reply Email: Set these to match your brand's identity.
Subject: Craft a subject line that is clear and recognizable.
Intro and Closing Text: Personalize the introduction and closing text to match your brand's tone.
Mandatory Terms
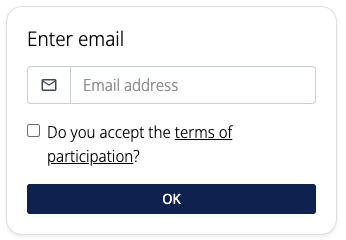
You can add mandatory terms that customers must accept. In web chat, this may use a checkbox, while in messaging apps, it will be asked as a question.

Other Texts
There are other texts that are displayed in specific situations. For example, sign_in_email_address_invalid is shown when the email entered is not valid or is from a one-time provider. These texts can be customized to provide clear feedback to the user in various scenarios.
Important Note
Use ${pin} to display the PIN variable in the email. This placeholder ensures the correct code is included in the email sent to the customer. The PIN is automatically generated by Loyjoy, ensuring a seamless and secure verification process.
Domains Allow List
A list of allowed domains can be provided so that logins only from these domains are accepted. This is useful for companies that want to restrict access to their services to specific domains.